62
(3)
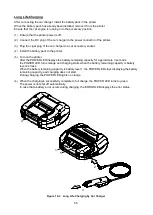
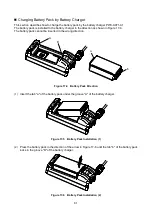
Make sure that the battery pack is installed to the battery charger correctly.
•
Ensure the tab "a" of the battery pack is inserted under the groove "A" of the battery charger.
•
Ensure the tab "b" of the battery pack is locked in the groove "B" of the battery charger.
(4)
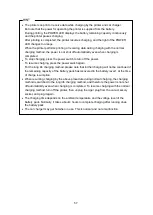
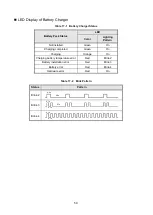
The LED of the battery charger changes to orange, and then charging starts.
During charging, the POWER LED lights on orange.
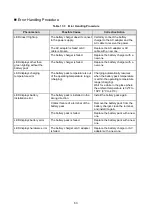
When the LED doesn't turn to orange, install the battery pack again.
In case the LED doesn't turn to orange even if the battery pack is installed again, take action in
accordance with "
■
Error Handling Procedures".
(5)
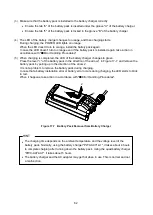
When charging is completed, the LED of the battery charger changes to green.
Press the lever "c" of the battery pack in the direction of the arrow 1 in Figure 17-7, and remove the
battery pack by pulling up in the direction of the arrow 2.
It is not a problem to remove the battery pack during charging.
In case that a battery installation error or battery error occurs during charging, the LED starts to blink
in red.
When it happens, take action in accordance with "
■
Error Handling Procedures".
Figure 17-7 Battery Pack Removal from Battery Charger
HINT
•
The charging time depends on the ambient temperature and the voltage level of the
battery pack. Normally, using the battery charger "PWC-A071-A1", it takes about 4 hours
to complete charging after running down the battery pack. Using the quad battery charger
"PWC-A074-A1", it takes about 5 hours.
•
The battery charger and the AC adapter may get hot when in use. This is normal and not
a malfunction.
c
1
2

