Latest products and information available at www.sealite.com
18
TRIDENT-3000-HEX with hexagonal aluminium tower
3000mm dia. Ocean Buoy
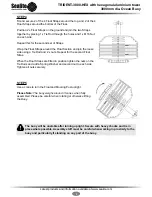
STEP 17
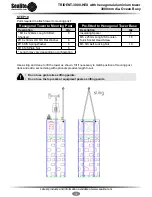
Parts required:
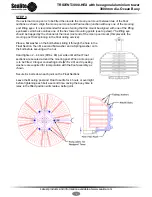
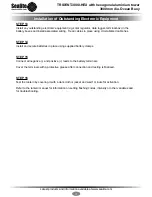
Lift the Buoy, ONLY using the Lifting Eyes on the Mooring Post.
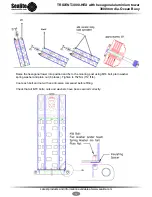
• Position the Rubber Collar Insulator around the base of the mooring post. Secure it in position.
• Position 4 x Rubber Ballast Mounting Squares on the legs of the Mooring Post.
• Fit 2 x Ballast Plates on to the base of the Mooring Post.
• Position a second set of 2 x Ballast plates on top of the first set with the joint perpendicular to the
first pair, ie. criss-cross the joints.
• Secure the plates to the mooring post using 4 x 20mm Ballast Rods, Nuts, Flat and Spring
Washers.
• Weld the nuts to the Ballast Rod when the assembly is complete.
Coat each bolt and nut with an anti-seize compound before fitting.
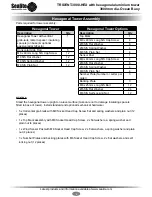
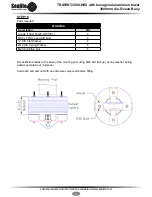
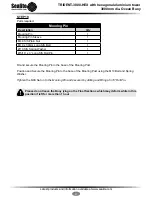
Mooring Post Ballast Assembly
Mooring Post Ballast Collars
Description
Qty
Mooring Post Ballast Collar (Half-Doughnut)
*24
Rubber Insulator Mat, Large
1
Rubber Insulator Square, small
4
Ballast Rod, M20 x 600mm Long (Standard)
4
Ø20 x 60mm OD S/S Flat Washer
8
Ø20 S/S Spring Washer
8
M20 S/S Plain Nut
8
* Quantity depends on thickness of collars and on buoy application.
Nominal overall height of collar stack is 325mm ± 25mm (see
diagram below).
Summary of Contents for TRIDENT-3000-HEX
Page 2: ...Technical Specifications ...

