81
NOTE!
z
Click
Test
to verify whether an FTP connection can be established.
z
If the remote directory is not specified, the system will create
different folders by IP, time and camera.
4.
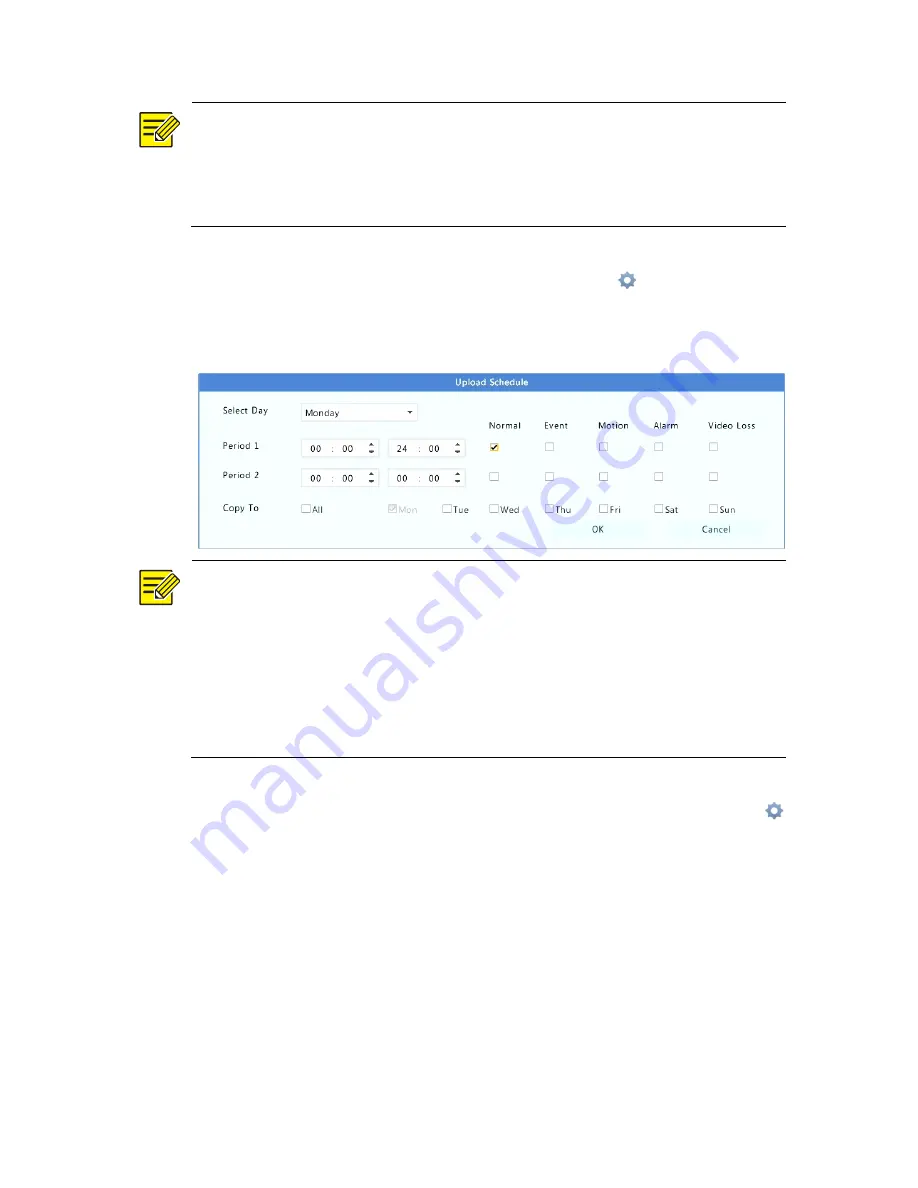
Select the desired camera and then click
right to
Upload
Schedule
. In the
Upload Schedule
window, select the desired
image type and set time periods.
NOTE!
z
If you select Event, Motion, Alarm or Video Loss, you also need to
have configure the corresponding alarm-triggered snapshot. For
example, if you select Motion, you need to configure alarm-
triggered snapshot (select Motion in the Edit Schedule window).
z
To apply the same settings to other days in a week, select the
desired days right to
Copy To
.
5.
(Optional) Apply the same settings to other cameras by clicking
right to
Copy
and then selecting desired cameras.
6.
Click
Apply
to save the settings.


