58
5.
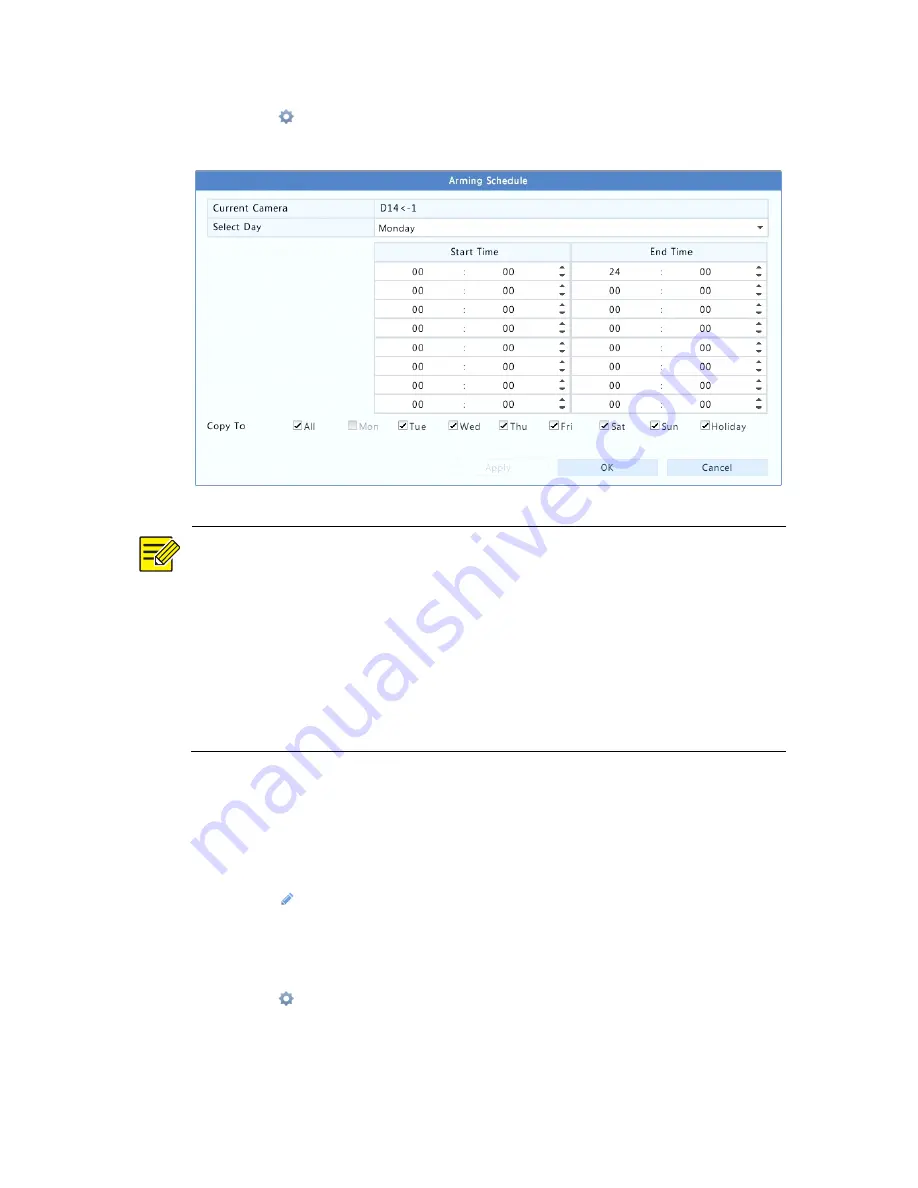
Click under
Arming Schedule
and then set the time when actions
will be triggered.
NOTE!
z
The default schedule is 24×7. You may change it as needed and set
up to eight different periods for each day. Time periods cannot
overlap.
z
To apply the same arming schedule to other days, select the
intended days right to
Copy To
.
z
To apply the same settings to other cameras, click
Copy
, select
cameras, and then click
OK
.
Alarm Output
1.
Click
Alarm
>
Input/Output
>
Alarm Output
.
2.
Click
under
Edit
for the desired camera, and then set
the default
status and duration. After you have completed the settings, click
OK
.
3.
Click under
Arming Schedule
and then set the time when actions
will be triggered.


