5.3.12 Language
To change the display language, go to Menu
➝
Language, and select one of the options avai-
lable.
Notes:
1. Currently, only German and English are available.
2. The language selected will appear automatically in the Web-browser.
3. Language settings for users and administrators can be different.
5.3.13 Diagnosis
- To test the functionality of the terminal, please go to Menu
➝
Diagnosis.
- Select the interface you would like to test and follow the instructions in the display.
Note:
There is an additional diagnostics program for EMV tests. This program includes interfaces
to carry out separate Loop Back, One Shot and Timed Loop EMV Tests for patient and
health provider card slots.
6. R
ESET TO
F
ACTORY
S
ETTINGS
6.1 Definition
Factory Reset is the concept of switching the terminal settings back to the original default
settings. This may be required if problems arise that cannot be resolved by the user or the
administrator. When Factory Rest is performed, all previous settings are cancelled and reset
to factory settings.
6.2 Methods
There are two methods to reset the eHealth100 to its factory settings:
- by using the web browser (software method)
- by performing the Factory Reset operation through the hardware switch on the backside of the
terminal (hardware method).
6.2.1 Software-Method
Resetting the eHealth100 terminal to the factory default settings can be done using the web
browser. This section specifies the steps required to perform this task.
- Connect the eHealth100 to Ethernet and power supply.
- Launch the web browser (e.g. Internet Explorer, Mozilla Firefox).
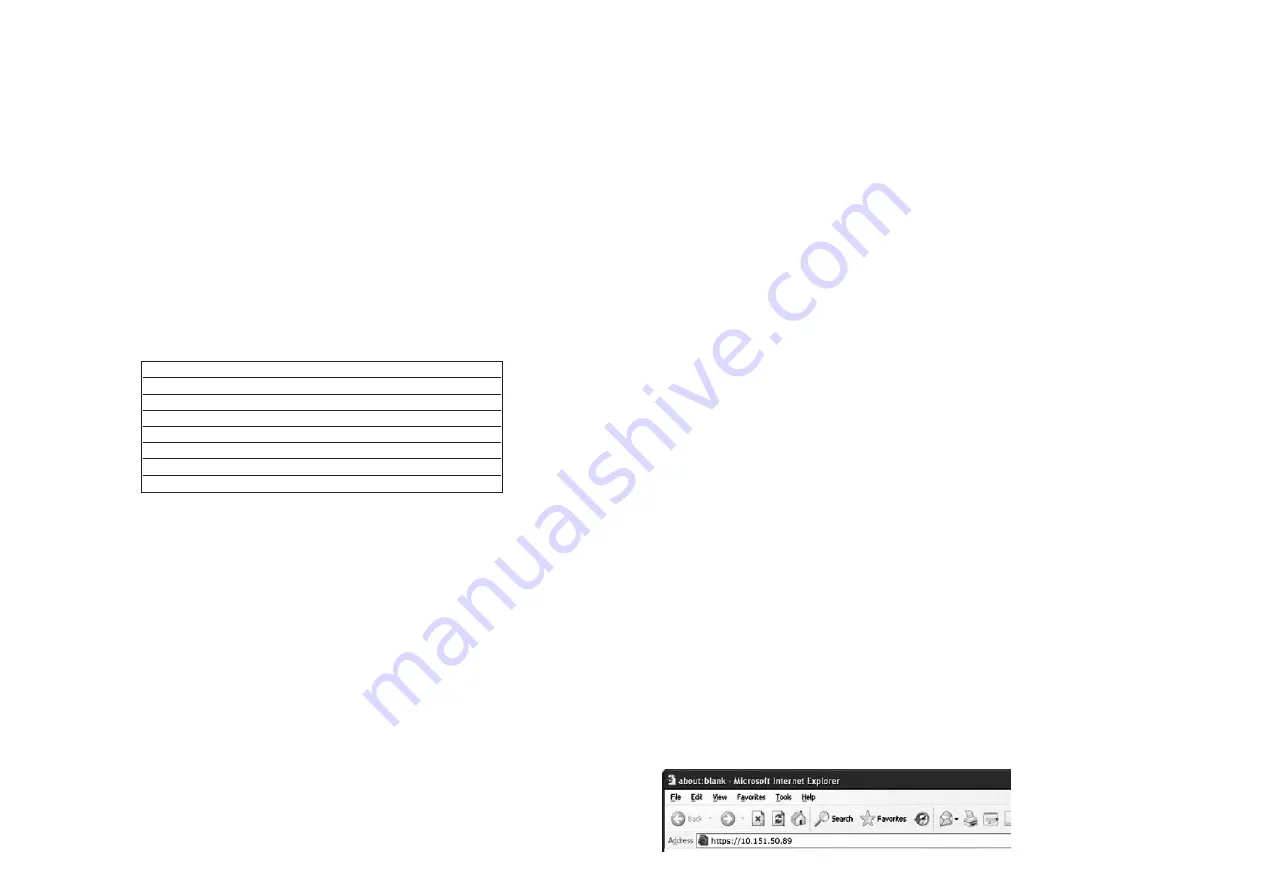
- Enter the IP address of the terminal in the following format https://<iP address of the
terminal> in the web browser (see also Chapter 5.3.9.4).
Note:
It is not possible to launch the web interface while the user menu of the terminal is still active.
19
5.3.9.4 IP Address and Netmask
To show the IP address and the netmask of the terminal, please go to Menu
➝
Communication
➝
Network Settings
➝
IP Address / Netmask. This information will only be
displayed with a working Ethernet connection. (See also Chapter 3.1.1 Locating the terminal
in the Local Area Network (LAN).)
5.3.9.5 Dynamic Configuration of the IP Address
To allocate the terminal a dynamic IP address in the network, go to Menu
➝
Communication
➝
Network Settings
➝
Automatic.
Note:
There must be a DHCP server in the network to allocate the IP address automatically.
5.3.9.6 Manual Configuration of the IP Address
To configure the network connection manually, go to Menu
➝
Communication
➝
Network
Settings
➝
Manual. You will see the IP address, the netmask and the Gateway.
5.3.10 Factory Reset (see also Chapter 6)
To reset the terminal to factory settings, go to Menu
➝
Security settings
➝
Factory Reset.
Table 4: Factory Settings
5.3.11 PIN-Management
5.3.11.1 Modification of the Administrator PIN (APIN)
To change the APIN, please go to Menu
➝
Security Settings
➝
PIN Management
➝
Administrator
➝
Modify.
Enter the current APIN, then the new APIN, and confirm the new APIN by re-entering it.
To change the APIN, you must have administrator rights and must be logged in as
administrator.
5.3.11.2 Modification of the User PIN (UPIN)
To change the UPIN, please go to Menu
➝
Security settings
➝
PIN Management
➝
User
➝
Modify. A new UPIN can be selected only after entering the current UPIN.
Note:
If you forget your APIN or UPIN, the terminal must be reset to its original factory settings
(Factory Reset). Please see Chapter 6 for a description of the hardware and software
methods of Factory Reset.
18
Item
Default settings
APIN
123456
UPIN
123789
Buzzer
Ein
Backlightning
Ein
User Language
German
Administration Language
German
Contrast
45 (Maximum)
Summary of Contents for eHealth100
Page 16: ...30 ...


