32
RT-TGP/RT-BT OWNER’S MANUAL
10
9
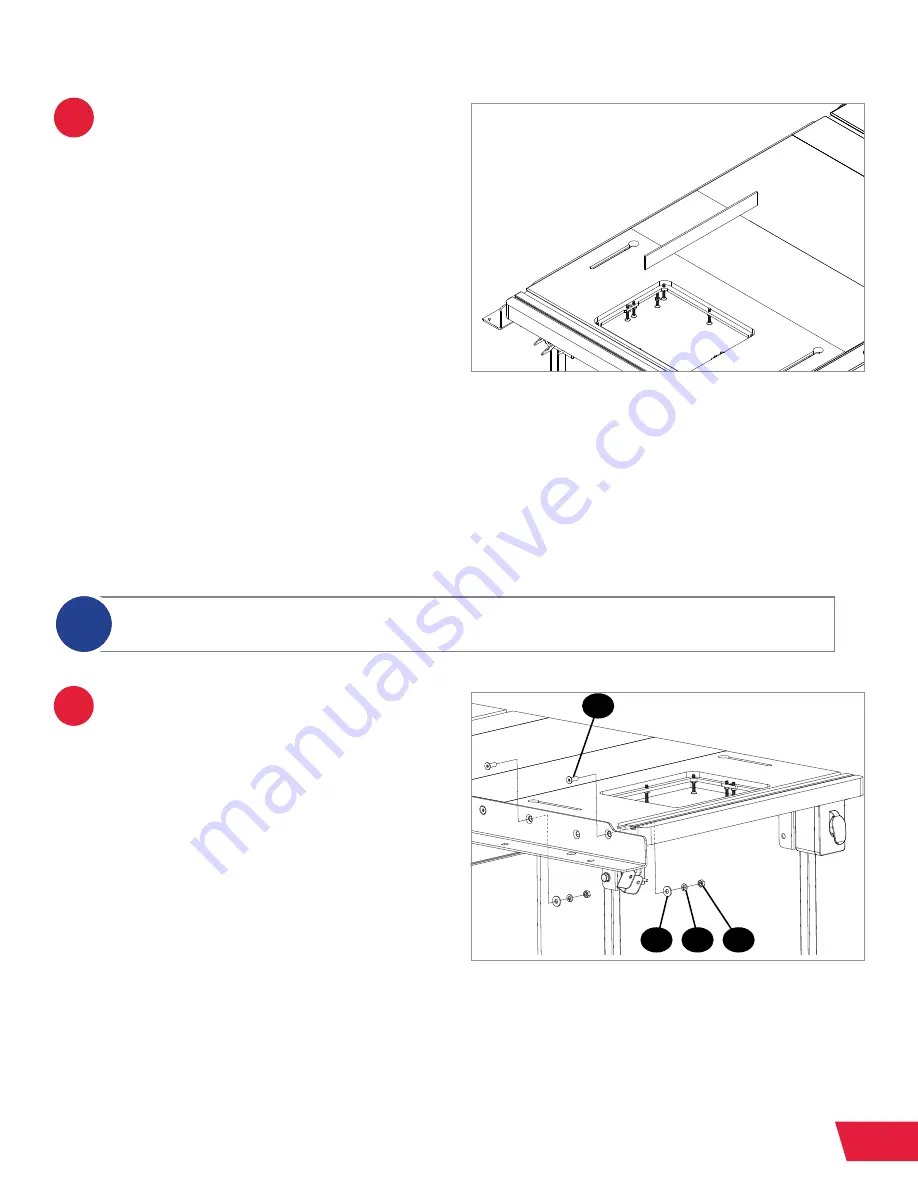
Next, attach the router table to the
front and rear rails using the hardware
from the “Rail Mounting Hardware” bag
(4.22). Insert a flat head socket screw
(4.17) through both holes in the front
rail and router table. Secure each screw
with a washer (4.18), a lock washer
(4.19), and a hex nut (4.20).
Lay a straight edge across the front of
the right extension wing and intermediate
cast iron wing (if installed), so that it
extends over the top of the router table.
Adjust the height of the router table
relative to the intermediate cast iron wing.
To do this, you can push down or pull up
on the cast iron table and then tighten the
nuts to hold it in place.
Make sure the router table is flush with
the top of the optional intermediate
cast iron wing and then use two 13mm
wrenches to tighten the bolt and hex nut
closest to the front of the router table.
Repeat the process at the rear of the
router table, then recheck both ends and
tighten the two center bolts and hex nuts.
The hardware for the next steps can be found in the “Rail Mounting Hardware” bag from your Power
Switch for In-Line Router Tables (RT-PSW) box. You will not use all of the hardware in the bag.
i
4.17
4.19
4.18
4.20


