


© Satmap Systems Ltd
© Satmap Systems Ltd
76
18.00
OOI Menu:
IOIs (Items of Interest)
18.00 IOIs (Items of Interest)
IOIs are
Items of Interest
and are non geo-
referenced documents. They include digital
information that can be saved on the unit,
such as a graphic showing information about
a species of a bird or flower. They can also
be used to reference instructions, e.g. how to
make a camp fire or first aid tips.
An IOI is not necessarily assigned to a
specific point on the map. (If the item was
plotted against a specific point on the map, it
would be a POI). An IOI contains no latitude
or longitude data. It can be created directly
on the unit as a simple text description, and
details of the IOI are shown on the description
screen.
Note: If you want to add graphics or more
detailed information, you are able to create
an IOI on your computer and import it to
your unit via SatSYNC. (Please refer to the
SatSYNC 1.5 User Guide provided on the
CD or downloadable from satmap.com). This
employs the use of a tab delimited plain text
file containing OOI data in different columns
and is used for creating routes, POIs, AOIs,
LOIs, as well as IOIs.
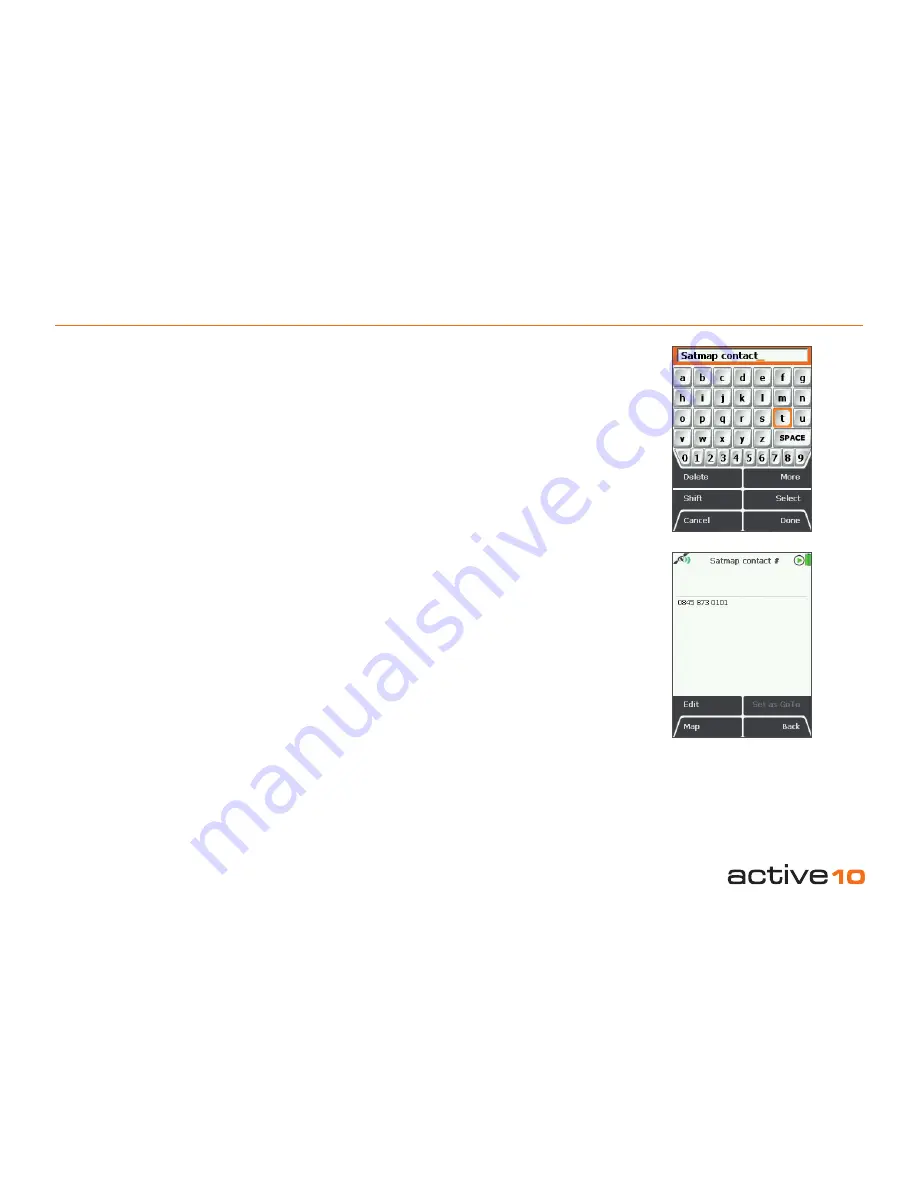
18.01 Add an IOI
(GPS MAP → MAIN MENU → OOI Menu →
Add IOI)
To create an IOI, highlight the
Add IOI
option from the
OOI Menu
and press
Select
or center press the joystick. This will take
you straight to the keypad to prompt you to
rename your IOI.
When an IOI is created it is called 'IOI 1' by
default (or similar, depending on the number
of existing OOIs). Use the joystick to rename
your IOI and then press
Done
when complete.
The
Edit Description
screen appears and
this is where you can add a brief description
using the keypad. This information is shown in
the IOI. Pressing
Done
takes you back to the
OOI Menu
. To view your IOI, go to the
OOI
Folders
.
18.02 Add IOI in a Specific Folder
(MAIN MENU → OOI Menu → OOI Folders
→ specific folder → final subfolder → Back →
Add IOI)
This will add the IOI to the last visited folder.
Note: Folders are created using SatSYNC
and must contain at least one OOI or route
to be visible on the unit. (See SatSYNC User
Guide for more information).
18.03 IOI Details Screen
(GPS MAP → MAIN MENU → OOI Menu →
OOI Folders → Select IOI → Show Details)
This screen shows the description included in
the IOI and is titled by the current IOI name.
Graphics and more detailed information
created on a computer and imported onto
the unit can be viewed on this screen.
(See
SatSYNC 1.5 User Guide).
An IOI contains information that is for
reference only. Therefore there are no options
to adjust visibility as an IOI does not appear
on the map, and no date or time 'stamp' is
shown.
Figure 18.03