


© Satmap Systems Ltd
© Satmap Systems Ltd
52
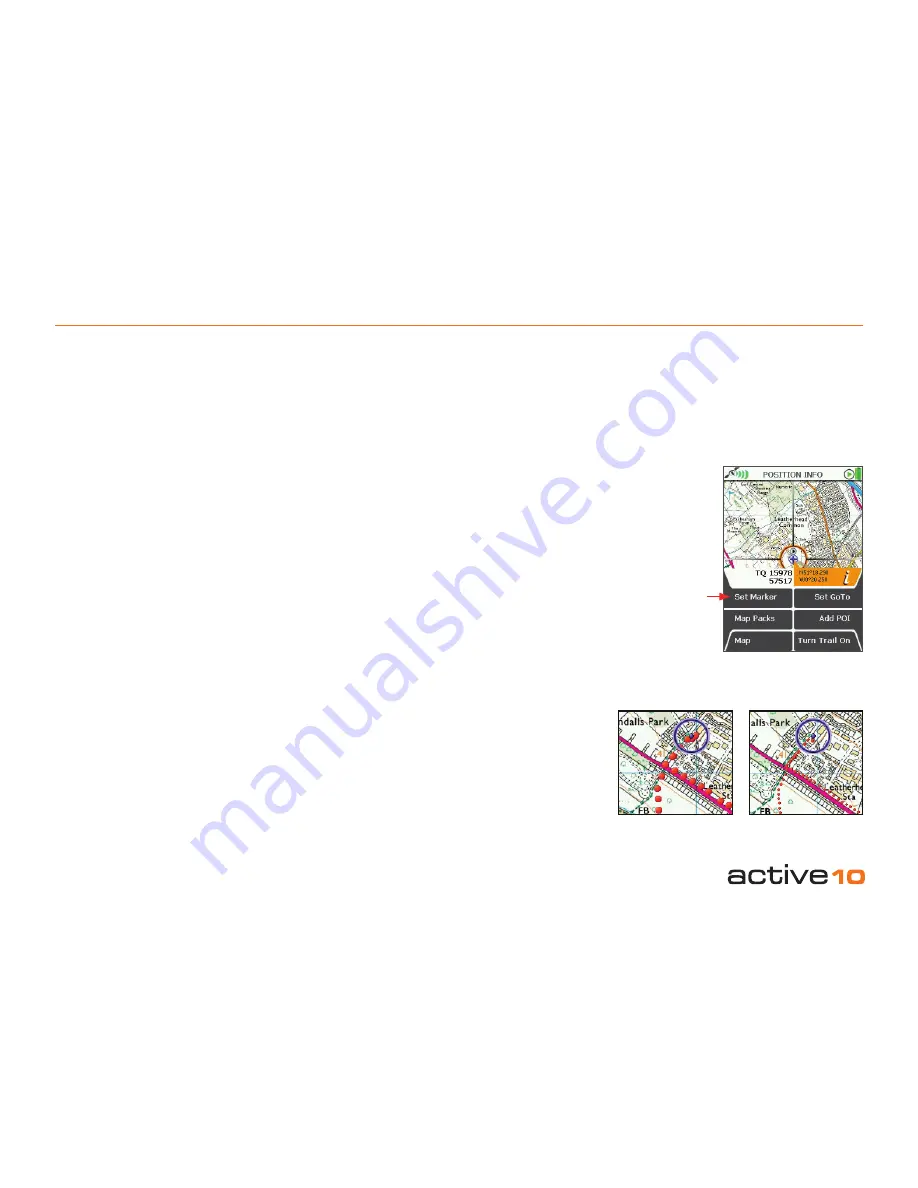
10.00 POSITION INFO
10.00 POSITION INFO Screen
(GPS MAP → POSITION INFO via center
press)
Alternative access:
(PLANNING → POSITION INFO via center
press)
If accessed from GPS MAP, the upper left
button is
Create New Route
(section 8.01).
If accessed from
PLANNING
, the upper left
button is
Set Marker/Clear Marker
.
This screen gives location co-ordinates by
grid reference, as well as latitude/longitude
information. Options are given to set a
marker, view map packs, set a GoTo point,
add a POI and adjust the size of
snail trail dots.
Set Marker
(accessed via the
PLANNING
screen) marks the position with a red flag.
As you move the map using the joystick, a
red line is drawn from the marker to the point
selected. The overlay shows the grid
reference and altitude of the point selected,
plus the distance and bearing to the point. To
clear the marker, center press the joystick and
select
Clear Marker
.
Set GoTo
marks the position with a green
flag denoting a GoTo point. A yellow or blue
route to the GoTo point is shown plotted from
your location. Setting a new GoTo point will
deactivate an active route or GoTo point. To
clear the GoTo point, center press the joystick
and select
Clear GoTo
. (Also see
section
19.00
).
Note: You cannot edit the color or
transparency of a GoTo line
—
it automatically
takes on the color of the last color applied to
a route.
The
Turn Trail On/Small/Off
button
allows you to vary the size of snail trail dots.
Buttons:
Set Marker/Clear Marker
(from PLANNING)
Create New Route
(from GPS MAP)
Function varies depending on whether the
screen was accessed from
GPS MAP
or
PLANNING
.
Map Packs
Go to
Map Packs
screen
(section 5.03)
Map
Return to last map screen
Set GoTo
Sets the location of the orange locator circle
as a GoTo point from your current location as
a straight line.
Add POI
Lay down a Point Of Interest, POI
(section
14.01
–
14.04)
Turn Trail On / Small / Off
Toggle between settings:
Trail On:
large red dots
Trail Small:
tiny red dots
Trail Off:
no tracking dots
Figure 10.00
Trail On
(with large dots)
Trail Small
Set Marker/
Clear Marker/
Create New Route
Note: The trail option showing is not the
option selected
—
the previous option is
activated. If Turn Trail On is showing, it means
the trail is off. If Turn Trail Small is showing,
the trail is on with large dots. If Turn Trail Off
is showing, the trail is on with small dots.