Chapter 4 Connecting to the ETC II
Using PAS Software
ETC II Network Communicator
29
2.
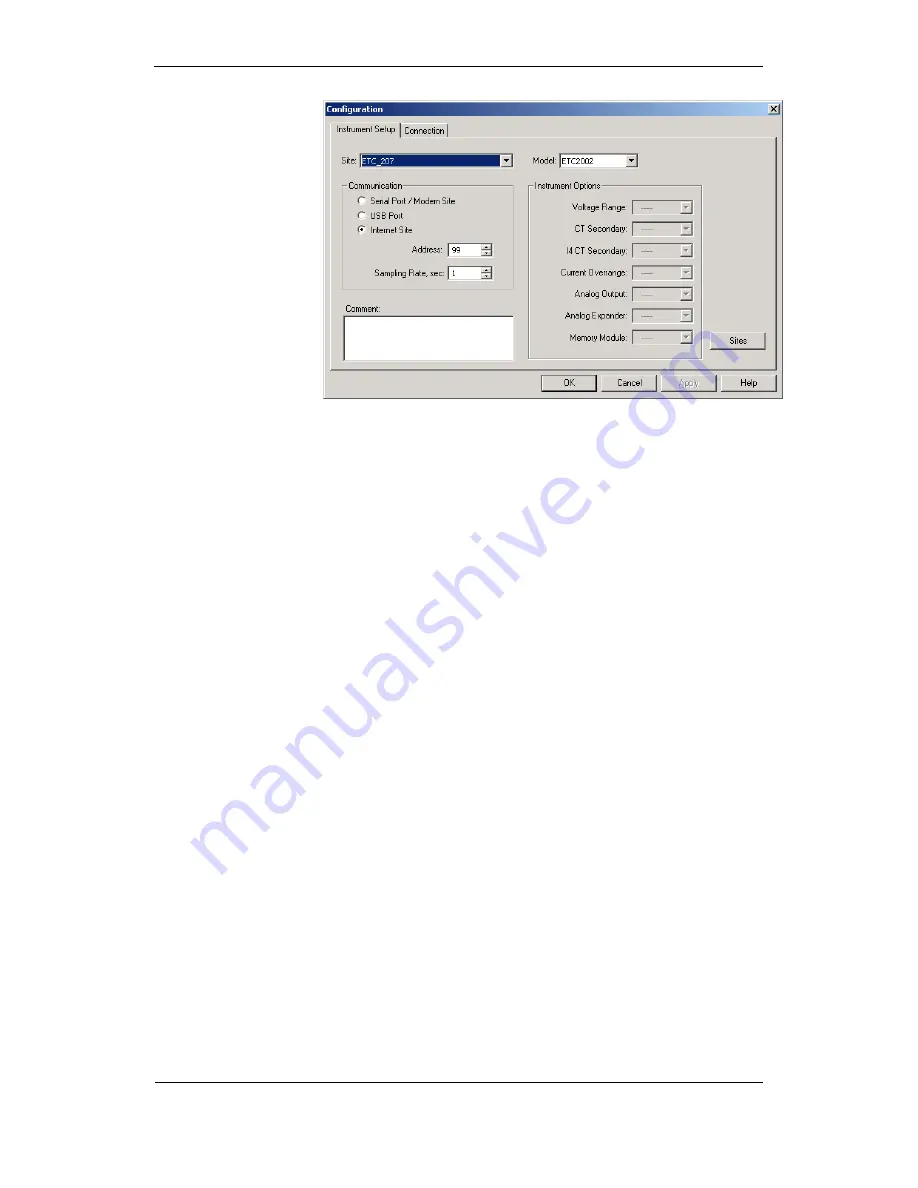
From the “Look in” box, select the directory where the new database will
be stored. By default, it is the “Sites” directory. Type a site name for
your device in the “File name” box, click New, and then click OK.
3.
On the Instrument Setup tab, select “ETC II” in the “Model” box.
4.
Set the device address to 99 unless you have changed the ETC II
default address in your device.
5.
If you wish to add any comments for your device, type them into the
“Comment” box.
Setting up Communications
Communicating through the Ethernet
To communicate through the Ethernet port:
1.
On the Instrument Setup tab, select Internet Site.
2.
Click on the Connection tab.
3.
Click on the “IP address” and type in the IP address that you defined in
Network Setup in your ETC II. The factory set default IP address is
192.168.0.203.
4.
In the “Protocol” box, select the communications protocol for the ETC II
TCP port. The host port is set automatically as you select the protocol.
Select “Modbus RTU” for Modbus/TCP, “DNP3” for DNP3/TCP, or
“SATEC ASCII” for SATEC ASCII/TCP.
5.
In the “Wait for answer” box, adjust the time that PAS should wait for a
connection before announcing an error and the number of re-tries that
PAS should use to receive a response from the device if
communications fail.


