User Manual
.
Version 1.2
24
【
【
【
【
Modifying the name of a TX device
】
】
】
】
1.
On the remote control, press the “Menu” button to open the
OSD
menu and
use the up/down arrow
buttons to move to the “Select TX Station” item.
2.
Press the “OK”
button to enter “Select TX Station” menu.
3.
Press the up/down arrow buttons and highlight the intended TX.
4.
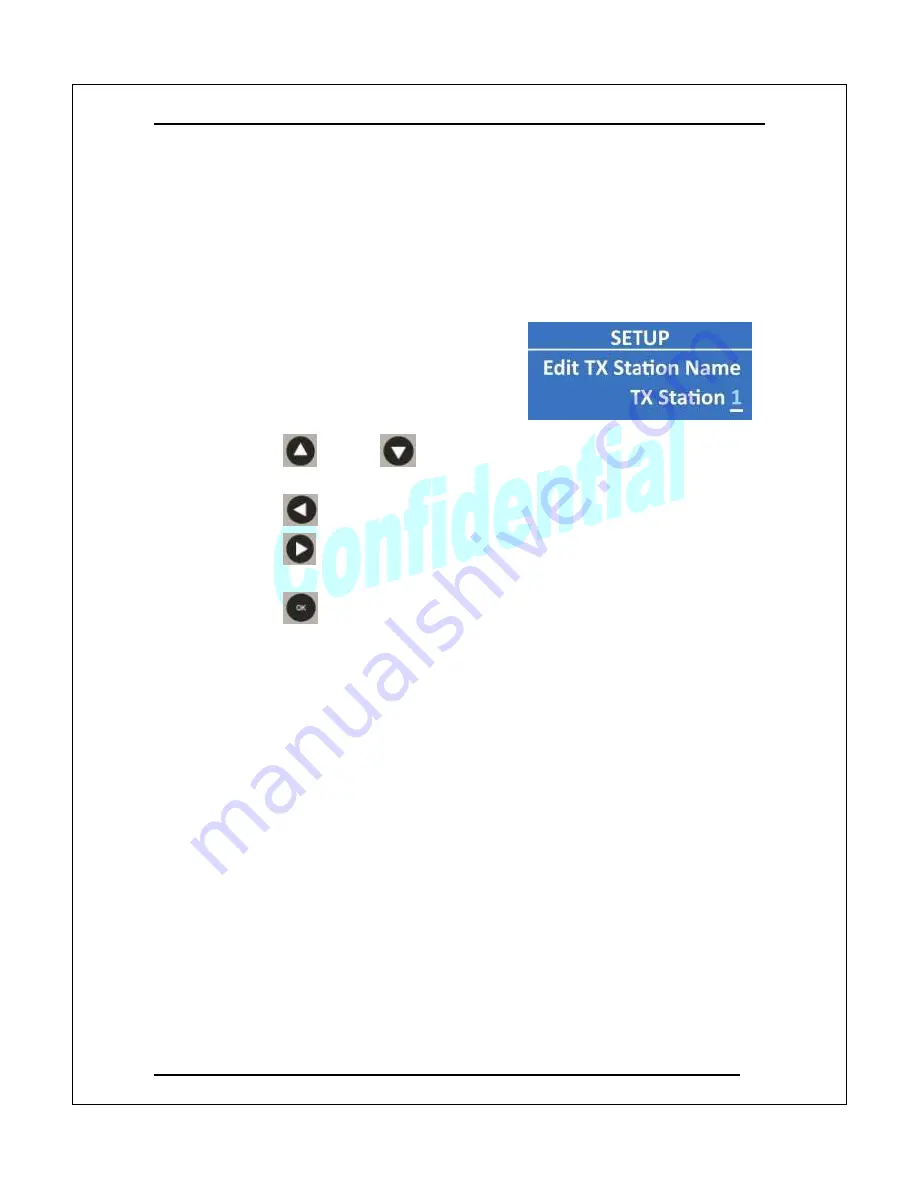
Press the “Menu” button again to edit the
name of selected TX. Editing keys are
described below
:
The underline below the TX name
implies the current cursor position.
Use the
and the
buttons to select a certain character
(alphabet or numeric).
Use the
button to move back one space, deleting one character.
Use the
button to confirm the character selection and move to next
space.
Use the
button to finish the editing.
【
【
【
【
Restoring the device name to the default setting
】
】
】
】
Please refer to appendix 3, which will restore RX back to the default settings.
Note: TX/RX of PowerHDLink can continue to operate while users are pairing
different devices. The only exception is if one device is reset to default
values after pairing; in this case the RX will not be able to receive media and
you must pair the RX/TX again (refer to appendix 1).


