


255
1. Email Alert
Check the Enable box to activate the email alert service.
2. SMTP Server
Specify an IP address of the SMTP server which can send mails from your GR-1100 to
the recipients’ mailboxes directly.
3. Your Mail (from)
Input the email address indicated the sending location.
4. SMTP Auth
If the email alert needs to be send via SMTP authentication, please check on this item,
and then input the data into the blanks of Account and Password.
5. Account & Password
Input the email account and password which you want to send the alert.
6. Email Address (To)
Input the email address you want to send to the alert.
7. Schedule
Arrange to send the alert when event happens or by regular time.
8. Add, Apply & Cancel
After finish above setting, click
Add
button to create the alert rule. Click on
Apply
button to add the settings into the list table. Click on
Cancel
button to clean the setting
on this page.
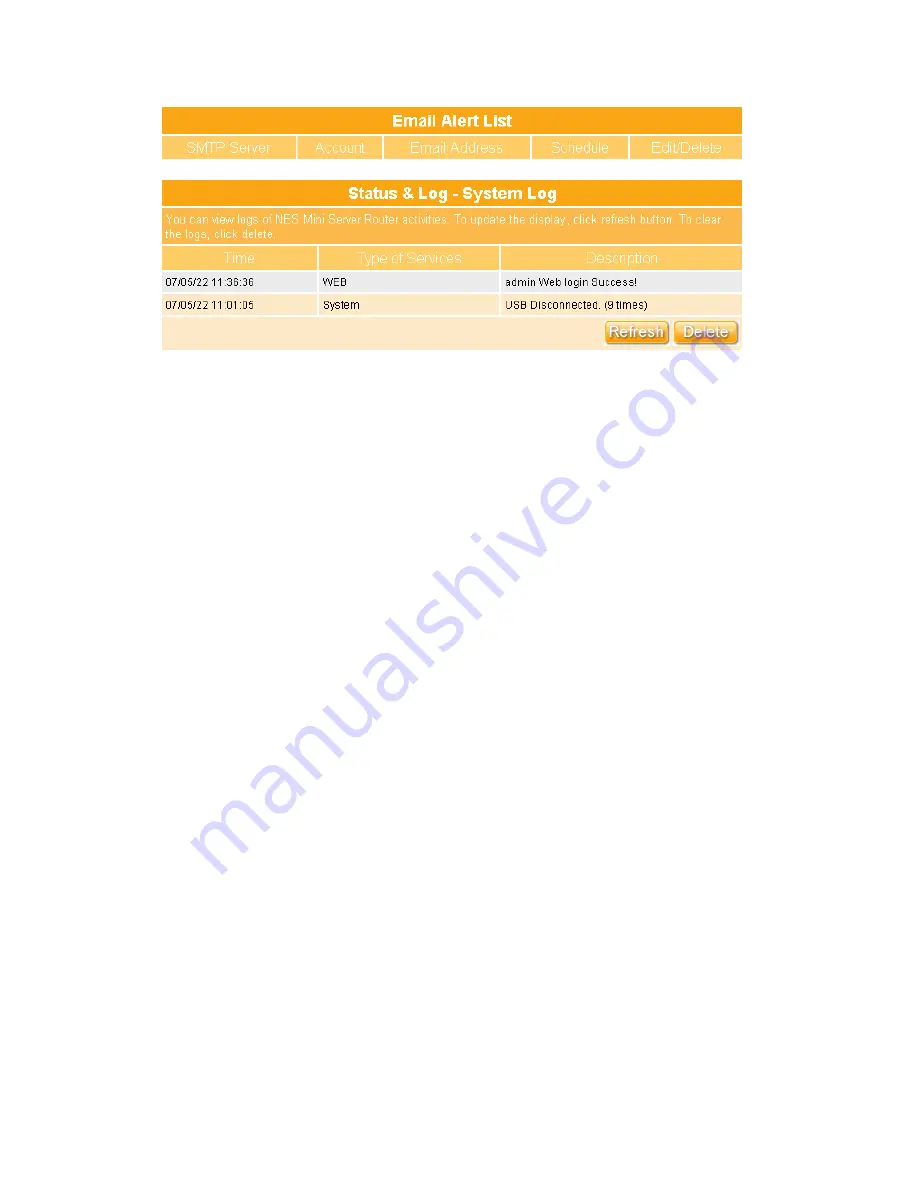
9. Email Alert List
SMTP Server, Account, Email Address and Schedule will be shown on the list, and can
process Edit or Delete feature.
10. Refresh & Delete
Click on Refresh button to renew the screen of login data lists, and click on Delete button
to clean all log lists.
Summary of Contents for Gr-1100
Page 1: ...1 ...
Page 16: ...16 1 3 1 Product Appearance Introduction ...
Page 19: ...19 Step2 Click on Properties button Step3 Double click on Internet Protocol TCP IP ...
Page 24: ...24 If it can t work it will show Request timed out ...
Page 35: ...35 ISP and then click on Next button to connect to 3 2 2 LAN Setup ...
Page 125: ...125 ...
Page 169: ...169 Step 6 Input Username and Password of your own You will see like as below monitor screen ...
Page 267: ...267 ...
Page 270: ...270 Step7 Click on the My Services under Account Step8 And then click on Add Host Services ...


