-16-
Cleaning the optical parts
cleaning with air spray
Remove the cabinet top following to “Mechanical Disassembly”. Clean up the LCD panel and polarizing plate by us-
ing the air spray from the cabinet top opening.
caution:
Use a commercial (inert gas) air spray designed for cleaning camera and computer equipment. Use a resin-based
nozzle only. Be very careful not to damage optical parts with the nozzle tip. Never use any kind of cleanser on the
unit. Also, never use abrasive materials on the unit as this may cause irreparable damage.
disassembly cleaning
Disassembly cleaning method should only be performed when the unit is considerable dirty and cannot be suffi-
ciently cleaned by air spraying alone.
Be sure to readjust the optical system after performing disassembly cleaning.
1. Remove the cabinet top and main units following to “Mechanical Disassembly”.
. Remove the optical base top following to “Optical Unit Disassembly”. If the LCD panel needs cleaning, remove the
LCD panel unit following to “LCD panel replacement”.
3. Clean the optical parts with a soft cloth. Clean extremely dirty areas using a cloth moistened with alcohol.
caution:
The surface of the optical components consists of multiple dielectric layers with varying degrees of refraction. Never
use organic solvents (thinner, etc.) or any kind of cleanser on these components.
Since the LCD panel is equipped with an electronic circuit, never use any liquids (water, etc.) to clean the unit. Use
of liquid may cause the unit to malfunction.
After long periods of use, dust and other particles will accumulate on the LCD panel, prism, mirror, polarized glass,
lens, etc., causing the picture to darken or color to blur. If this occurs, clean the inside of optical unit.
Remove dust and other particles using air spray. If dirt cannot be removed by air spray, disassemble and clean the
optical unit.
Maintenance
Turn off the projector, press the Main On/Off Switch to Off and unplug
the AC power cord from the AC outlet before cleaning.
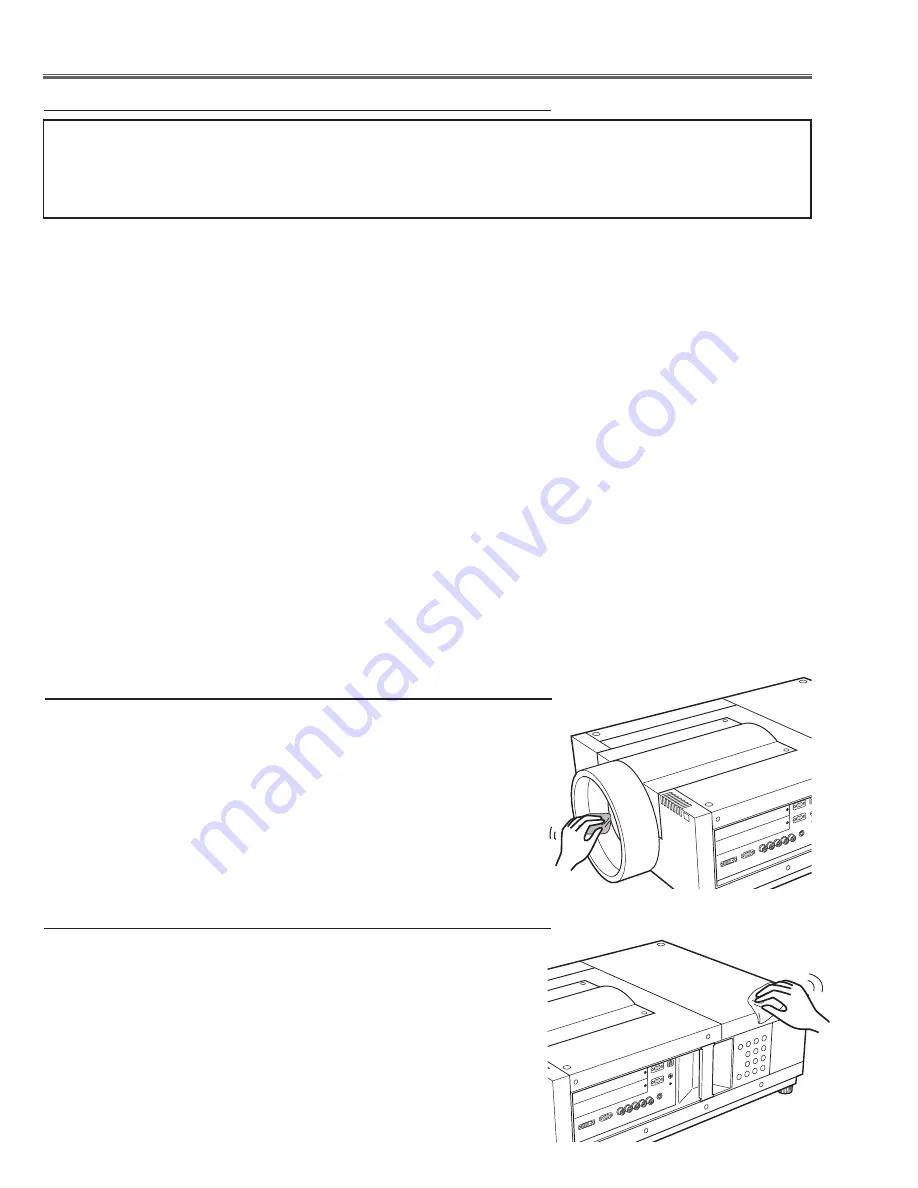
Gently wipe the projection lens with a cleaning cloth that contains a
small amount of non-abrasive camera lens cleaner, or use a lens clean-
ing paper or commercially available air blower to clean the lens.
Avoid using an excessive amount of cleaner. Abrasive cleaners, sol-
vents, or other harsh chemicals might scratch the surface of the lens.
Cleaning the Projector Cabinet
Turn off the projector, press the Main On/Off Switch to Off and unplug
the AC power cord from the AC outlet before cleaning.
Gently wipe the projector body with a soft dry cleaning cloth. When the
cabinet is heavily soiled, use a small amount of mild detergent and finish
with a soft dry cleaning cloth. Avoid using an excessive amount of clean-
er. Abrasive cleaners, solvents, or other harsh chemicals might scratch
the surface of the cabinet.
When the projector is not in use, put the projector in an appropriate car-
rying case to protect it from dust and scratches.
Cleaning the Projection Lens
Summary of Contents for PLV-WF20
Page 164: ... 164 Parts Location Diagrams KY3 WF2000 MIrror R Assembly S06 L13 Relay In Assembly L11 ...
Page 166: ... 166 Parts Location Diagrams KY3 WF2000 L15 L12 L16 In the Optical Lamp Unit ...
Page 211: ...Key No Part No Description Key No Part No Description KY3 WF2000 211 Electrical Parts List ...
Page 212: ... KY3A Feb 2008 DC 300 Printed in Japan SANYO Electric Co Ltd ...


