45
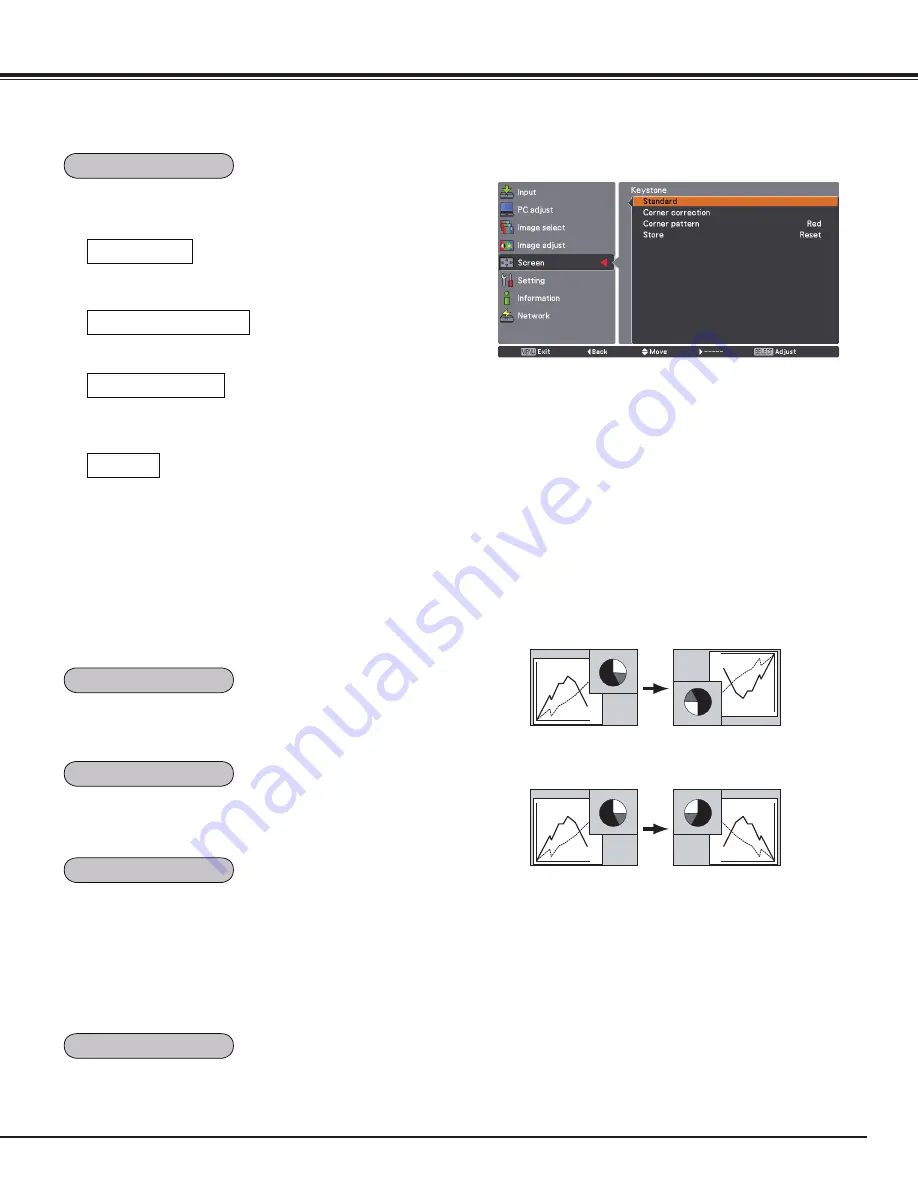
This function is used to adjust keystone distortion of the
projected image. Use the Point
ed
buttons to choose the
item you want to adjust.
This function returns all adjusted values to the factory default
settings. Press the SELECT button at Reset to display a
confirmation box. To reset, press the SELECT button at Yes.
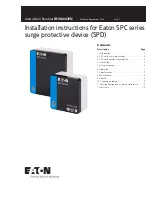
Ceiling
Rear
When this function is set to On, the picture will be top/
bottom and left/right reversed. This function is used to
project the image from a ceiling-mounted projector.
When this function is set to On, the picture will be left/right
reversed. This function is used to project the image from
rear of the screen.
Adjusts the Horizontal/Vertical keystone distortion of the
projected image.
Standard
Corner correction
Adjusts the corner distortion of the projected image.
Corner pattern
Choose a Corner pattern mode among Red, White, Blue,
and Off.
Store
Store .......... Keeps the keystone correction even when the
AC power cord is unplugged.
Reset ......... Releases the keystone correction when the AC
power cord is unplugged.
Press the KEYSTONE button on the remote control to switch
the Standard (for Vertical/Horizontal) /Corner correction
adjustment. The Standard or Corner correction adjustment
dialog box appears. Use the Point
ed
7 8
buttons to correct
the Standard or Corner distortion. (p.31)
This function is used to scale the input source to fit the
screen. Select one of the following aspect ratio which is
suitable for your cable and computer. Select “Full” if you do
not want to set aspect ratio.
Full .......Flexible aspect ratio
16:9 ......16:9 aspect ratio
16:10 ....16:10 aspect ratio
4:3 .......4:3 aspect ratio
✔
Note
• When the 16:9 function is selected, Wide(16:9) is not
available in the PC and AV screen (pp.43, 51).
Computer Input
Keystone
Ceiling
Rear
Screen aspect
Reset


