09
GB
2.
Select the
Configuration
menu from the radio’s main
menu as previously described.
3.
In the
Configuration
menu, select
Timer
.
4.
Use the Previous (5) and Next (6) button on the radio or
the arrow buttons (d, e, p, and r) on the remote control
to set the desired time. Hold one of the buttons to
increase the speed with which the timer value changes.
5.
Press the Volume control (4) on the radio or Enter
button (s) on the remote to confirm.
6.
The timer will start running immediately and when the
set time has elapsed the radio will activate an alarm.
Press any button on the radio or the remote to stop the
alarm.
THE AIRMUSIC CONTROL APP
The AirMusic Control app connects the WFR-32 to your
phone through a Wi-Fi network and allows you to control
the radio from the palm of your hand. In order to use the
AirMusic Control app, your phone and radio must be
connected to the same Wi-Fi network. The app offers an
intuitive user interface, facilitates text input and allows you
to control most of the radio features.
AirMusic Control is available for both Android and iOS and
can be downloaded from Google Play or the App Store.
5. THE CONFIGURATION MENU
After completing the setup wizard and setting the location,
in most cases there is no need to go back into the radio’s
configuration menu.
If you would like to change the location, time, options
which are displayed in the main menu or other settings,
you can access the configuration menu and customize all
settings to your likings.
The configuration menu can be opened by simply
selecting
Configuration
in the radio’s main menu.
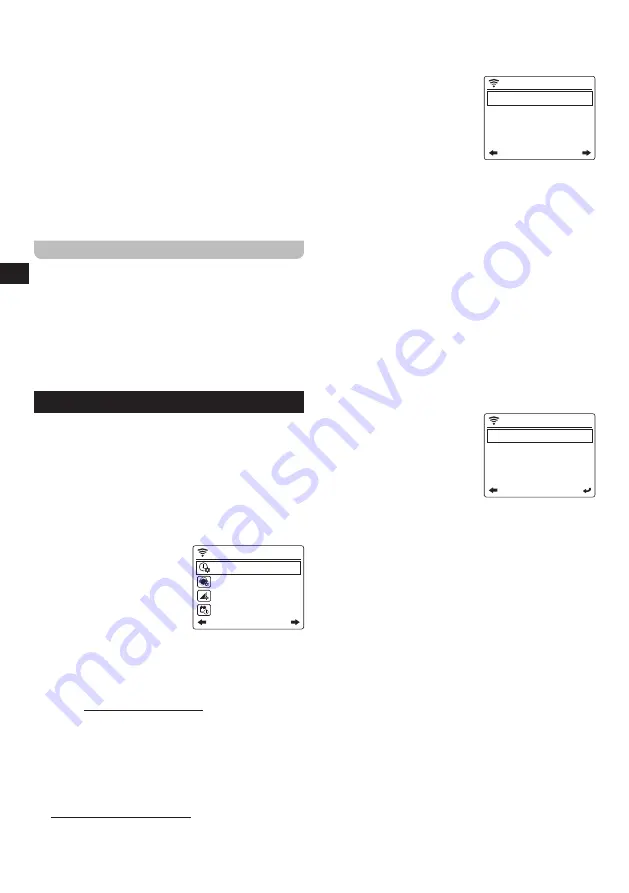
Below is a description of all
09:32
PM
1/21
Time Display
Manage my mediaU
Network
Date & Time
U
settings that can be found in the
configuration menu:
1.
Time Display:
Select this
item to choose between
digital and analog time
display. If digital time display
is chosen, an additional list appears for the selection
of the color of the digits.
2.
Manage my mediaU:
This feature can be enabled or
disabled. By enabling it, a QR code will be shown for
scanning for quick access taking you to the mediaU
portal (https://www.mediayou.net).
Here you can activate or deactivate the MediaU
management function.
With MediaU enabled, you can create a custom station
list and play these stations.
To create and activate your station list, you will need
to register on:
http://www.mediayou.net/web
O n c e y o u a r e l o g g e d i n , y o u c a n r e g i s t e r
y o u r r a d i o b y e n t e r i n g y o u r r a d i o ’ s M A C
address as the serial number. The radio’s
MAC address can be found in Configuration:
>Device> System Information > Wireless Info.
3.
Network:
Select this item to
09:32
PM
1/6
Wireless Network Configur ation
Wireless Network (APP)
Wireless Network (WPS PBC)
Manual Configur ation
c o n f i g u r e t h e d e v i c e ’s
network related settings.
After selecting Network, a
menu appears with several
new options:
(1)
W i r e l e s s N e t w o r k
Configuration:
Select this option and then select
“Enable” to have the radio scan for Wi-Fi networks.
After the scan has completed select a Wi-Fi
network and enter the associated Wi-Fi password
to connect to it.
(2)
Wireless Network (APP):
Select this option to
display the QR code that guides you to a page with
instructions on how to install the AirMusic Control
app for Android devices and instructions on how
to use this app to connect the radio to your Wi-Fi
network.
(3)
Wireless Network (WPS PBC):
Select this option
to connect your radio to your Wi-Fi network using
the WPS feature. Before selecting this option,
make sure your Wi-Fi router supports the WPS
feature. Press the WPS button on the router within
120 seconds of selecting the item on the radio.
(4)
Manual Configuration:
09:33
PM
1/3
DHCP
Enter SSID
Manage
Select this option to go
to a next menu with
options for manually
c o n f i g u r i n g a n d
managing the radio’s Wi-
Fi connections:
●
DHCP:
Select this option to specify whether the
radio should connect to a DHCP server on the
Wi-Fi network. If
DHCP (Off)
is selected, you
will have to manually enter an IP address on the
network.
●
Enter SSID:
Select this option to manually enter
the SSID of a Wi-Fi network.
●
Manage:
Select this option to get an overview
of the Wi-Fi networks the radio has previously
connected to. Wi-Fi networks and their
associated passwords can be deleted from the
radio’s memory by selecting them and then
selecting
Yes
.
Note: It is recommended not to use the Manual
Configuration item unless you are familiar with
computer networks.
(5)
Check network when power on:
Select this
option to specify whether the radio should scan for
Wi-Fi networks when it is turned on and is not or
cannot connect to any known Wi-Fi network.
(6)
Setup PIN for APP:
Select this option to set a PIN
code that users have to input when connecting to
the radio through the AirMusic Control app.
Summary of Contents for WFR-32
Page 1: ...GB Version 1 WFR 32...


