3-7
3. Disassembly and Reassembly
Part Name
Disassembly Picture
Description
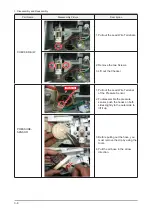
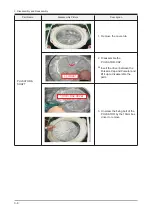
:$7(59$/9(
1. Pull the Lead Wire Terminals
out.
2. Remove the two (2) screws.
3. Remove the two water valves
in the direction of the arrow.
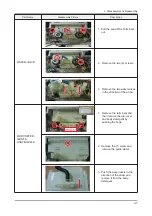
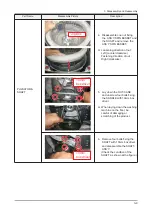
BODY-DETER-
GENT &
ASSY-NOZZLE
1. Remove the terminals and
then remove the top-cover
and body-detergent by
pushing the hook.
2. Remove the (1) screw and
remove the guide-water.
3. Push the assy-nozzle in the
direction of the arrow and
remove it from the body-
detergent.
HOOK
Summary of Contents for WA10VP
Page 25: ...3 12 3 Disassembly and Reassembly Memo ...
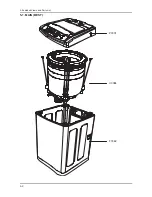
Page 27: ...5 2 SORGHG 9LHZV DQG 3DUWV LVW 5 1 MAIN BEST P0001 U0084 F0062 ...
Page 31: ...5 6 5 3 ASSY TUB 262 9 4 ...
Page 38: ...6 4 6 PCB Diagram Memo ...
Page 40: ...7 2 UG Gk Mome ...
Page 41: ...8 1 _UGz Gk 1 Vfkhpdwlf Gldjudp 041 PDLQ FRQWURO G Gk G G G G G Gz G U ...
Page 42: ...8 2 _UGz Gk 051 VXE FRQWURO G Gk G G G G G Gz G U ...

