3-3
3. Disassembly and Reassembly
Ź
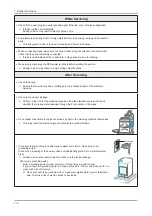
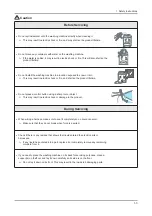
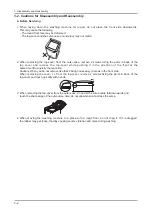
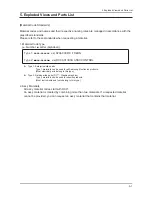
During Servicing
1. When replacing the suspension-bar, be sure to check both the front and rear suspension-bar
assemblies. This prevents installation of the front and rear sides in the reverse order.
2. Reversal may cause a severe vibration that might rock the washing machine.
Vkdsh
EDU0V
VSULQJ
FROORU0V
Iurqw
\hoorz
\hoorz
Uhg
Uhdu
\hoorz
\hoorz
QWU
3. When replacing the suspension-bar, only use parts for this model.
4. Since the length of the bar varies among on models, installing the wrong size may cause severe vibration.
5. Do not deform the check-S/W rod of the top-cover.
6. The installation of a deformed check-S/W rod will result in malfunction of the safety switch during
severe vibration, thus causing an unbalanced error.
Ź
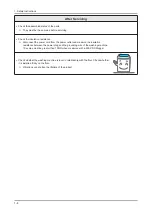
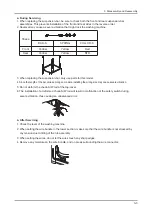
After Servicing
1. Check the level of the washing machine.
2. When setting the wire bundle in the lower section, make sure that the wire bundle is not stressed by
any tension due to tilting of the tub assembly.
3. When setting the wires, do not let the wires touch any sharp edges.
4. Remove any moisture on the wire bundle, and on areas surrounding the wire connector.
Summary of Contents for WA10VP
Page 25: ...3 12 3 Disassembly and Reassembly Memo ...
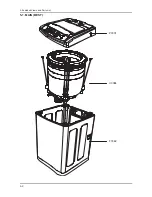
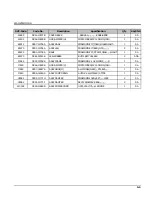
Page 27: ...5 2 SORGHG 9LHZV DQG 3DUWV LVW 5 1 MAIN BEST P0001 U0084 F0062 ...
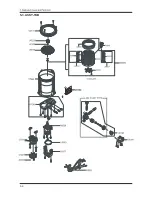
Page 31: ...5 6 5 3 ASSY TUB 262 9 4 ...
Page 38: ...6 4 6 PCB Diagram Memo ...
Page 40: ...7 2 UG Gk Mome ...
Page 41: ...8 1 _UGz Gk 1 Vfkhpdwlf Gldjudp 041 PDLQ FRQWURO G Gk G G G G G Gz G U ...
Page 42: ...8 2 _UGz Gk 051 VXE FRQWURO G Gk G G G G G Gz G U ...

