15
Switching Positive/Negative
Choosing INT/EXT signal
Turning Light On/Off
▲
NEGATIVE
▲
POSITIVE
Using Control Buttons
Whenever you press the button, INT and EXT
appear alternately on the screen.
Whenever you press the button, POSI and
NEGA will appear alternately on the screen.
POSI: To see the normal script or picture
NEGA: To see the negative film
If there is no external AV device connected to
the presenter, EXT will not appear even though
you press [INT/EXT] button.
INT: To see the image through this presenter
EXT: To see the image and hear the sound from
external AV device through TV or Monitor
connected with this presenter when external AV
device is connected to the terminal of 'video
input' and 'audio input' in the video presenter.
While the presenter is powered on, press the
[LAMP] button to turn the head lamp on and
off.
The light box is turned on as defalt.
You can also use the switch of light box.
14
OPERATION
Lens cap
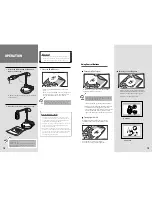
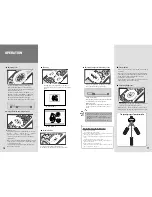
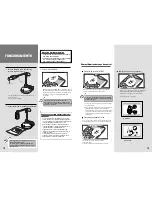
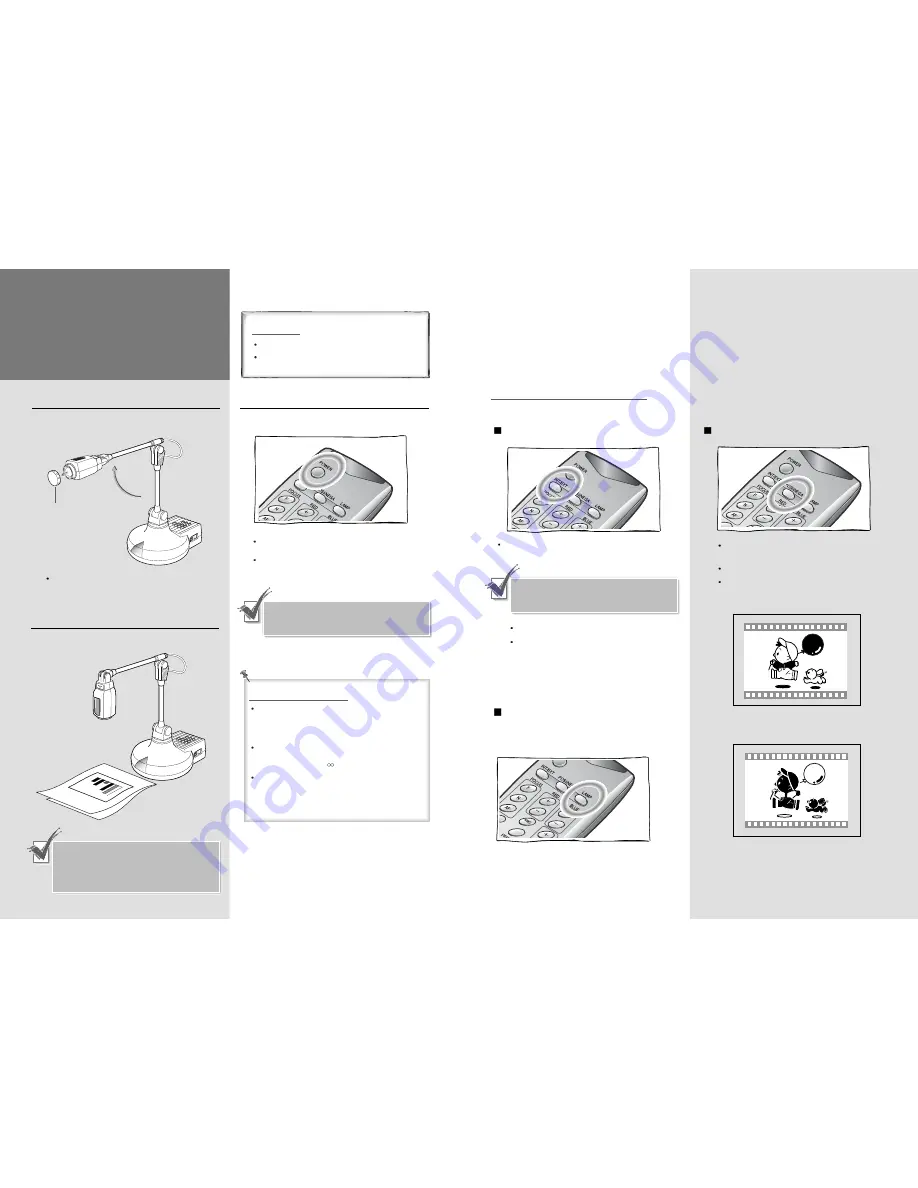
1. Stretch the camera head as shown and
remove the lens cap.
Make sure the adapter lens is properly attached.
If not, attach it.
3. Press the
POWER
button.
You may press POWER button on the control
panel.
The message of “
Please wait
” will appear on
the screen in a few seconds, and the projected
image will be displayed on the presenter.
When the presenter is connected with TV, select
the external video input. If connected to TV
with RF terminal, set the TV channel to CH4.
When the adapter lens is required
Adapter lens is required when you project the
copies, documents or films (positive/negative) on
the desktop or lightbox. (Focusing distance with
adapter lens attached: 24~32cm)
Adapter lens may not be required if you use it for
another purposes. (Focusing distance without
adapter lens: 80cm~ )
Make sure the adapter lens is attached and pay
attention to the distance between body and object.
You cannot focus on the object properly when the
distance between object and camera is out of
focusing range stated above.
Before operating
Make sure the Power is connected properly.
Make sure the desired devices (TV, Monitor) are
connected to output terminal. (See page 11)
2. Make the camera lens facing the script.
The image will be reversed if the camera lens is
facing forward.
In this case, adjust the camera head angle by
turning to right or left, or press the image
[Reverse] button.

