38_
DVR setup
DVR setup
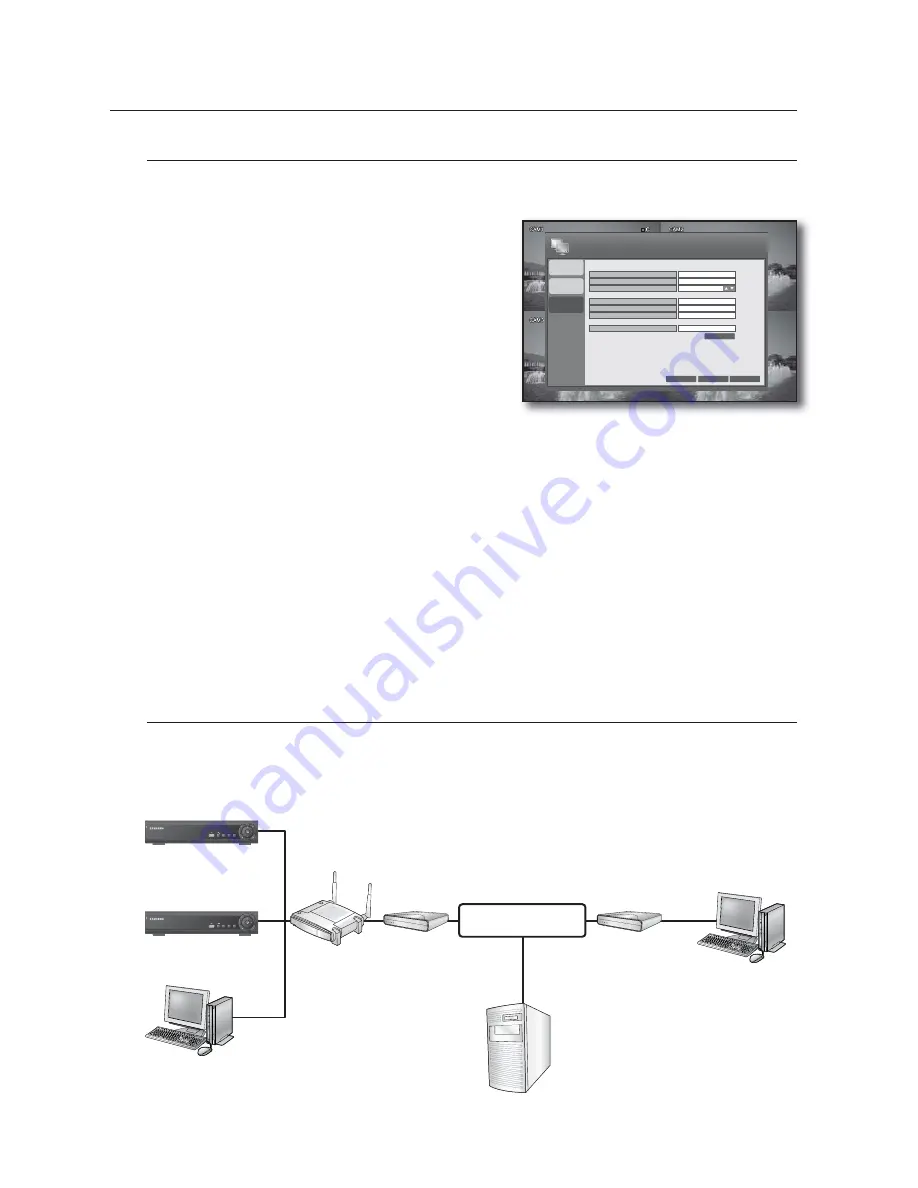
You can send an email notice to DVR registered users at a certain interval or when an event occurs.
Using the mouse may help easy setup.
Use the direction buttons to move to <
> in the
left corner of the NETWORK setup menu and press the
[
ENTER
] button.
Use direction buttons (▲▼◄►) to move to a desired
item, and set the value.
SERVER: Set the mail server.
This is a mail server used when the DVR notifies with
email.
You must use the mail server that supports Microsoft
Outlook.
Enter the mail server using the virtual Keyboard. (Page 27)
PORT: Enter the mail server port.
SECURITY:
If set to <
ON
>, your email will be sent in secure mode.
However, the email will not be sent if the server you entered does not support SSL.
If set to <
OFF
>, this will send emails of the server that does not support SSL.
USER: Enter the mail account ID of the sender.
PASSWORD: Enter the mail account password of the sender.
FROM: Provide the sender email that will be displayed in the email notice.
TEST E-MAIL: Sends a test email to check if the current setting can send emails normally.
When your settings are completed, press the <
APPLY
> button on the bottom.
Your settings will be applied.
Press the <
CLOSE
> button to display the confirmation dialog and return to the previous menu.
Network Connection and Settings
According to the user network connection, configure a proper network settings so as to change the settings
of a remote DVR and to search and play the recording data via a local or external Internet connection.
For more information, refer to “
Network Setup Guide
” that comes with the DVR.
1.
2.
•
•
•
-
-
•
•
•
•
3.
4.
M
DIGITAL VIDEO RECORDER
POWER
ALARM
REC
NETWORK
DISPLAY
SEARCH
MENU
DIGITAL VIDEO RECORDER
POWER
ALARM
REC
NETWORK
DISPLAY
SEARCH
MENU
DVR
DVR
Local PC
IP Sharer
xDSL or
Cable Modem
xDSL or
Cable Modem
External
Remote PC
DDNS Server
(websamsung.net)
INTERNET
IP SETUP
DDNS
CANCEL
APPLY
CLOSE
NETWORK
TEST
25
OFF
SERVER
PORT
SECURITY
USER
PASSWORD
FROM
TEST E-MAIL


