Menu functions
50
Creating and sending an e-mail
1. Enter the e-mail subject.
2. Move to the
Message
field.
3. Enter the message text.
4. Move to the
Attach files
line.
5. Press <
Options
> and select
Add files
,
Add
name card
, or
Add v-calendar
.
6. Select images, videos, sounds, name cards, or
calendar data.
7. Press <
Options
> and select
Attach
.
8. When you have finished, press <
Options
> and
select
Send
.
9. Enter an e-mail address.
To send the e-mail to more than one recipient, fill
in additional destination fields.
10. Press [
] to send the e-mail.
Using options while composing an e-mail
While composing an e-mail, press <
Options
> to
access the following options in each field:
•
Send
: send the message.
•
Input method
: change the text input mode.
•
Input language
: change the language to be
used in T9 input mode.
•
Insert text template
: insert a text template
into the message subject.
•
Insert
: insert a text template, Contacts entry, or
bookmarked URL address into text.
•
Attached file list
: access the list of the files you
attached.
•
Add files
: add images, videos, or sounds.
•
Add name card
: attach a Contacts entry as a
name card.
•
Add v-calendar
: attach calendar data as a data
format attachment.
•
Delete all attachments
: delete all
attachments.
•
Save to Drafts
: save the e-mail in the
Drafts
folder.
Inbox
(Menu 5.2)
This folder stores all of the messages you have
received, except for e-mails.
Viewing a message
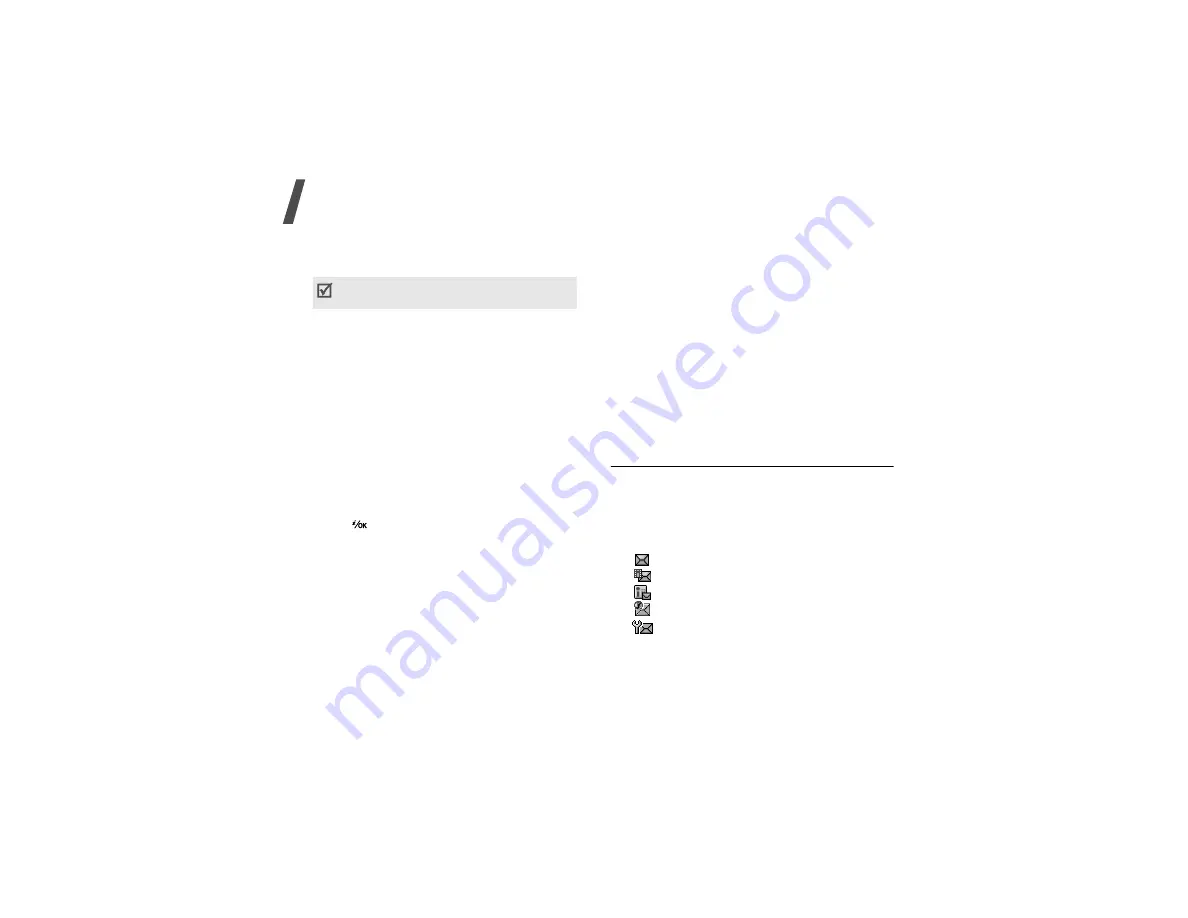
The following icons may appear on the list to show
the message type:
•
SMS
•
MMS
•
MMS notification
•
Push message from web servers
•
Configuration message, containing network
parameters from your service provider
You can use various options by pressing
<
Options
> in each field.
next section


