2.
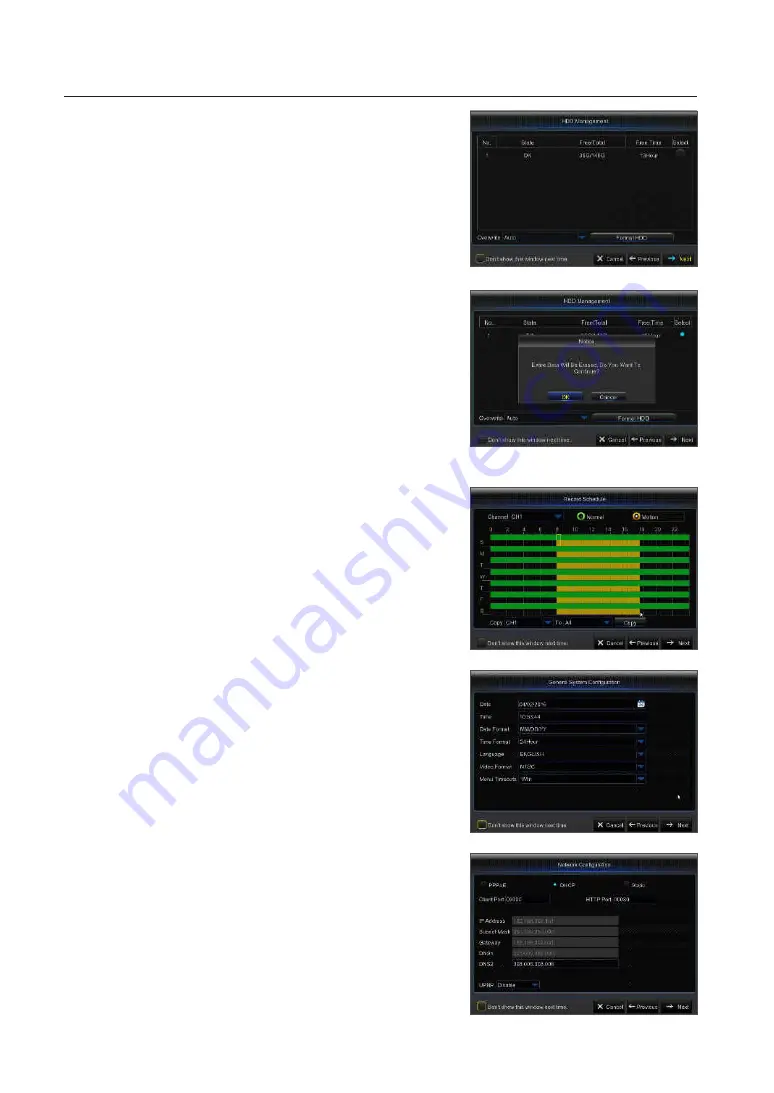
Hard Drive Management: Any new disk connected must be formatted before
use. Click on "Select" to highlight the hard drive to be formatted. Click on
"Format HDD" and the user login box will appear. Enter the password to log
in. Click on "OK" to format the disk when the "Entire Data Will Be Erased.
Do You Want To Continue?" dialog box appears. Formatting process is
complete when the progress bar is full.
3.
Video Recording Schedule: Select the channel and the date to be set. One
week's schedule can be set.
The record schedule of the current channel can be copied to any other
channel or all channels.
M
`
In the Record menu and Record Search menu, when no colors are presented, it means
there are no recordings during that time.
`
"Green" stands for normal record and "yellow" stands for motion record.
4.
General System Configuration: Set the date, time, date format, time format,
language, video format and menu timeouts.
5.
Network Configuration (DHCP): In DHCP mode the router will automatically
assign an IP address to DVR. If the DVR fails to obtain an IP address, refer
to the DVR Router Guide. If the problem still cannot be resolved, contact
technical support.
DVR Boot up
10
_
DVR Boot up


