U
SING
Y
OUR
P
RINTER
IN
L
INUX
6.16
7
Change the scan options in the Image Quality and Scan
Area sections.
•
Image Quality
: allows you to select the color
composition and the scan resolution for the image.
•
Scan Area
: allows you to select the page size. The
Advanced
button enables you to set the page size
manually.
If you want to use one of the preset scan option settings,
select from the Job Type drop-down list. For details about
the preset Job Type settings, see page 6.17.
You can restore the default setting for the scan options by
clicking
Default
.
8
When you have finished, press
Scan
to start scanning.
The status bar appears on the bottom left of the window to
show you the scanning progress. To cancel scanning, press
Cancel
.
9
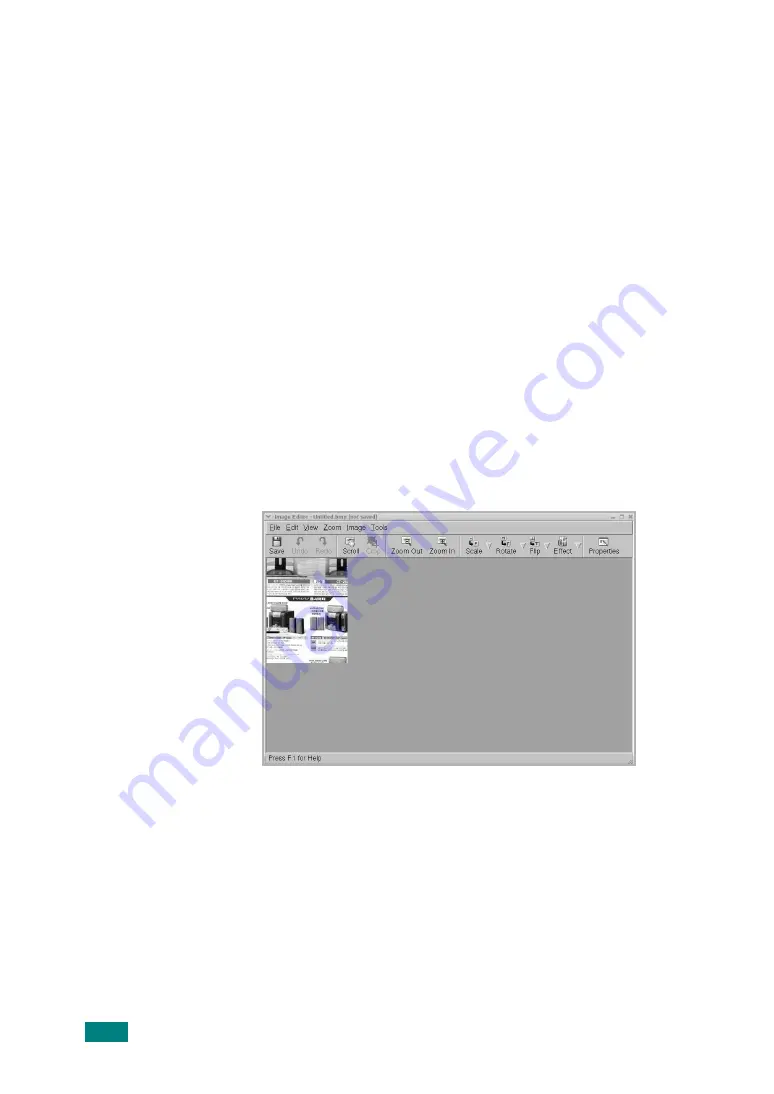
The scanned image appears in the new Image Editor
window.
If you want to edit the scanned image, use the toolbar. For
further details about editing the image, see page 6.18.
10
When you are finished, click
Save
on the toolbar.
11
Select the file directory where you want to save the image
and enter the file name.
12
Click
Save
.
Summary of Contents for scx-4100 series
Page 1: ......
Page 12: ......
Page 16: ...15 ...
Page 45: ...GETTING STARTED 1 28 MEMO ...
Page 57: ...PAPER HANDLING 2 12 MEMO ...
Page 121: ...USING YOUR PRINTER IN LINUX 6 20 MEMO ...
Page 169: ...H Visit us at www samsungprinter com Rev 3 00 ...


