English
-
71
R
ecording
Using the Timer
Programming Feature
1. Check the antenna cable is connected.
2. Check the remaining time of the disc.
3. Check the date and time are correct.
Make sure the Clock has been set (Setup - Clock Set)
before you proceed with a timer recording.
Press the TIMER REC button.
• Programme menu is displayed.
Using the MENU button:
!
Press the MENU button.
@
Press the
❷
buttons to select Programme
and then press the
❿
or OK button.
#
Select Standard Timer.
• If the current time is not set. Set the current
time first.
1
Disc Manager
Playlist
G-Code
Programme
DVD-RAM(VR)
Standard Timer
G-Code Extended :Off
Programme
DVD-RAM(VR)
Scheduled Record List
TUE 13
08:20
10:20
Press the
❷
buttons to select “ Standard
Timer” and then press the
❿
or OK button.
2
Press the
❷
button to select scheduled
Record List, and then press the
❿
or OK button
3
OK
To
PR
Start
End
Speed V/P
No.02
To
PR
Day
Start
End
Speed
:
:
LINE 2
SP
DVD
TUE 13
16
00
14
00
Scheduled Record List
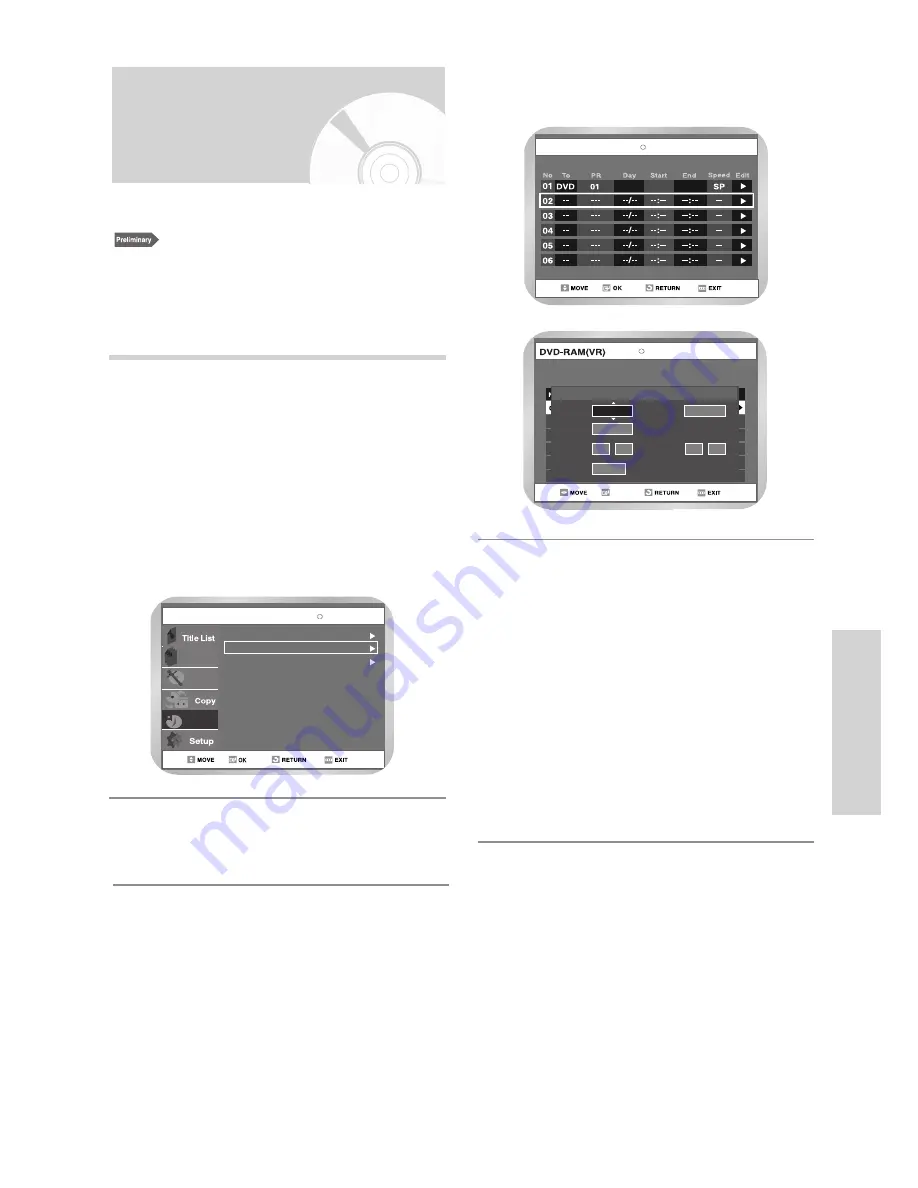
Set timer recording option.
• The Timer Recording screen is displayed. Fill
the input items using the arrow buttons.
➛❿
: Moves to the previous/next item,
❷
: Sets a value.
•
TO
: Select the media to record DVD or VCR.
•
PR
: The video input source (LINE IN1 or LINE
IN 2) or the broadcasting channel you
want to make a timer recording from.
•
Day
: Set the recording day.
•
Start/End Time
: Start and End time of the
timer recording.
•
Speed
: See page 72.
4


