Basic faxing
79
2. Menu Overview and Basic Setup
3
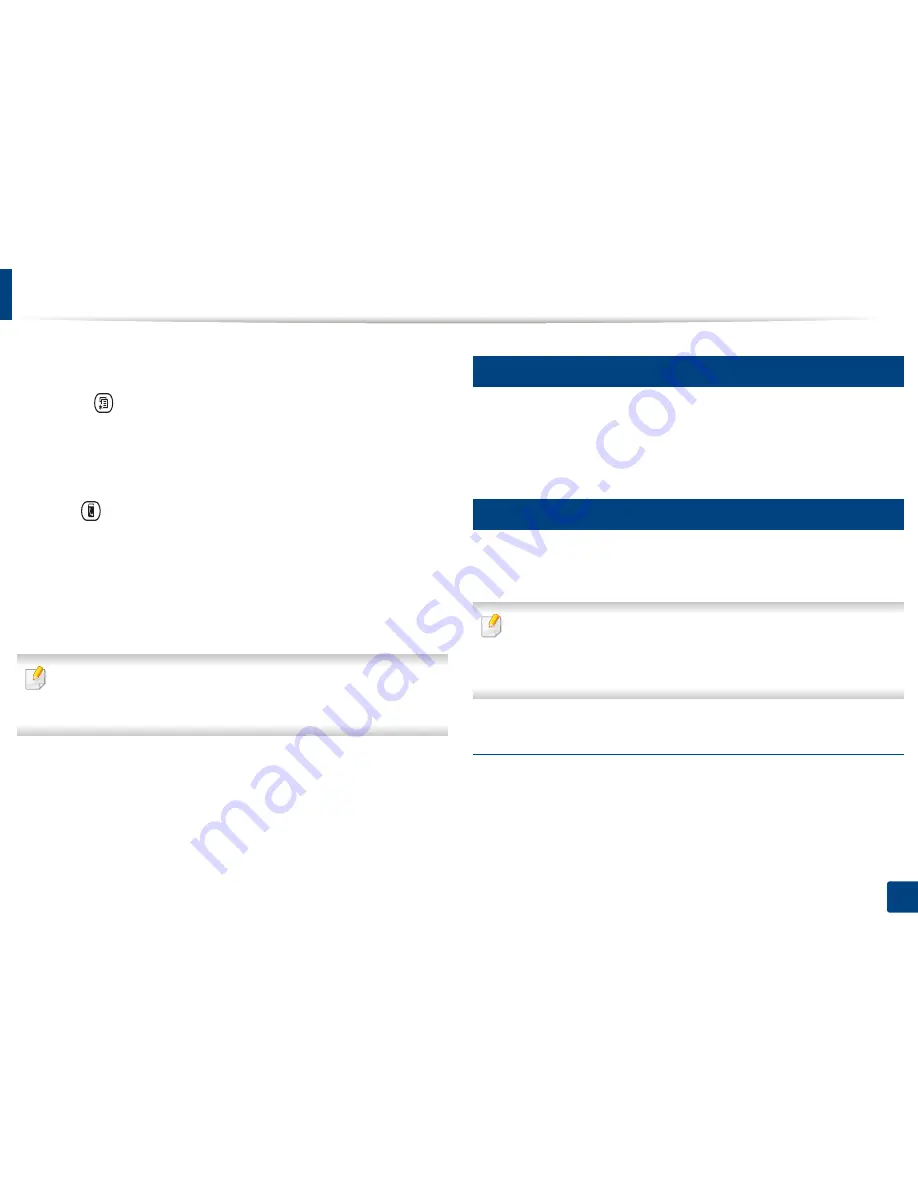
Adjust the resolution and the darkness to suit your fax needs (see
"Adjusting the document settings" on page 79).
4
Select (
Menu
) >
Fax Feature
>
Multi Send
on the control panel.
Or select
Next
on the touch screen.
5
Enter the number of the first receiving fax machine and press
OK
.
You can press speed dial numbers or select a group dial number using
the
(
Address book
) button.
6
Enter the second fax number and press
OK
.
The display asks you to enter another fax number to send the document.
7
To enter more fax numbers, press
OK
when
Yes
appears and repeat
steps 5 and 6.
•
You can add up to 10 destinations.
•
Once you have entered a group dial number, you cannot enter another
group dial number.
8
When you have finished entering fax numbers, select
No
at the
Another
No.?
prompt and press
OK
.
The machine begins sending the fax to the numbers you entered in the
order in which you entered them.
Multi send report is printed after sending faxes.
22
Receiving a fax
Your machine is preset Fax mode at the factory. When you receive a fax, the
machine answers the call on a specified number of rings and automatically
receives the fax.
23
Adjusting the document settings
Before starting a fax, change the following settings according to your original’s
status to get the best quality.
•
Accessing menus may differ from model to model (see "Accessing the
menu" on page 33
or
"Control panel overview" on page 24).
•
It may be necessary to press
OK
to navigate to lower-level menus for
some models.
Resolution
The default document settings produce good results when using typical text-
based originals. However, if you send originals that are of poor quality, or
contain photographs, you can adjust the resolution to produce a higher quality
fax.
Summary of Contents for CLX-6260ND
Page 96: ...Redistributing toner 96 3 Maintenance...
Page 98: ...Replacing the toner cartridge 98 3 Maintenance CLX 419xN CLX 419xFN CLX 419xFW Series 5 6...
Page 101: ...Replacing the waste toner container 101 3 Maintenance 1 2 1 2 1 2...
Page 105: ...Installing accessories 105 3 Maintenance 1 2 1 2...
Page 110: ...Cleaning the machine 110 3 Maintenance...
Page 126: ...Clearing paper jams 126 4 Troubleshooting CLX 626xND CLX 626xFD CLX 626xFR CLX 626xFW Series...
Page 155: ...Specifications 155 5 Appendix Free HDD space Up to 100 MB Items Requirements...
Page 168: ...Regulatory information 168 5 Appendix 26 China only...

