English
- 14 -
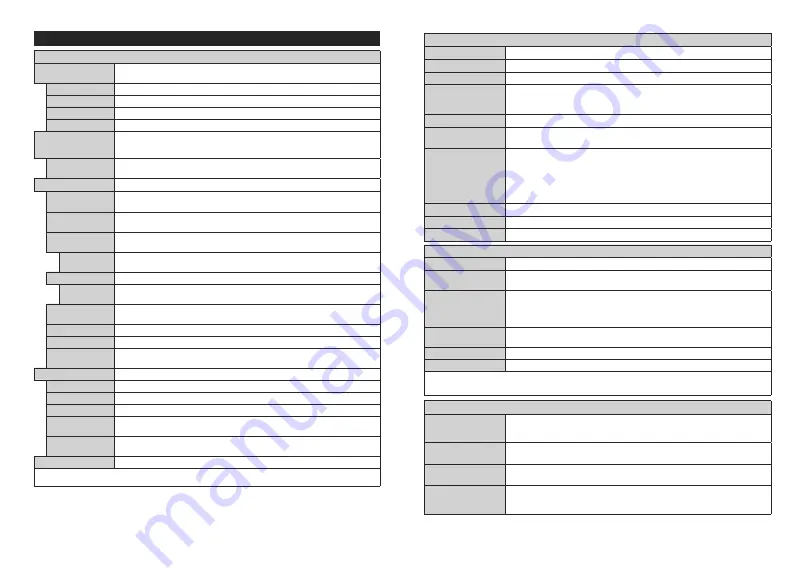
Settings Menu Contents
Picture Menu Contents
Mode
You can change the picture mode to suit your preference or requirements. Picture mode can
be set to one of these options:
Cinema
,
Game
(optional),
Sports
,
Dynamic
and
Natural
.
Contrast
Adjusts the light and dark values on the screen.
Brightness
Adjusts the brightness values on the screen.
Sharpness
Sets the sharpness value for the objects displayed on the screen.
Colour
Sets the colour value, adjusting the colours.
Energy Saving
For setting the
Energy Saving
to
Custom
,
Minimum
,
Medium
,
Maximum
,
Auto
,
Screen Off
or
Off
.
Note:
Available options may differ depending on the selected
Mode
.
Backlight
This setting controls the backlight level. The backlight function will be inactive if the
Energy Saving
is set to an option other than
Custom
.
Advanced Settings
Dynamic
Contrast
You can change the dynamic contrast ratio to desired value.
Noise Reduction
If the signal is weak and the picture is noisy, use the
Noise Reduction
setting to reduce
the amount of noise.
Colour Temp
Sets the desired colour temperature value.
Cool
,
Normal
,
Warm
and
Custom
options
are available.
White Point
If the
Colour Temp
option is set as
Custom
, this setting will be available. Increase the
‘warmth’ or ‘coolness’ of the picture by pressing Left or Right buttons.
Picture Zoom
Sets the desired image size format.
Picture Shift
This option may be available depending on the
Picture Zoom
setting. Highlight and
press
OK
, then use directional buttons to shift the picture upwards or downwards.
Film Mode
Films are recorded at a different number of frames per second to normal television programmes.
Turn this feature on when you are watching films to see the fast motion scenes clearly.
Skin Tone
Skin tone can be changed between -5 and 5.
Colour Shift
Adjust the desired colour tone.
HDMI Full Range
While watching from a HDMI source, this feature will be visible. You can use this feature
to enhance blackness in the picture.
PC Position
Appears only when the input source is set to VGA/PC.
Autoposition
Automatically optimizes the display. Press OK to optimize.
H Position
This item shifts the image horizontally to the right hand side or left hand side of the screen.
V Position
This item shifts the image vertically towards the top or bottom of the screen.
Dot Clock
Dot Clock adjustments correct the interference that appear as vertical banding in dot
intensive presentations like spreadsheets or paragraphs or text in smaller fonts.
Phase
Depending on the input source(computer etc.) you may see a hazy or noisy picture on
the screen. You can use phase to get a clearer picture by trial and error.
Reset
Resets the picture settings to factory default settings (except
Game
mode).
While in VGA (PC) mode, some items in
Picture
menu will be unavailable. Instead, VGA mode settings will be added to the
Picture
menu
while in PC mode.
English
- 15 -
Sound Menu Contents
Volume
Adjusts the volume level.
Equalizer
Selects the equalizer mode. Custom settings can be made only when in
User
mode.
Balance
Adjusts whether the sound comes from the left or right speaker.
Headphone
Sets headphone volume.
Please ensure before using headphones that the headphone volume is set to a low
level, to prevent damage to your hearing.
Sound Mode
You can select a sound mode (If the viewed channel supports).
AVL (Automatic
Volume Limiting)
Sets the sound to obtain fixed output level between programmes.
Headphone/Lineout
When you connect an external amplifier to your TV using the headphone jack, you can
select this option as
Lineout
. If you have connected headphones to the TV, set this
option as
Headphone
.
Please ensure before using headphones that this menu item is set to
Headphone
. If it
is set to
Lineout
, the output from the headphone socket will be set to maximum which
could damage your hearing.
Dynamic Bass
Enables or disables the Dynamic Bass.
Surround sound
Surround sound mode can be changed as
On
or
Off
.
Digital Out
Sets digital out audio type.
Network Menu Contents
Network Type
Disable the network connection or change the connection type.
Scan Wireless
Networks
Start a search for wireless networks. This option will be available if the
Network Type
is set as
Wireless Device
.
Press WPS on your
wifi router
If your modem/router device has WPS, you can directly connect to it using this option.
Highlight this option and press
OK
. Go to your modem/router device and press the
WPS button on it to make the connection. This option will be available if the
Network
Type
is set as
Wireless Device
.
Internet Speed Test
Start a speed test to check your connection bandwidth. The result will be displayed on
the screen when finished.
Advanced Settings
Change the IP and DNS configurations of your TV.
Wake On
Enable or disable this feature by setting it as
On
or
Off
.
Note:
A wireless LAN adaptor (WLAN USB dongle) is required to use wireless network features. The wireless adaptor is not supplied with the
unit, it can be purchased separately. For more information contact your local dealer or retail outlet where you bought your TV. For detailed
information on the options of this menu refer to the
Connectivity
section.
Installation Menu Contents
Automatic channel
scan (Retune)
Displays automatic tuning options.
D. Aerial:
Searches and stores aerial DVB stations.
D. Cable:
Searches and stores cable DVB stations.
Analogue:
Searches and stores
analogue stations.
Manual channel
scan
This feature can be used for direct broadcast entry.
Network channel
scan
Searches for the linked channels in the broadcast system.
D. Aerial:
Searches for aerial
network channels.
D. Cable:
Searches for cable network channels.
Analogue fine tune
You can use this setting for fine tuning analogue channels. This feature is not available
if no analogue channels are stored and if currently watched channel is not an analogue
channel.


