24
S
ECTION
S
IX
: U
SING
N
AVIGATOR
R
EMOTE
C
ONTROL
S
OFTWARE
6.6 CREATING A NAVIGATOR NETWORK
Ethernet connection instructions for -EN version Navigators
Your -EN version Navigator can be controlled through a standard Ethernet: connection. This option
allows for control of up to 16 Navigators in one session of Navigator Remote Software.
There are three main procedures for creating your Navigator network. The first is patching your
hardware, the second is assigning IP addresses to the Navigators, and the third is connecting your
network using the Navigator software. You only have to do this once. From then on you will simply
choose Connect and you will be controlling your network.
Hardware and Connections
1.
Network Switch
: In order to create your Navigator network you will need a network switch. This
device comes in a variety of configurations. Choose one that has enough ports to accommodate
all your Navigators plus the computer you will use for control. The maximum number of ports you
will need is 17. Many companies offer switches,
including NetGear, D-Link, 3Comm, Belkin, and Cisco.
2.
Navigators
: Press the System key on the front
panel and scroll through the menus to the General
Menu. Choose the Port parameter and change it to
CAT-5.
3.
Ethernet cables
: Connect your computer’s network card to a port on the switch with a standard
Ethernet cable (RJ45 connectors). Connect each Navigator’s network connection to a
port on the switch using standard Ethernet cables.
Assign Navigator IP addresses using DeviceInstaller
1.
Install the Lantronix DeviceInstaller software
. This software requires that your computer has
.NET Framework 1.1 or higher. The DeviceInstaller utility comes on your Navigator CD Rom, or
you can download it from Sabine.com. It does not make an icon on your desktop, so you must run
it from Start - Programs.
2.
Make sure your connections are
made
as described in the Hardware &
Connections section above.
3.
Run DeviceInstaller
.
4.
Click on the ‘Search’ button
in
DeviceInstaller. The connected
Navigator(s) will be listed in the window.
The Hardware Address shown is also
displayed on the back panel of the
Navigator.
5.
Select the first Navigator
and click the ‘Assign IP’ button.
6.
Select ‘Assign a Specific IP address’
in the
dialog and click ‘Next’
7.
Enter the desired IP address,
subnet mask (255.255.255.0 in all cases), and default gateway
(0.0.0.0 in all cases) and click ‘Next.’
• We recommend you follow this format for your IP addresses:
198.168.2.xxx
• Choose any set of numbers in place of xxx. The network order of your Navigators depends on
the sequence of these numbers, so plan accordingly. Device 1 in your Navigator network will be
the lowest numbered IP address. Make a note of the complete address of each device - you will
need this later.
• If you are incorporating this Navigator network into an existing network, please consult your
system administrator before assigning IP addresses. Assigning an already existing address can
cause your network to crash!
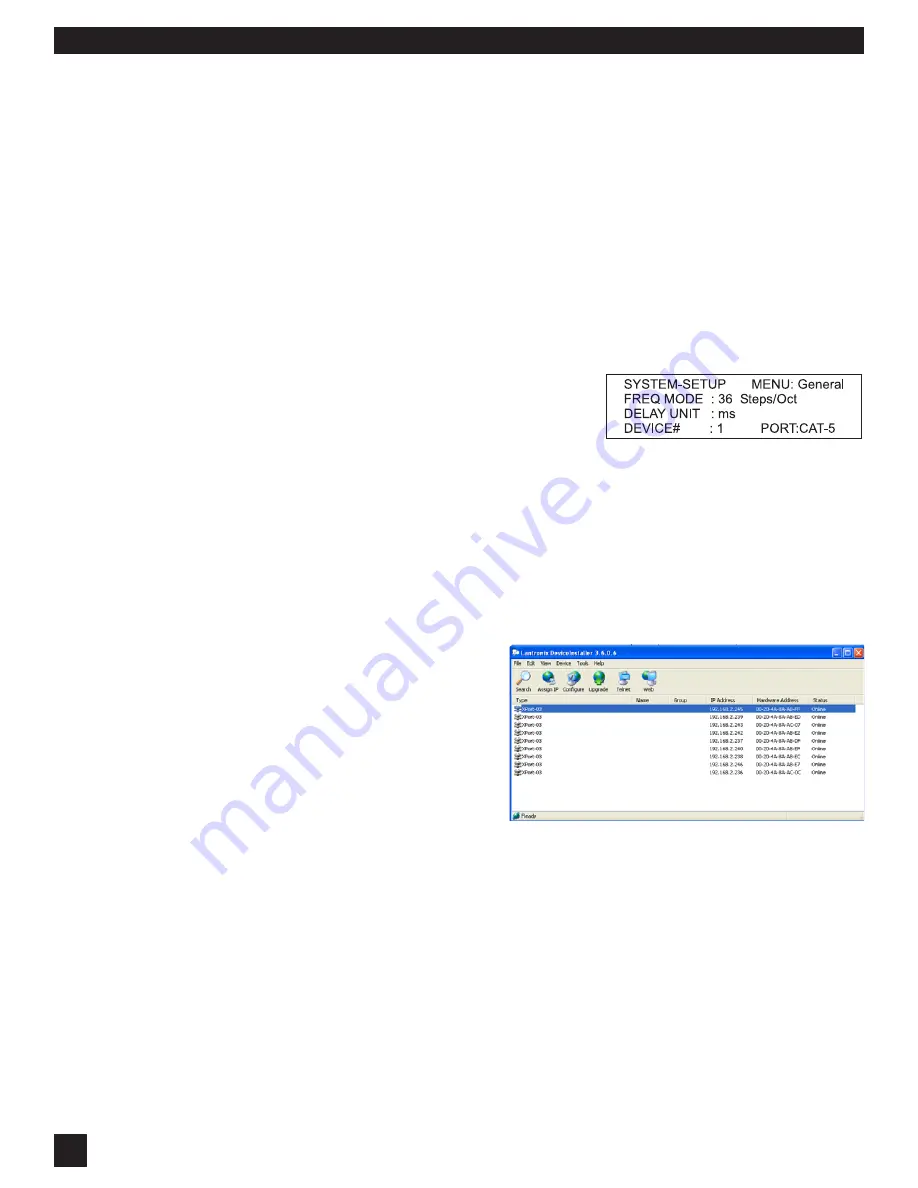
Front panel LCD showing correct port setting
DeviceInstaller main screen showing 9 Navigators with IP addresses
successfully assigned


