12
S
ECTION
S
IX
: U
SING
G
RAPHI
-Q2 C
ONTROLS
Section Six: Using Graphi-Q2 Front Panel Controls
Many Graphi-Q2 owners will be immediately familiar with the simple operation of the front panel controls.
Operation of these controls will be very similar when using an RS-232 connection to control Graphi-Q2
functions from a Windows-based computer platform (see Section Eight).
Important Note on Equipment Power-on Sequencing and Feedback Suppression
The Graphi-Q2 is similar to a computer in that it requires several seconds to boot up and become
operative. Because of this, the potential exists for feedback to assault your system should you power
up all of your equipment (including the Graphi-Q2) in unison, with volumes set to operating levels.
Therefore, it is wise to consider either one of the following courses:
1.
Sequence the power up so that the Graphi-Q2 turns on well ahead of the power amp. Allow
a 5 second time differential for comfort.
2.
Set up the Graphi-Q2 to give the signal a boost, and adjust the rest of your gain structure
accordingly. When the Graphi-Q2 is bypassed (or still booting), the signal level will be below the
feedback threshold.
6.1. FRONT PANEL CALIBRATION
Your Sabine Graphi-Q2 ships from the factory with all front panel controls precisely calibrated for
maximum accuracy. However, if you upgrade the Graphi-Q2 (GRQ3121 or GRQ3122 only) firmware,
Sabine recommends recalibrating the front panel controls. You may also want to periodically recalibrate
to assure the highest degree of front panel control precision.
Calibration is a simple process. Set all equalizer faders to the center detent position. Rotate the Hi
Cut and Threshold knobs to the full clockwise position. Rotate the Lo Cut, Ratio, and Gain knobs
fully counterclockwise. For two channel units you must set both sets of controls.
Hold down both the Fifth Octave and Set Fixed buttons until “Calibrating Front” appears on LED
display. (For GRQ3122 use the buttons for the B channel). Release the buttons when the LED
displays “Calibration Done.”
6.2. GRAPHIC EQUALIZER CONTROLS
Please make note of the default front panel control protocols that apply when setting graphic EQ, FBX
filters, compression, delay, and output level for the two outputs of the single-input Graphi-Q2
(GRQ3121). All processing, INCLUDING delay, is applied to Output B in the factory default setting. All
processing EXCEPT delay is applied to Output A. Therefore, all graphic EQ, FBX, and compression
adjustments will apply to both outputs, while front panel delay adjustments will affect only the B output.
Remote control operation of the GRQ3121 will enable separate delay and output level control settings
for Outputs A and B. All other processing (graphic EQ, parametric EQ, and compressor/limiter settings)
can be applied to one or both outputs using software control, but the GRQ3121 will not permit unique
output settings for any processing except delay, and for the output levels.
6.2.1. Front Panel Control
The Graphi-Q2 graphic EQ sliders have a center detent, calibrated to zero boost/cut at the factory.
Raising the slider above the detent boosts a frequency band surrounding the center point nominal
frequency; lowering the slider below the detent cuts the frequency band. The Graphi-Q2 comes from
the factory set to a ±12 dB boost/cut range. You may change this to a ± 6 dB range (and back again)
by pressing and holding the delay up/down buttons simultaneously for approximately one
second. An LED in the lower right section of the front panel will indicate the 6 dB range condition when
it is illuminated. For two channel Graphi-Q2 units, pressing and holding either channel’s delay up/down
buttons will switch both channels’ EQ ranges simultaneously. It is not possible to select different ranges
for the two channels.
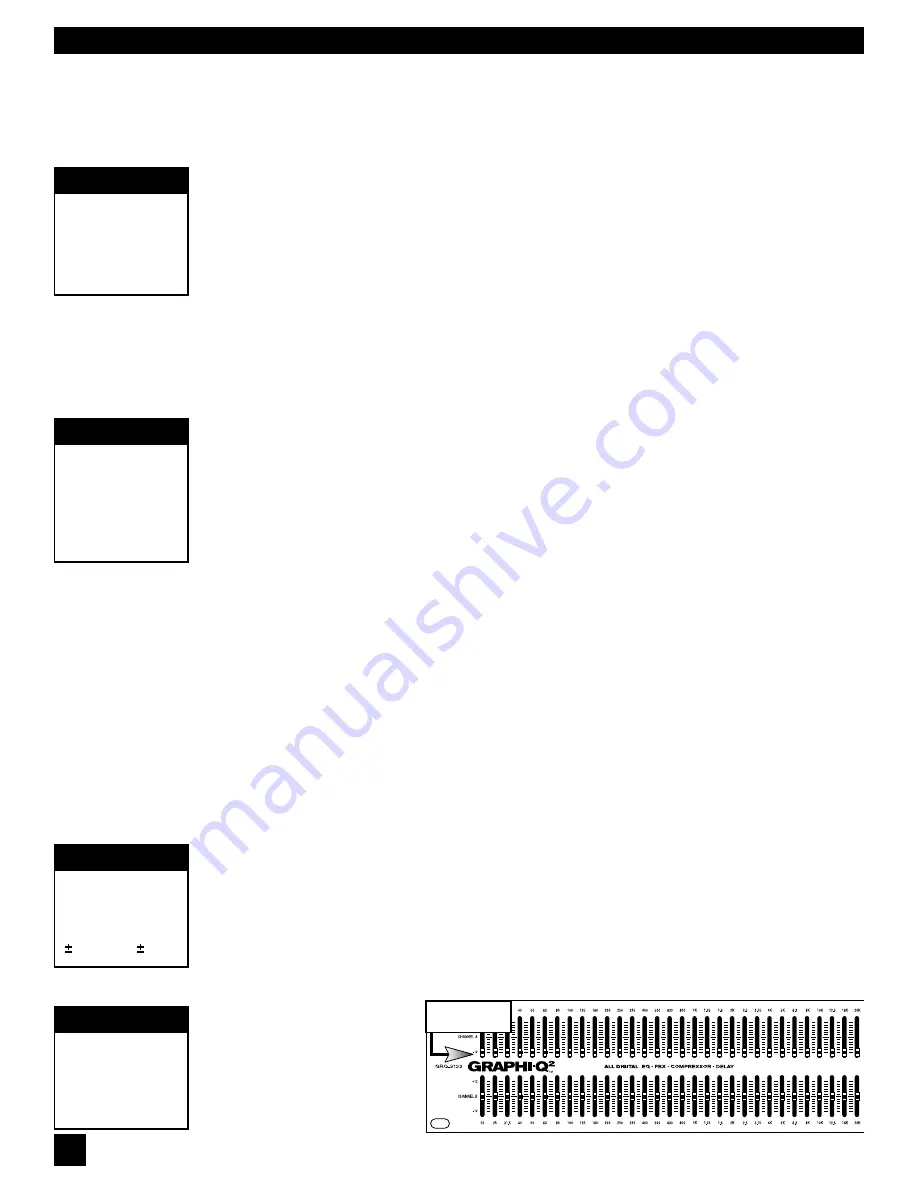
NOTE: Pulling down the A
channel sliders causes the B
channel to become the mas-
ter for both channels. This also
slaves the compressor, high &
low cut filters, and output gain.
Delay, bypass, and FBX con-
trols remain channel specific.
IMPORTANT
Recalibrate the
Front Panel
Controls after
Upgrading
Firmware
IMPORTANT
Equipment
Power-on
Sequencing to
Avoid Feedback
TECH TIP
Changing
Boost/Cut
range from
12 dB to 6 dB
All A-channel
Sliders down
TECH TIP
Linking Channel
A & Channel B
Using GRQ3122
Front Panel


