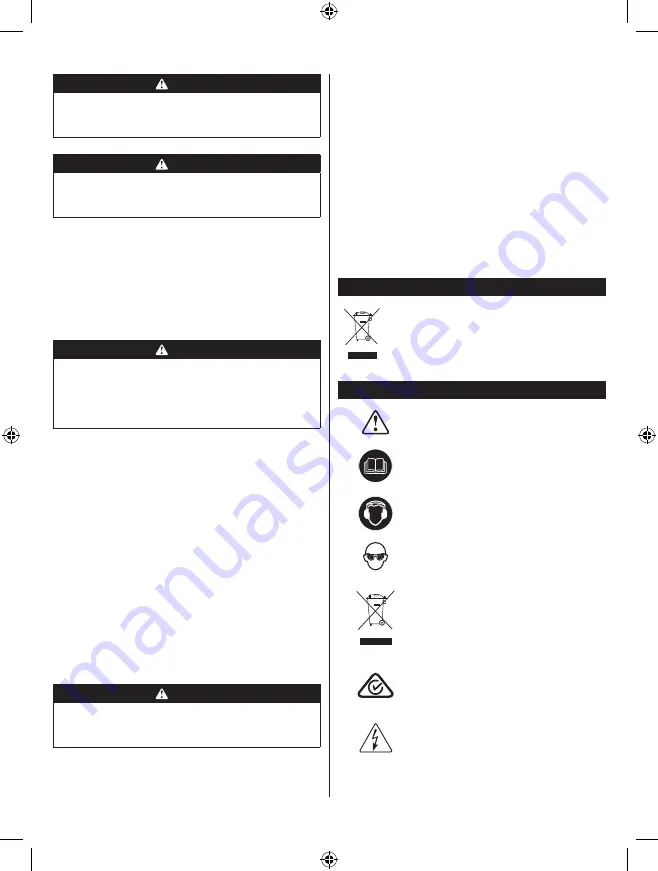
background image

7


 wARnIng

Always wear eye protection with side shields. Failure 

to do so could result in objects being thrown into your 

eyes resulting in possible serious injury.


 wARnIng

Always release all pressure, disconnect from power 

supply, and allow unit to cool before cleaning or making 

repairs on the air compressor.

geneRAL mAIntenAnce

Avoid using solvents when cleaning plastic parts. Most 

plastics are susceptible to damage from various types of 

commercial solvents and may be damaged by their use. 

Use clean cloths to remove dirt, dust, oil, grease, etc.
As a routine part of air compressor maintenance, it is also 

advised that the oil is routinely checked for proper levels.


 wARnIng

Do not at any time let brake fluids, gasoline, petroleum-

based products, penetrating oils, etc., come in contact 

with plastic parts. Chemicals can damage, weaken or 

destroy plastic which may result in serious personal 

injury.

Bearing lubrication

All of the bearings in this product are lubricated with a 

sufficient  amount  of  high  grade  lubricant  for  the  life  of 

the unit under normal operating conditions. Therefore, no 

further lubrication is required.

RePLAcIng AIR fILteR

See figure 16.

1. 

Loosen the wing nut and washer on the air filter cover.

2.  Remove the cover.

3. 

Remove the air filter.

4. 

Install new air filter.

5. 

Replace the air filter cover and secure it with the wing 

nut and washer.

RePLAcIng oIL

See figure 17.


 wARnIng

The hot oil can surface can scald or burn your hands. 

Allow the compressor to cool 15 minutes before 

removing the drain plug and draining the oil.

Replace  the  oil  after the  first 10  hours  of operation  and 

every 100 hours following the first oil change.

The sight glass indicates the oil level and lets the operator 

check if oil should be added.
1.  Place a suitable container underneath the drain to 

collect used oil.

2.  Remove the drain plug using a wrench.

3.  When the used oil has drained, reinstall the drain plug 

and tighten with the wrench.

4. 

Unscrew the cap of oil fill hole.

5. 

To refill, use a funnel to pour oil into the fill hole. Refill 

only with synthetic oil SAE-30.

note:

 Avoid refilling with too much oil. Ensure that the 

level of the oil does not exceed the top of the red dot at 

sight glass. The recommended amount of oil for refilling is 

280 ml (8.11 oz.).

6. 

Tighten the cap securely into the oil fill hole.

envIRonmentAL PRotectIon 

Recycle raw materials instead of disposing 

of as waste. The machine, accessories 

and packaging should be sorted for 

environmental-friendly recycling.

symBoLs

Safety Alert

Please read the instructions carefully 

before starting the machine.

Wear ear protection

Wear eye protection

Waste electrical products should not 

be disposed of with household waste. 

Please recycle where facilities exist. 

Check with your local authority or 

retailer for recycling advice.

Regulatory Compliance Mark (RCM). 

Product meets applicable regulatory 

requirements.

Caution, risk of electric shock

Summary of Contents for Airwave RA-C2550-G

Page 1: ...irect driven air compressor Operator s MANUAL Original instructions RA C2550 Important It is essential you read the instructions in this manual before starting and operating this machine Subject to technical modifications ...

Page 2: ... 9 Regulated pressure gauge 10 Wheel 11 Rubber foot 12 Drain valve 13 Rear handle 14 Handle slot 15 Bolt 16 Flat washer 17 Hex nut 18 Wheel axle cover 19 Axle bolt 20 Oil fill hole cap 21 Sight glass 22 Red dot 23 Quick connect air fitting 24 To close 25 Quick coupler 26 To open 27 Reset button 28 Drain valve knob 29 Ring 30 Air filter housing 31 Air filter 32 Air filter cover 33 Wing nut 34 Drain...

Page 3: ...Fig 2 Fig 4 Fig 6 Fig 5 1 1 11 16 5 15 18 19 10 16 17 17 16 13 12 11 4 5 Fig 3 15 14 ...

Page 4: ...Fig 7 Fig 11 Fig 10 Fig 12 25 23 Fig 8a Fig 8b Fig 9 7 4 24 20 22 23 7 3 9 26 21 ...

Page 5: ...Fig 13 Fig 16 Fig 14 Fig 15 28 27 4 29 16 33 32 31 30 ...

Page 6: ...Fig 17 34 ...

Page 7: ... operation is dusty Protect your hearing Wear hearing protection during extended periods of operation Do not overreach Keep proper footing and balance at all times Remove adjusting keys and wrenches Form habit of checking to see that keys and adjusting wrenches are removed from tool before turning it on Air compressor use and care Do not exceed the pressure rating of any component in the system Pr...

Page 8: ...nimals Take care not to blow dust and dirt towards yourself or others Following this rule will reduce the risk of serious injury Do not use this air compressor to spray chemicals Your lungs can be damaged by inhaling toxic fumes A respirator may be necessary in dusty environments or when spraying paint Do not carry while painting Inspect product cords and hoses periodically and if damaged have the...

Page 9: ... the packing list are already assembled to your product when you unpack it Parts on this list are not assembled to the product by the manufacturer and require customer installation Use of a product that may have been improperly assembled could result in serious personal injury Inspect the product carefully to make sure no breakage or damage occurred during shipping Do not discard the packing mater...

Page 10: ... Using a funnel carefully pour oil into the oil fill hole Fill only with synthetic oil SAE 30 NOTE Avoid using too much oil Ensure that the level of the oil does not exceed the top of the red dot at sight glass 3 Tighten the cap securely into the oil fill hole Replace the oil after the first 10 hours of operation and every 100 hours following the first oil change Refer to the Replacing oil section...

Page 11: ...y the manufacturer of the item being inflated WARNING Always ensure the switch is in the OFF O position and the regulator pressure gauge reads zero before changing air tools or disconnecting the hose from the air outlet Failure to do so could result in possible serious personal injury USING THE AIR COMPRESSOR See figure 10 12 1 Ensure power switch is in the OFF O position and air compressor is unp...

Page 12: ... is stuck and cannot be actuated by the ring do not use the air compressor until the safety valve has been replaced Use of the air compressor in this condition could result in serious personal injury RESET BUTTON See figure 13 When current into the air compressor motor exceeds the specified limit the air compressor will automatically shut off To reset the air compressor 1 Unplug the air compressor...

Page 13: ...nd washer Replacing oil See figure 17 WARNING The hot oil can surface can scald or burn your hands Allow the compressor to cool 15 minutes before removing the drain plug and draining the oil Replace the oil after the first 10 hours of operation and every 100 hours following the first oil change The sight glass indicates the oil level and lets the operator check if oil should be added 1 Place a sui...

Page 14: ...ventilated Do not smoke while spraying or spray where spark or flame is present Keep compressors as far from the spraying area as possible Keep compressor at least 10 m from the spraying area and all explosive vapours Hot surface To reduce the risk of injury or damage avoid contact with any surface Risk of breathing Air obtained directly from the air compressor should never be used to supply air f...

Page 15: ...auge wire and cord length Shorted or open motor winding Take compressor to service centre Defective check valve or unloader Take compressor to service centre Current limiting protector cuts out repeatedly Low voltage Check with voltmeter Lack of proper ventilation room temperature too high Move compressor to well ventilated area Wrong gauge wire or length of extension cord Check for proper gauge w...

Page 16: ...usage Take compressor to service centre Decrease air usage compressor not large enough for tool s requirement Piston rings are worn Replace piston rings air inlet filter is blocked call customer service for assistance Air output lower than normal Broken inlet valves Take compressor to service centre Connections leaking Tighten connections ...

Page 17: ...11 Parts list ...

Page 18: ...Handle sleeve 09 Bolt M5 x 18 29 Nut M8 49 Handle 69 Cushion foot 10 Breather and oil fill plug 30 Capacitor 30μf 50 Bolt M8 x 25 70 Flat washer 8 big 11 Circlips for holes 12 31 Flat washer 5 51 Pressure switch 85 115 psi 71 Bolt M3 x 8 12 Piston pin 32 Spring washer 5 52 Pressure gauge G1 8 180 psi 72 Spring washer 3 13 Piston 33 Hex bolt M5 x 110 53 Bolt G1 4 73 Nut 3 14 Piston ring set 34 Cove...

Page 19: ...Techtronic Industries Australia Pty Ltd Level 1 660 Doncaster Road Doncaster VIC 3108 Australia Techtronic Industries New Zealand Ltd 18 26 Amelia Earhart Avenue Mangere Auckland 2022 New Zealand ...

Reviews: