


Installation
LightStyle™ LS-12d Installation/Operation Manual
49
PRE
L
IMINAR
Y
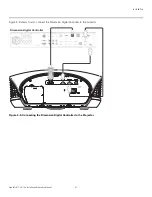
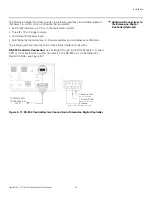
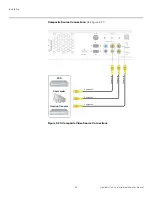
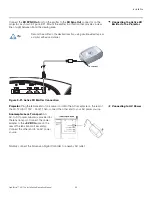
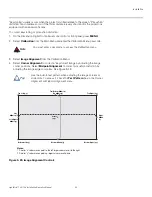
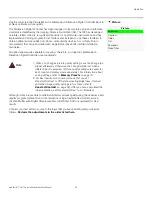
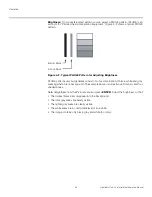
Connecting the Active 3D
Emitter to the Projector
Connect the
3D
S
YNC Out
port on the emitter to the
3D
S
ync Out
connector on the
projector, as shown in Figure 3-21. Mount the emitter in a location that provides a clear
line of sight between it and the viewing area.
Figure 3-21. Active 3D Emitter Connection
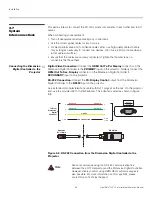
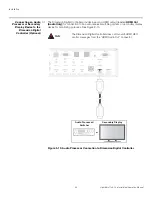
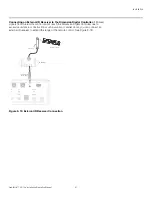
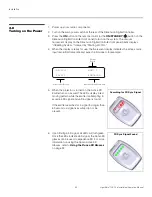
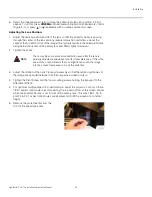
Connecting to AC Power
Projector:
Plug the female end of one power cord into the AC receptacle on the rear of
the LS-12d (AC 100V ~ 240V). Then, connect the other end to your AC power source.
Anamorphic Len
s
Tran
s
port:
An
AC-to-DC power adapter is provided for
the lens transport. Connect the power
adapter to the
+9V DC In
jack on the
rear of the lens transport assembly.
Connect the other end to an AC power
source.
Similarly connect the Dimension Digital Controller to a nearby AC outlet.
Secure the emitter in the desired location using double-sided tape or
a similar adhesive material.
Tip
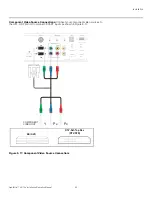
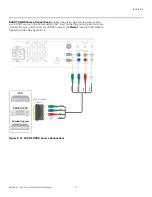
RS232
RS232
PRIMARY
PRIMARY
SECONDARY
SECONDARY
3D Sync Out
3D Sync Out
3D SYNC OUT
Summary of Contents for LightStyle LS-12d
Page 1: ...LS 12d Active 3D Home Theater Projection System INSTALLATION OPERATION MANUAL ...
Page 2: ......
Page 72: ...Installation 56 LightStyle LS 12d Installation Operation Manual P R E L I M I N A R Y Notes ...
Page 112: ...Operation 96 LightStyle LS 12d Installation Operation Manual P R E L I M I N A R Y Notes ...
Page 151: ......
Page 152: ...Runco International 800 23RUNCO Fax 503 748 8161 www runco com 020 1179 01 Rev A May 2012 ...


