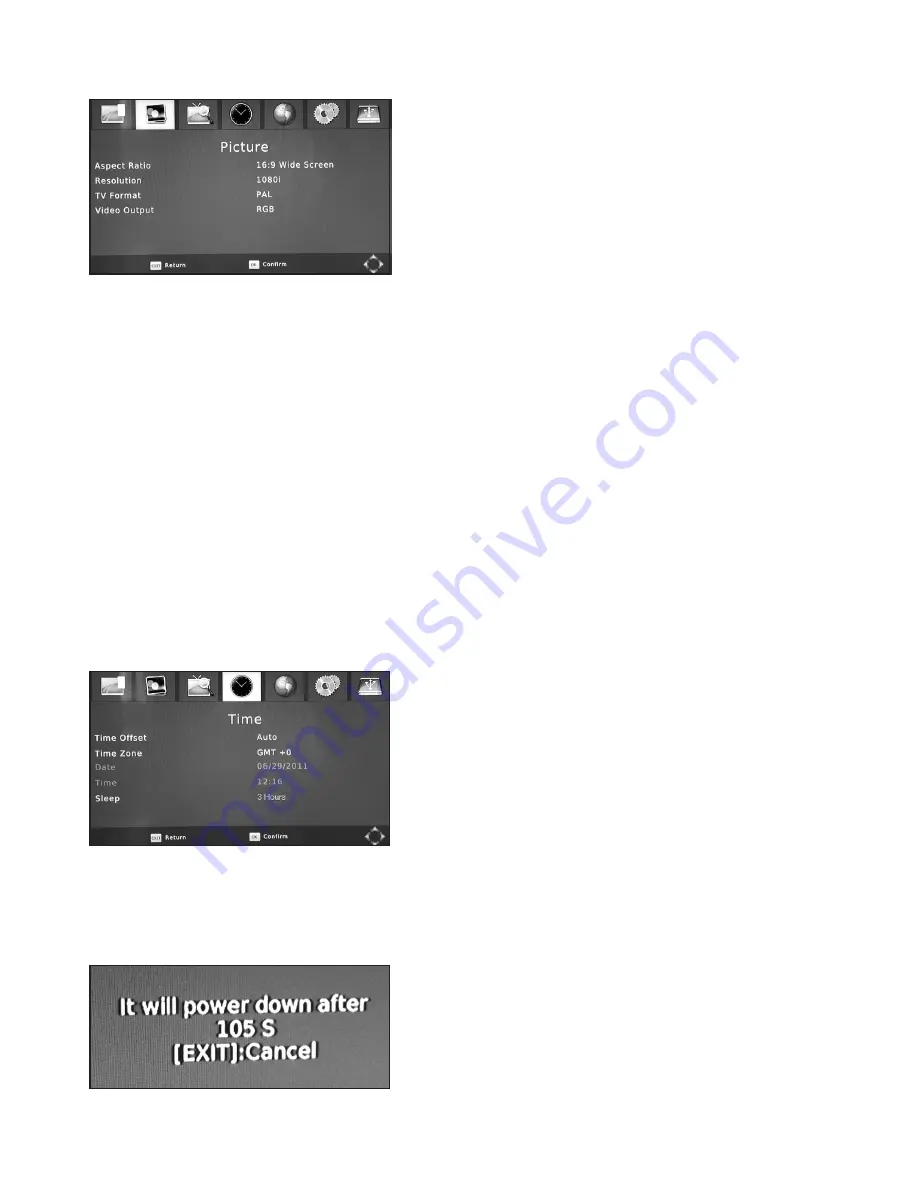
5.3.1 Picture Settings
•
Aspect Ratio:
To select between 16:9 (wide screen)
and 4:3 TV screen mode or AUTO (RECOMMENDED
SETTING) which is the factory default. Use the
VOL+- buttons to select your preference. You will be
prompted to save your new settings on exiting.
•
Resolution–
This enables you to set the Receiver to
match the video resolution of your TV, you can choose
from 480i, 480p, 560i, 560p, 720p50Hz, 720p60Hz,
1080i50Hz (RECOMMENDED SETTING FOR HDMI)
or 1080P60Hz. Using the VOL+- adjust the resolution
to suit your TV. You will be prompted to save your new
settings on exiting.
CAUTION: Some TV’s will not accept the 1080p 60Hz setting and you may loose the
display if you select that option. If this occurs connect to the TV using the SCART lead
and adjust the resolution to a compatible mode.
•
Video Output Mode:
To choose the Video Output when using the SCART Connector.
Select from CVBS (RECOMMENDED SETTING or RGB. Use the VOL+- buttons to select
your preference. You will be prompted to save your new settings on exiting.
•
TV Format:
to Select between PAL (recommended) and NTSC dependent on TV video
Input type.
5.3.2 Time Settings
Here you can set TIME, DATE and other related functions on your Receiver.
•
Time offset:
Select Time offset. This is an adjustable
offset against received time from satellite, set to AUTO
will update regularly to time received from satellite data.
This can be selected with Vol+ and Vol- to allow
customer adjustment of time and date.
NOTE: If you set the Local System Clock to ON
then you will not be able to adjust the LOCAL
DATE and LOCAL TIME.
•
Time Zone:
Select Time Zone. This is an adjustable offset between GMT +12 and -12 hours.
The Factory default setting is “0” which equates to GMT. Use the VOL+- buttons to select
your preference. Press Exit, then OK to save your new settings.
•
Sleep:
After 3 hours (default) of inactivity, the receiver
will enter standby mode. It will give a 2 minute warning
before standby. This feature is to reduce wasted energy
from inactive use.
It can be turned off or adjusted under Menu Time
settings.
13


