4 Crowdbeamer for the presenter
You can continue to use crowdbeamer while it is charging, though it can not function if the battery
level is very low.
The next stage is to
(page 18).
4.2 Activate your device
It is important to activate your crowdbeamer device so that you can receive free firmware updates
during the period of your warranty, and access the configuration settings. It is also necessary to
activate the device to set the number of client devices that can be connected simultaneously to your
crowdbeamer.
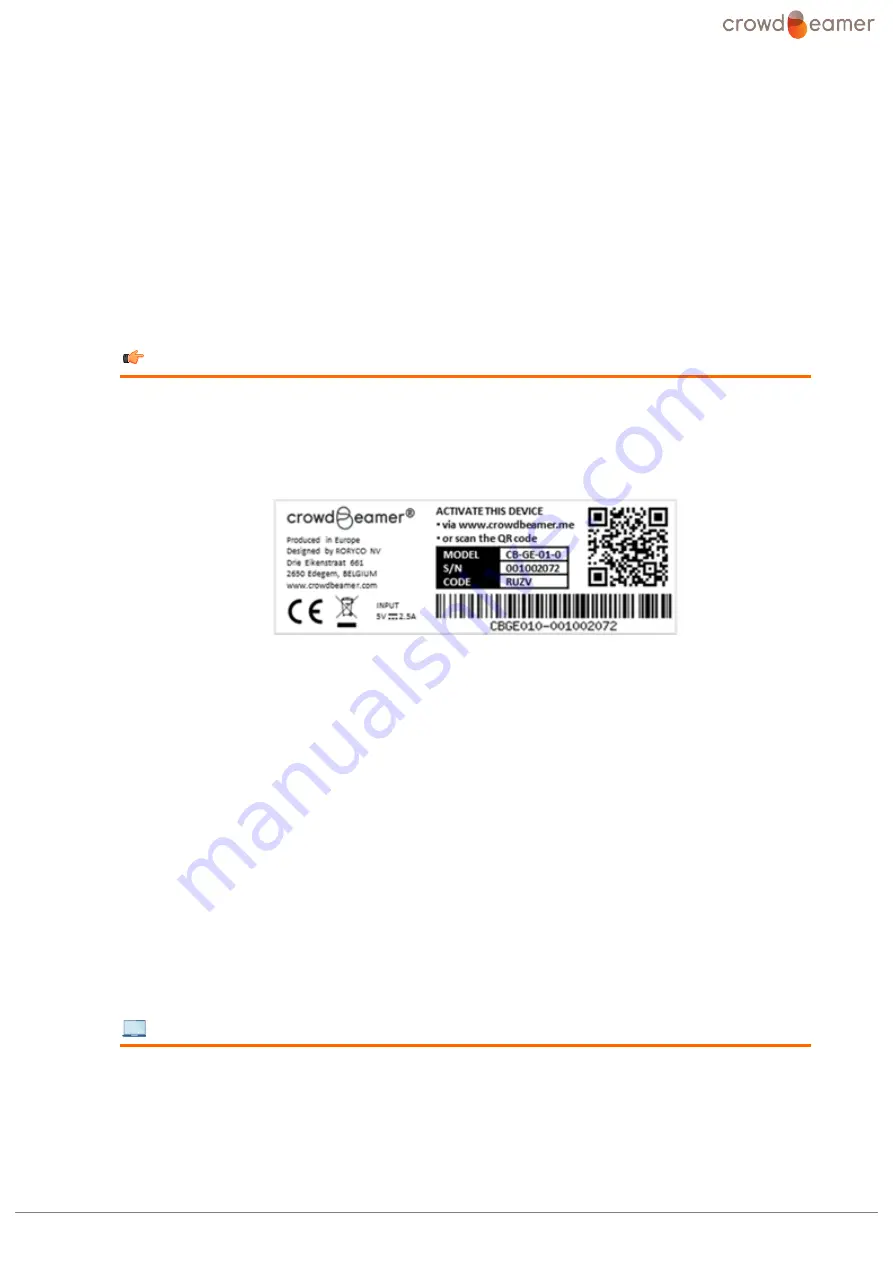
To activate your device
1.
Look at the label on the underside of the device.
2.
Either
scan the QR code using a smart phone or tablet,
or
visit
and enter the serial number (S/N) and the activation code
(CODE) shown on the label.
3.
Follow the instructions on the activation page.
At the end of the activation process, you will receive an "Authentication (Activation) code". Make
a note of this. You will need this code the first time you try to access the
(page
25).
As part of the activation process you will be required to define an administrator password (for the
user admin) that is used to access the device configuration pages. Make a note of this password.
The next step is to
connect your presentation device to crowdbeamer
(page 18).
4.3 Connect your presentation device
crowdbeamer must be connected to the presenter's device that will be shared with the audience.
(page 18).
Connecting to a smartphone or tablet
(page 20).
Connecting to a digital camera
(page 21) (or other device).
Connecting to a laptop
To connect a laptop to your crowdbeamer device you need to have:
- an HDMI or VGA socket on the laptop,
- an HDMI-HDMI or VGA-VGA cable.
18
crowdbeamer device manual
Version 1.2
©
RORYCO NV Last updated 2017-08-26


