3 The crowdbeamer device
The password can be displayed by
setting an option on the System configuration page
30).
6.
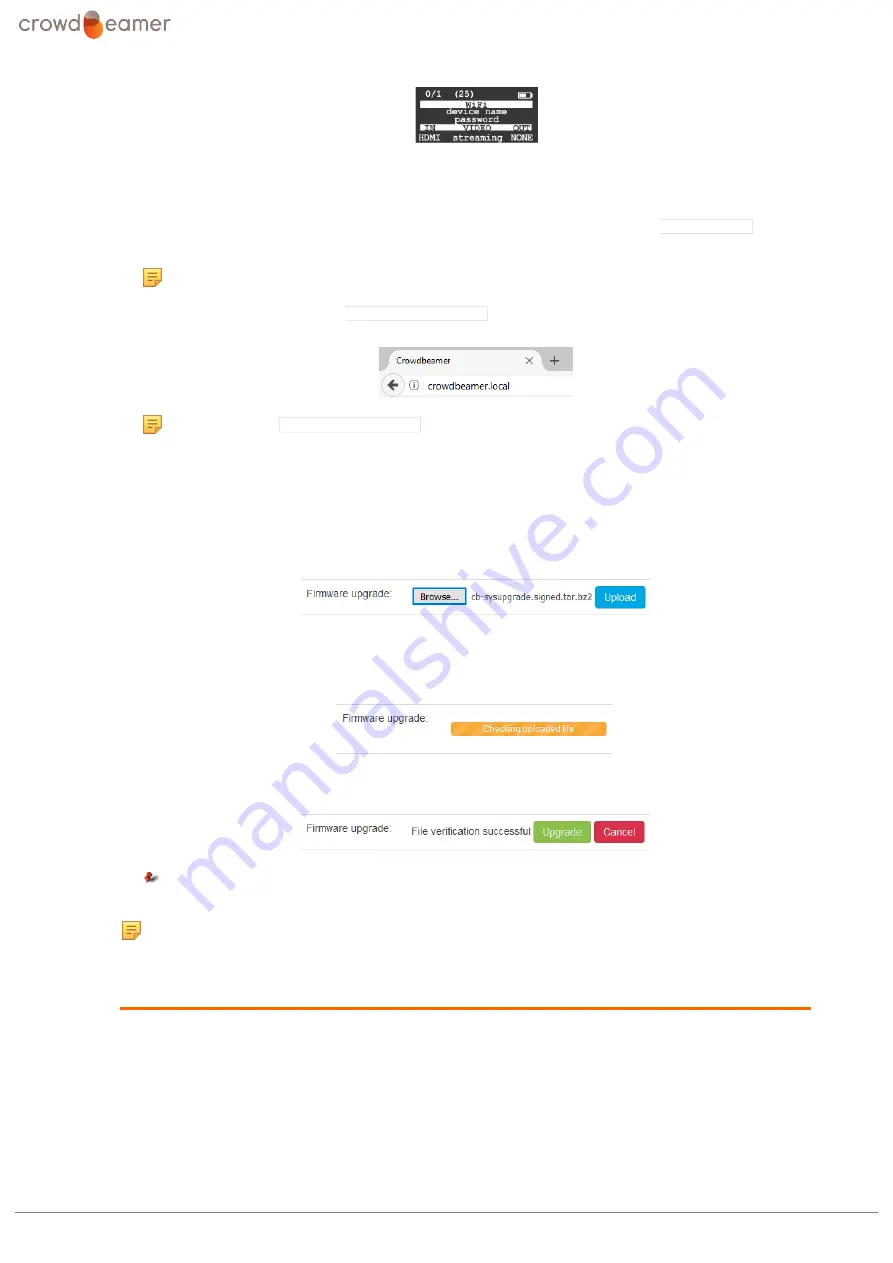
Open a web browser.
7.
In the address field type the local crowdbeamer IP address. By default this is
192.168.0.1
, but it
may have been changed.
Note:
this address is shown in the OLED display.
It is also possible to just enter
crowdbeamer.local
in the address field.
Note:
using
crowdbeamer.local
is not currently supported on Android devices.
8.
Press <Enter>.
9.
Select the "System" page.
10.
Click on the [Browse] button next to
Firmware upgrade
and browse to where you have saved
the .tar file.
11.
Once the file has been selected, its name will appear next to the [Browse] button.
12.
Click [Upload].
The firmware upgrade file will be checked.
13.
Once the upload is complete, click [Upgrade].
Remember:
The firmware upgrade will only be successful if the crowdbeamer is
connected to the mains power supply.
Note:
Crowdbeamer will reboot at least once, and so any devices connected to the
crowdbeamer WiFi will loose their connection.
Upgrading the firmware semi-automatically
1.
Connect crowdbeamer to a Local Area Network (LAN) by plugging in an Ethernet cable.
2.
Switch the power ON.
3.
Check the network connectivity. This will be indicated by a globe icon in the upper right part of the
OLED display.
4.
Connect a PC or tablet to the crowdbeamer private WiFi network.
crowdbeamer device manual
Version 1.2
©
RORYCO NV Published 2017-07-15
15


