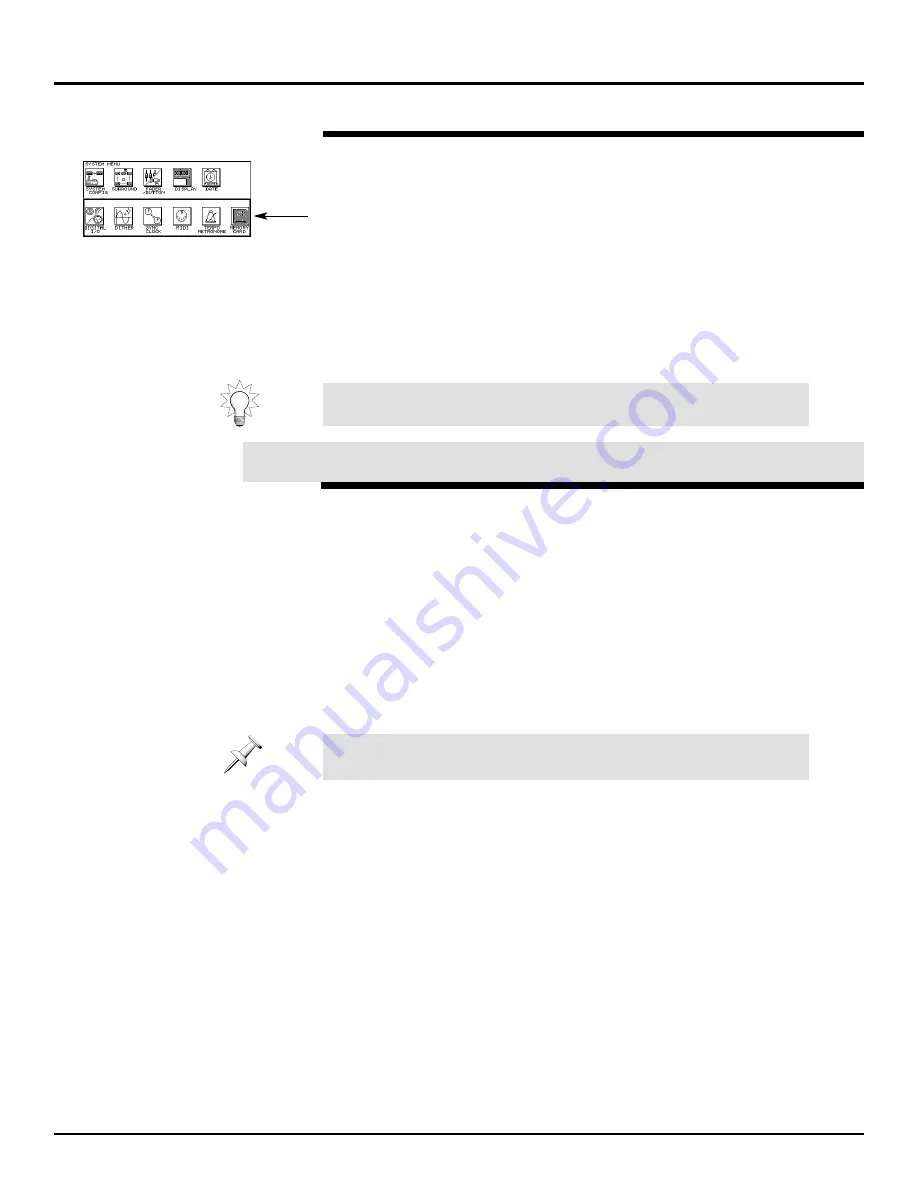
To initialize a memory card:
1.
While holding SHIFT, press PROJECT.
2.
Make sure that the group of icons containing MEMORY CARD is
selected.
3.
Press F6 [MEMORY CARD].
4.
Press F2 [FORMAT].
5.
Press F5 [OK]. The VM-7000 will ask one more time if you’re really
sure that you want to proceed with the initialization.
6.
If you’re sure you want to proceed, press F5 [OK] one more time.
7.
When formatting is complete, press F6 [EXIT].
Once initializing is complete, you can store data from the VM-7000 on
the card.
In the following sections, the VM-7000 will date- and time-stamp the
files we’ll be saving on the memory card. Before proceeding, let’s set
the VM-7000’s internal clock.
1.
Hold down SHIFT and press PROJECT.
2.
Cursor up to select the row of icons that includes DATE.
3.
Press F5 [DATE].
4.
Select the ADJUST DATE and ADJUST TIME boxes at the bottom
of the display.
5.
Turn V1 [YEAR], V2 [MONTH] and V3 [DATE] to select today’s date.
6.
When you’re finished, press F1 [SET].
7.
Turn V4 [HOUR], V5 [MINUTE] and V6 [SECOND] to set the
VM-7000’s time.
8.
When you’re finished, press F1 [SET].
©
2000 Roland Corporation U.S.
Getting Started with the VM-7000
2796US, v1.0
Page 46
Using a Memory Card (Continued)
®ÂØÒňÎ
Application Guide
Getting Started with the VM-7000
With a SmartMedia adapter, sold separately, you can make a backup
copy of a memory card using your computer.
XXXIII. Setting the VM-7000’s Clock
The VM-7000 keeps track of AM and PM using 24-hour numbering,
beginning with midnight: 12 AM is Hour 0, while 11 PM is Hour 23.


