27
Correcting the distance
The scale on the section film may differ slightly from the actual scale, because of expansion or contraction of the
film. The DPX enables correction of the discrepancy by adjusting the scale on the section film to the actual scale,
in order to create precise plottings according to the scale on the section film. See the following examples:
If the distance between the base point and the X correction point is displayed as 140 mm (5-1/2") on the section
film
and the distance between the base point and the Y correction point is displayed as 100 mm (3-15/16"):
The distance between the
base point and the Y
correction point is displayed
as 100 mm (3-15/16") on the
section film.
Base point
Y correction point
The distance between the base point and the X correction
point is displayed as 140 mm (5-1/2") on the section film.
X correction point
10 mm (3/8")
10 mm (3/8")
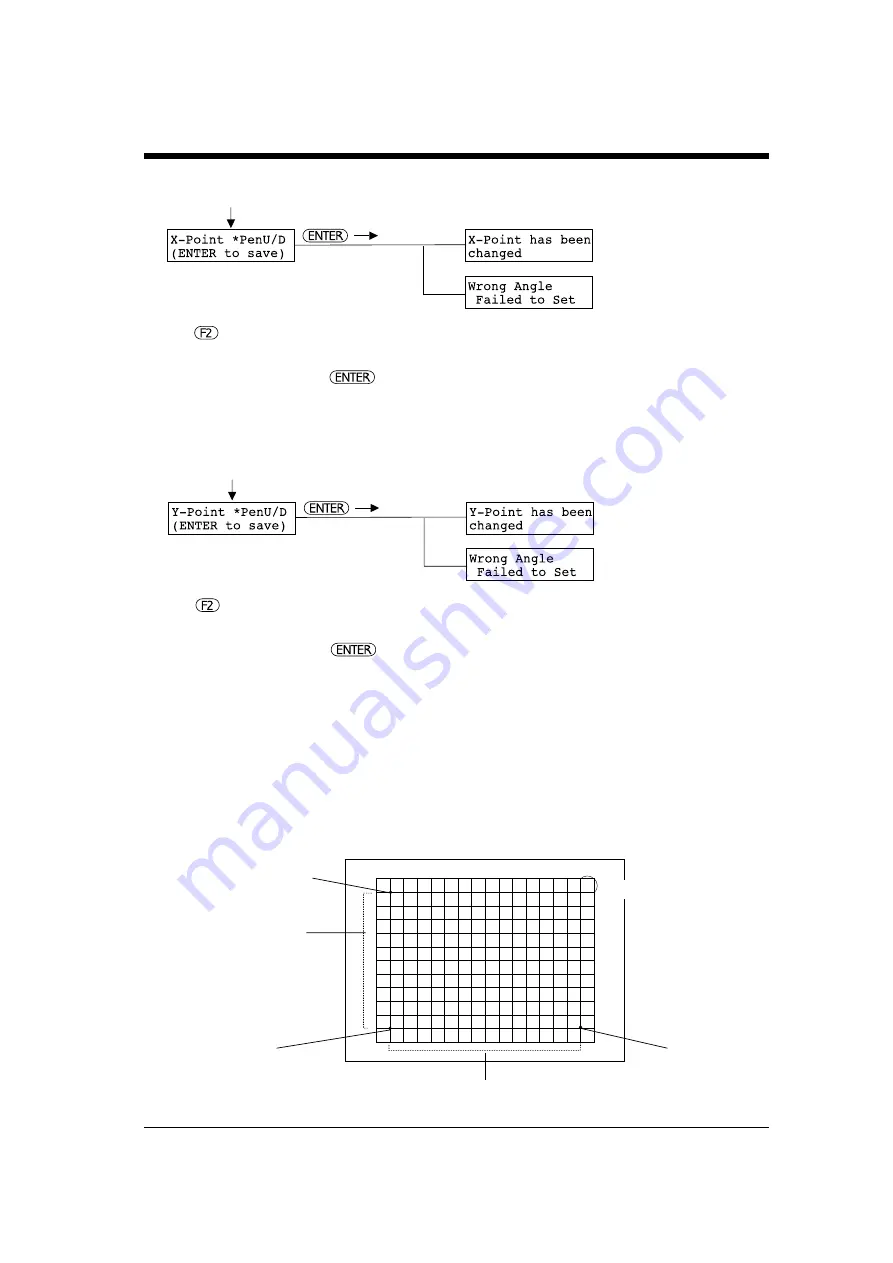
3) Setting the X correction point: [X-Point]
In the illustration under [Example of setting
the points] on page 25, refer to 3) X correction
point and use the position keys to move the pen
carriage to the X correction point.
Press to move the pen up or down, make
sure that the tip of the pen (or the position of
the digitizing scope pointer) is aligned with the
X correction point, then press the key.
* If the angle with the base point is –5¡ or more, the X
correction point cannot be set. In this case, the display
returns to the base point setting screen. Re-load the sheet,
refer to Adjust the scale at the lower-left corner on page
26, and carry out the procedure again.
After setting the base point
When X correction point is set,
and the menu to set the Y
correction point will be displayed.
4) Setting the Y correction point: [Y-Point]
When Y correction point is set,
and the menu to set the correcting
the distance will be displayed.
In the illustration under [Example of setting
the points] on page 25, refer to 4) Y correction
point and use the position keys to move the pen
carriage to the Y correction point.
Press to move the pen up or down, make
sure that the tip of the pen (or the position of
the digitizing scope pointer) is aligned with the
Y correction point, then press the key.
* If the angle with the base point is –5¡ or more, the Y
correction point cannot be set. In this case, the display
returns to the base point setting screen. Re-load the sheet,
refer to Adjust the scale at the lower-left corner on page
26, and carry out the procedure again.
After setting the X correction point
Summary of Contents for DPX-2700A
Page 1: ...USER S MANUAL DRAFTINGPLOTTER DPX 3700A DPX 2700A ...
Page 10: ...viii MEMO ...
Page 59: ...R8 991012 ...


