13
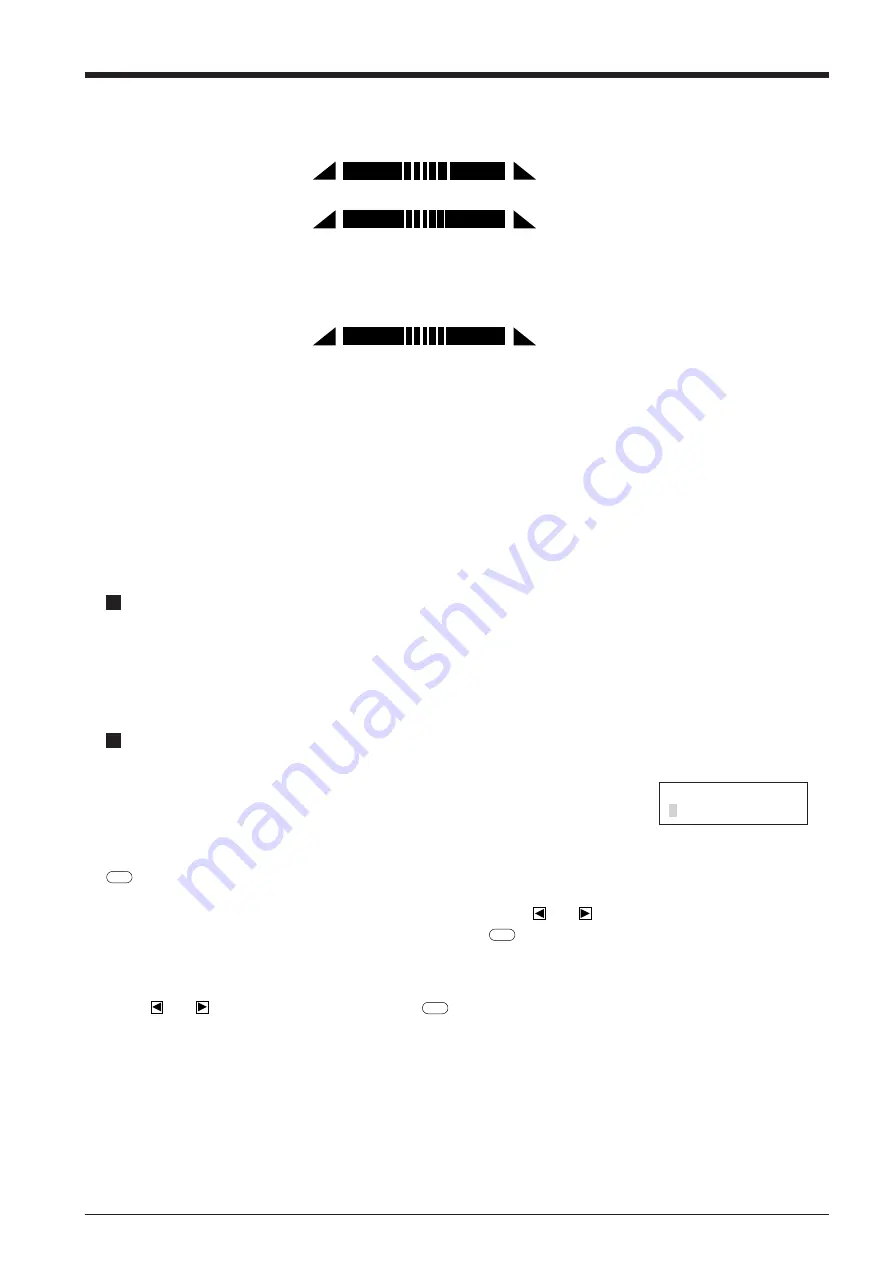
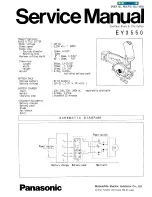
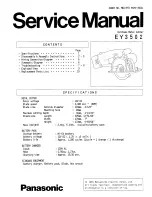
Cutting speed
Blade force
Blade compensation
Too fast
Too slow
Too large
Too small
Too large
Too small
Cutting takes more time.
Some parts of the sheet remain uncut.
• The sheet is easily torn.
• The cutter requires frequency replacement
• The blade pierces the sheet.
• Cutting extends through the base paper, and
normal advancing of the sheet becomes impossible.
• The unit suffers damage.
Some parts of the sheet remain
uncut.
Corners flare outward, with "horns."
Corners are rounded.
Incorrect cutting conditions may cause symptoms such as those described below. Take care to ensure that the cutting conditions are
correct.
For Materials with a Strong Adhesive Layer
If you are using a material with a strong adhesive layer, the adhesive layer may adhere to itself immediately when cut. This means
that even though the material has actually been cut, it may appear as if it has not been cut, and blade force may mistakenly be set too
high.
If a cutting test shows that the material peels easily and the blade traces on the carrier paper are optimal, then the material is
being cut. Take care not to set the blade force excessively high.
3-6 Downloading Cutting Data
The unit will begin cutting when it receives cutting data sent from computer.
Software Setting
When cutting with commercially available application software, select PNC-1860/1410/1210 as the setting for the output device.
If the PNC-1860/1410/1210 cannot be selected, choose any model in the PNC-1850, PNC-1200, PNC-950 or PNC-900. (These
models support CAMM-GL III.)
Select either the parallel (Centronics) or serial (RS-232C) interface. Choose the one that the host computer and the PNC-1860/
1410/1210 are connected by.
Continue cutting
Make sure the blinking cursor is at "CONT" and press the
ENTER
key. Cutting is resumed.
Pausing Cutting Operations
If you want to stop the PNC-1860/1410/1210 momentarily while it is performing cutting, follow the procedure described below.
Checking the Status of Cutting
The tool carriage can be moved toward the control panel to allow the cutting status to be checked visually.
Use the
and
keys to choose "VIEW" and press the
ENTER
key. The tool carriage moves toward the control panel. To resume
cutting, follow the procedure described in "Continue cutting" above.
PAUSE ON
CONT. STOP VIEW
Cutting is paused and the screen shown at right appears on the display.
Abort cutting
First of all, stop the flow of data being sent by the
computer.
Use the
and
keys to choose "Stop" and press the
ENTER
key. Cutting stops and the display returns to the top
menu.
Summary of Contents for Camm-1 Pro GX-640
Page 8: ...v MEMO...
Page 38: ...30 Automatic backspace 13 CHARACTER SET...
Page 41: ...R9 980506...


