Chapter 3 Functions for Master Making
85
3
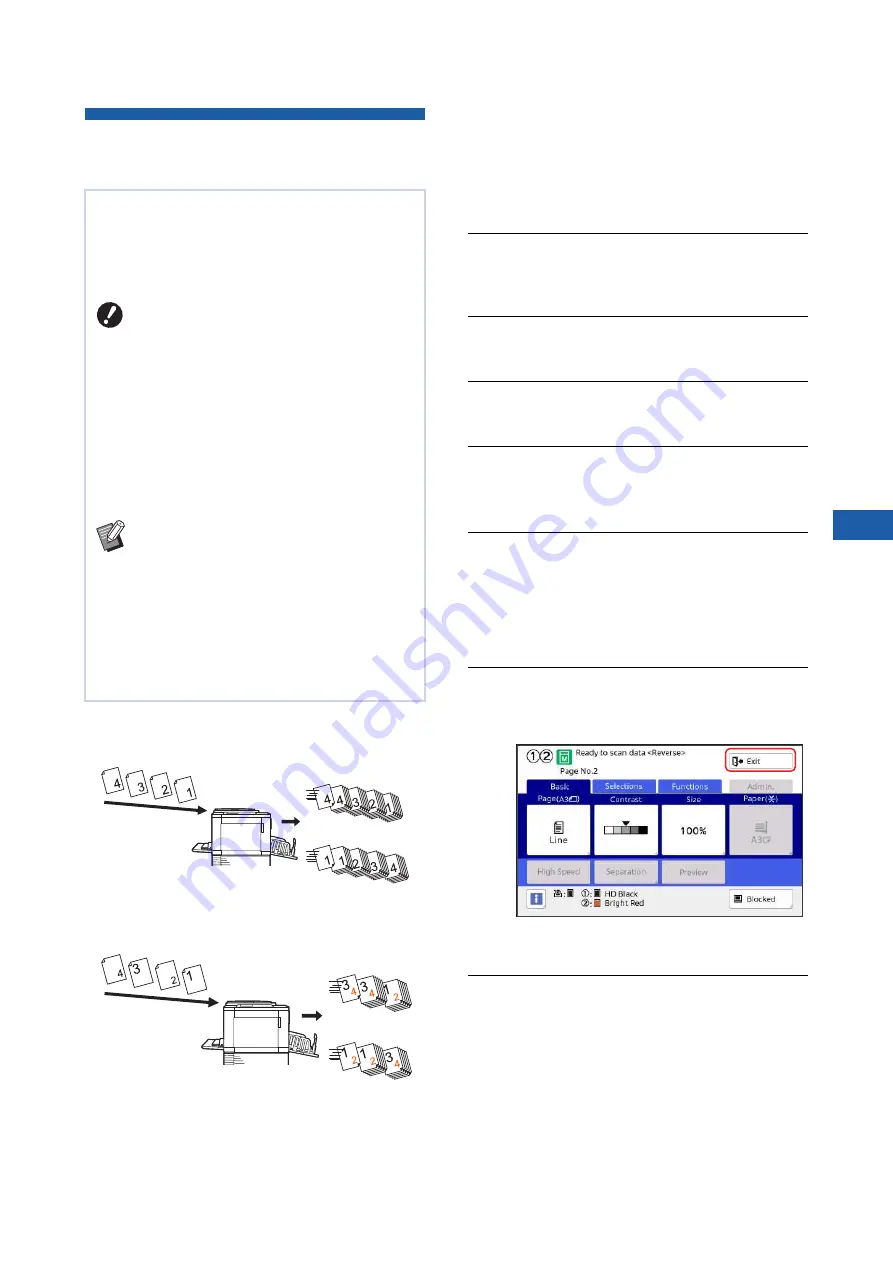
Printing from the Last Page
[Output reversal]
■
Mono-color mode
■
Dual-color mode
1
Place an original.
Place originals on the glass platen or the
optional auto document feeder.
In dual-color mode, first place the original for
print drum (cylinder) 1.
(
2
Place the paper.
30 “Setting up the paper feed tray and the
3
Set the paper receiving tray.
31 “Setting up the paper receiving tray”)
4
Touch [Output reversal] in the
[Functions] tab screen.
5
Set the other required printing
conditions.
52 “Functions for Master Making”)
6
Press the [START] key.
Scanning of the original starts.
If you placed an original on the glass platen in
step 1, place the original that is to be scanned
next and then press the [START] key every
time the scanning of one original is finished.
7
Touch [Exit].
When scanning is complete for all the originals,
touch the [Exit] button.
A screen is displayed to confirm the start of
master making.
8
Touch [Yes].
Master making starts.
The basic screens for master making and print-
ing for a data original are displayed.
You can print in reverse order of the scanning order
of paper originals.
This option is useful when you want to place the
first page of the printed paper on the top in the
paper receiving tray.
B
To use [Output reversal], it is necessary
to install a memory card in this
machine.
B
[Output reversal] is performed by tem-
porarily saving the scanned original
data in the [Storage] area. If the amount
of space in [Storage] becomes insuffi-
cient during scanning of the originals, a
message is displayed. In this case,
delete original data that is saved in
[Storage] to secure enough space, and
then retry scanning the originals.
B
You cannot use this function with the fol-
lowing functions:
C
C
C
C
C
C
C
C
Flow of origi-
nals
Normal printing
Output reversal
Before scanning originals
Order of output
Flow of origi-
nals
Normal printing
Output reversal
Before scanning originals
Order of output
Summary of Contents for MH 9350
Page 21: ...Chapter 1 19 1 About This Machine ...
Page 31: ...29 2 Chapter 2 Basic Operations ...
Page 53: ...51 3 Chapter 3 Functions for Master Making ...
Page 97: ...95 4 Chapter 4 Functions for Printing ...
Page 109: ...107 5 Chapter 5 Useful Functions ...
Page 130: ...Chapter 5 Useful Functions 128 ...
Page 131: ...129 6 Chapter 6 Functions for Scanning ...
Page 137: ...135 7 Chapter 7 Setting the Operation Conditions ...
Page 159: ...157 8 Chapter 8 RISO Console ...
Page 165: ...163 9 Chapter 9 Replacing Consumables ...
Page 177: ...175 10 Chapter 10 Maintenance ...
Page 181: ...179 11 Chapter 11 Troubleshooting ...
Page 205: ...203 12 Chapter 12 Appendix ...
Page 215: ...Chapter 12 Appendix 213 12 V View edit 48 W WAKE UP key 23 Z Zoom 71 ...


