|3
EN
2
1. INTRODUCTION
Our congratulations for having purchased a quality product.
To ensure a trouble-free functioning of your appliance we
recommend you to thoroughly read through the present instructions
and to strictly observe the suggestions contained herein at all times.
By cleaning and servicing your appliance regularly and expertly you
will ensure a long-lasting functioning over many years.
RIKA is always ambitious to provide an excellent service. Have a
good time, enjoying the cosy warmth of your RIKA stove as often as
you wish.
RIKA Innovative Ofentechnik GmbH
2. COMMISSIONING
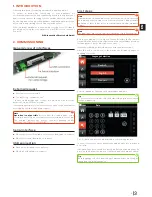
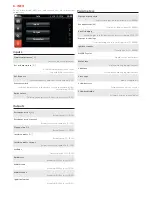
General view of interfaces
External request
Q
External room thermostat*
Q
Contactor (e.g. exhaust hood)*
* remove cable bridge and connect a 2-pin cable with a section
between 0.5 and 0.75mm
2
instead.
It will take approximately 1 minutes for your stove to shut down after
receiving an external shut-down request.
Note
Operation is not possible
unless either the cable bridge, or an
external request (e.g. an external room thermostat) are connected.
The external request has priority over all operating modes
(MANUAL / AUTOMATIC / COMFORT).
Serial interface
Q
RIKA room sensor/ RIKA radio room sensor (available on request)
Q
RIKA GSM Control (available on request)
USB connection
Q
Flash drive (included in the delivery)
Q
RIKA firenet (available on request)
First steps
Note
Manipulations on hardware components may only be performed
by a trained expert dealer or our customer service. Inappropriate
handling of these parts will void contractual and legal warranty
claims!
Note
The appliance may only be put into operation if fully assembled!
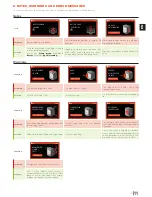
Before your appliance is energised for the first time, the flash drive
(included in the delivery) must be inserted into the interface provided
for that purpose at the rear side of the stove.
Install the software as described in the attached instructions.
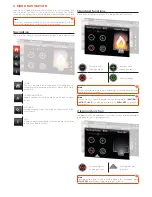
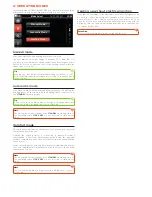
After the unit is connected to the mains, the display changes to
Language Selection.
Français
Deutsch
English
Language Selection
Select a language. Subsequently, adjust date and time.
Tip
To prevent incorrect input, only the permissible digits are released
for each input step.
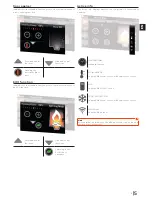
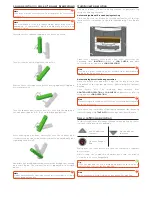
Date
10
|
2016
DD
MM
JJJJ
The “C” button deletes the input within a selected display box.
In case of erroneous entry, depress the appropriate box to make a
new entry.
If all data have been entered correctly, an Enter button appears. By
pressing this button, the input is confirmed and the data are saved.
Tip
Both language selection and setting of date and time must only be
carried out on initial operation.


