


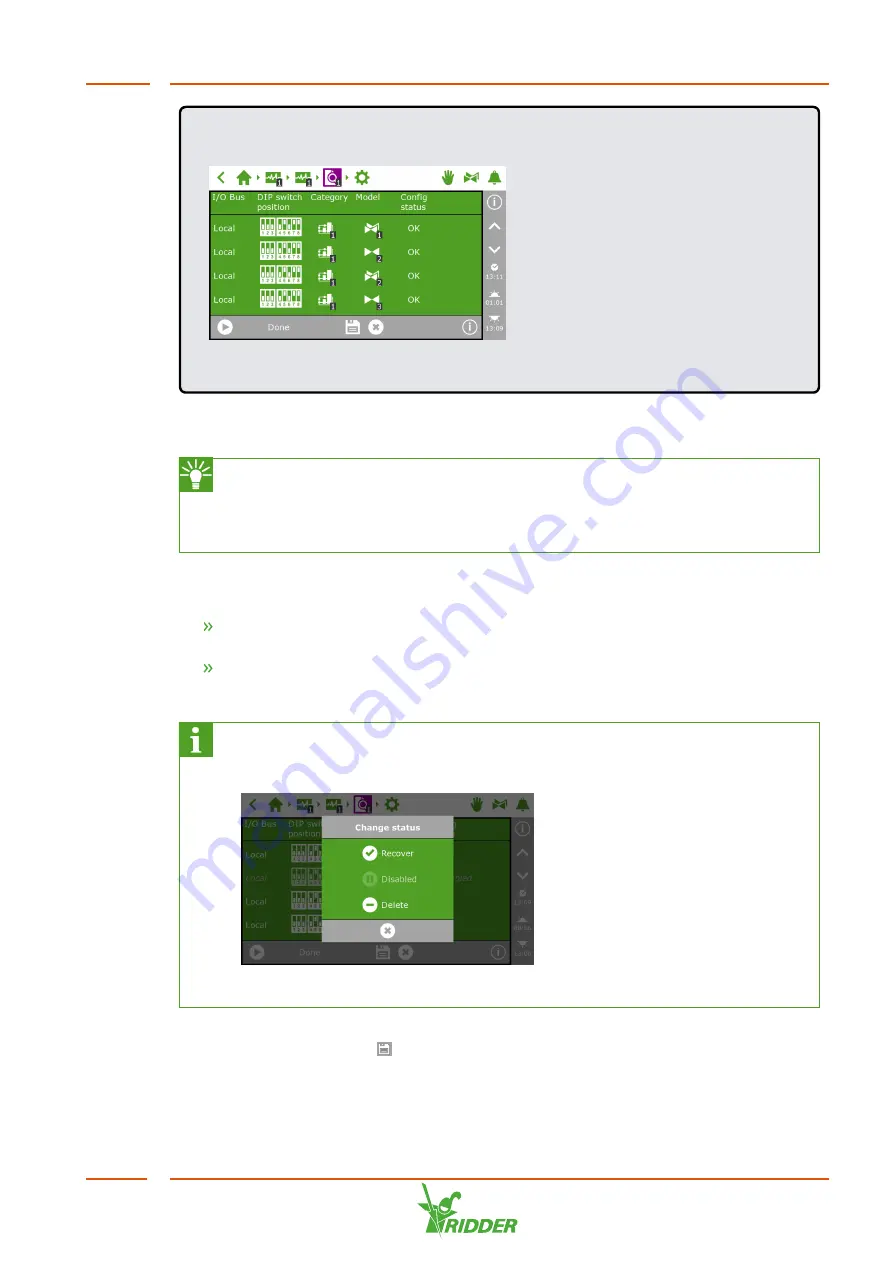
EXAMPLE
Figure 5-2:
Smart Switches found in the system.
If Smart Switches are found that are not used or connected, then remove these from
the configuration.
The system automatically configures eight valves and eight valve groups for
every Valves Smart Switch. Remove any valves and valve groups that you are
not going to use. However, keeping one extra valve group may be useful for
the occasional application of irrigation starts with different settings.
You can remove a Smart Switch from the configuration by changing its configuration
status. Do this as follows:
Tap the Smart Switch that you want to disable/remove. A pop-up menu
appears.
Select the desired status.
The status has been changed.
If necessary, you can restore the previous configuration status. To do this,
repeat the above steps and select the 'Recover' status.
Figure 5-3:
Changing status
Once you have checked all the components and made sure the configuration is
correct, tap the save icon ‘
'. The system updates the configuration automatically
and then takes you to the home screen.
HortiJet-Go!
35