


EXAMPLE
Figure 5-1:
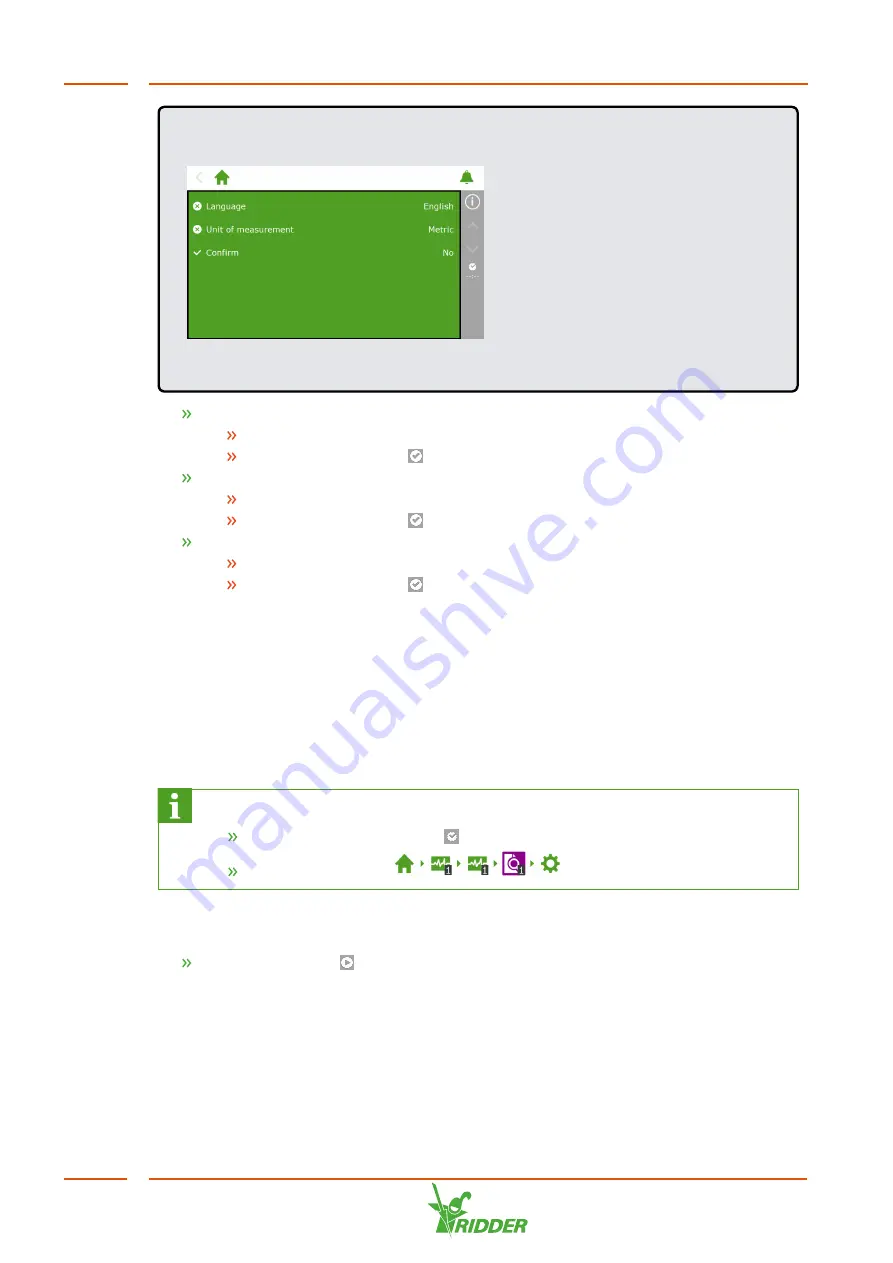
Start-up menu
Tap the
Language
setting. A pop-up menu appears.
Select the desired language.
Tap the confirm icon ‘
’.
Tap the
Unit of measurement
setting. A pop-up menu appears.
Select the desired unit of measurement.
Tap the confirm icon ‘
’.
Tap the
Confirm
setting. A pop-up menu appears.
Select Yes.
Tap the confirm icon ‘
’.
You have now completed the necessary steps in the start-up menu. The scanning
screen opens automatically.
5.2.2
Scanning
The control switches of the HortiMaX-Go! are the Smart Switches. The system needs
to know which Smart Switches are present. For this reason, you need to scan the
system. You can do this from the scanning screen. This screen opens automatically
when you use the system for the first time.
To open the scanning screen manually, proceed as follows:
Tap the system time icon ‘
’ to open the configuration screen.
Navigate the path:
.
Initially, the scanning screen is empty. This means that no Smart Switches have yet
been detected.
Tap the scan icon ‘
'.
The system now starts scanning for Smart Switches. Once scanning is complete, all
Smart Switches detected in the system will appear.
HortiJet-Go!
34