


Chapter 3 Print from Windows 2000/XP/Server 2003
3-8
OG
A
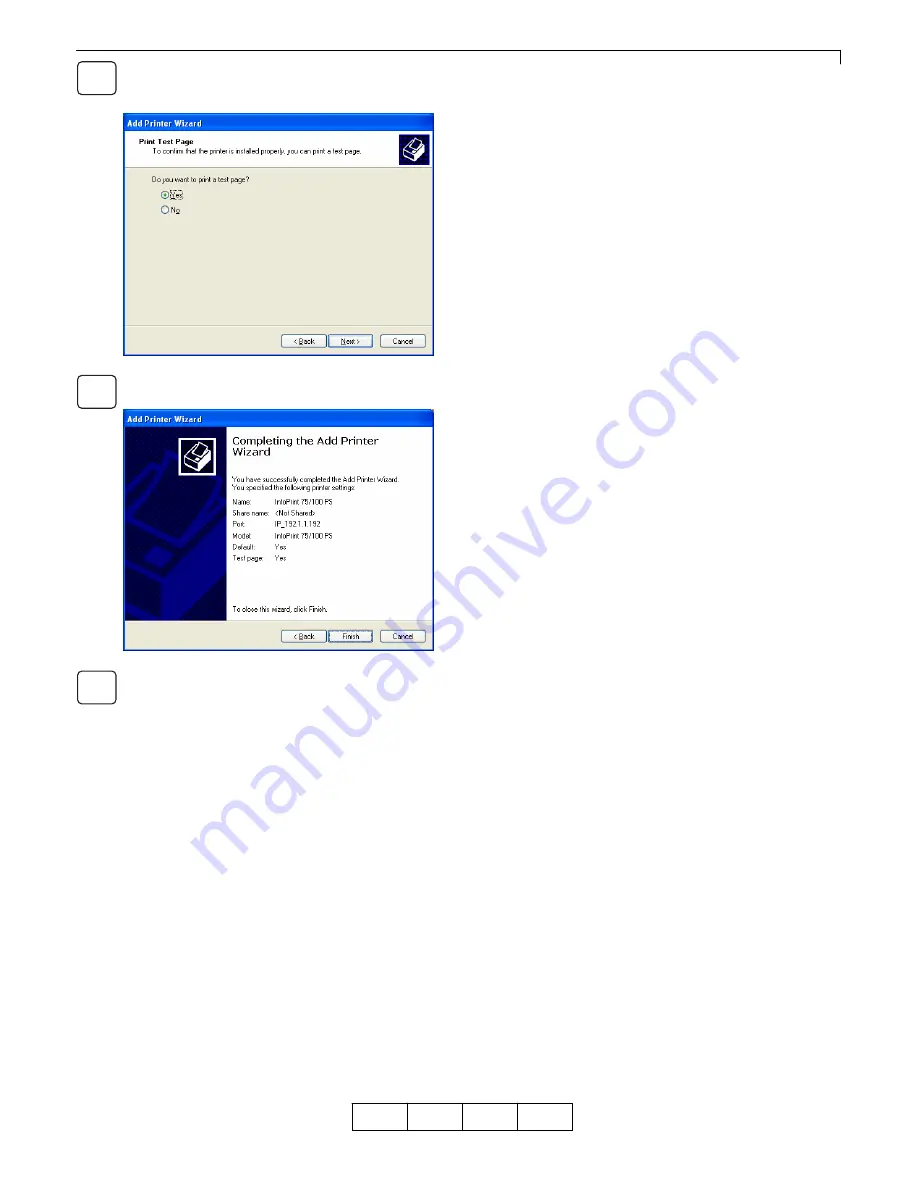
To confirm that the printer is set up and the printer
driver is installed properly, select [Yes], and then
click [Next] to continue.
Click on the [Finish] button to complete the Add
Printer Wizard.
For Windows 2000, the [Digital Signature Not Found]
dialog box is displayed. Click [Yes]. For Windows XP/
Server 2003, the [Install Hardware] dialog box
is displayed. Click [Continue]. The file is copied here
and the printer icon is added to the [Printer] folder.
00
15
16
17


