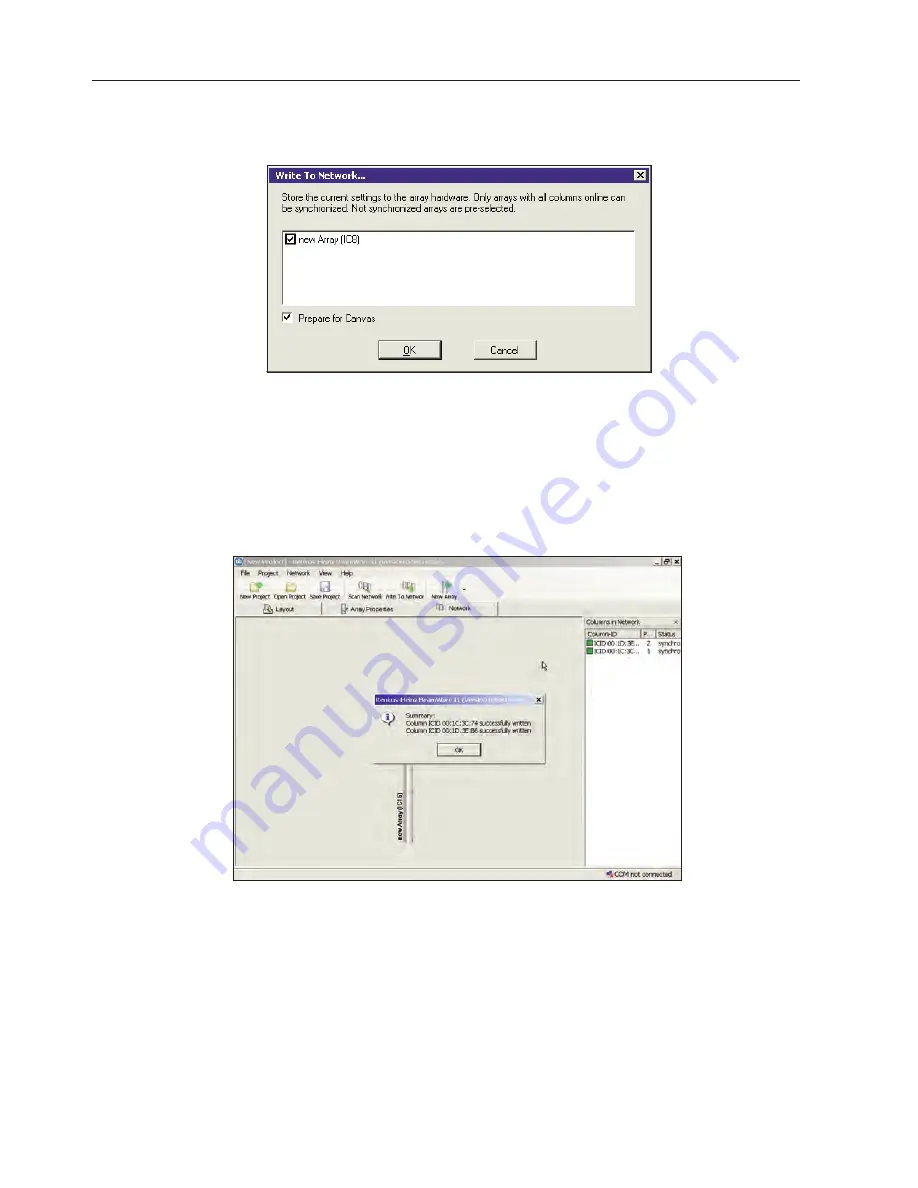
The final step is to load the configuration (setup) files into the arrays. Pressing the Write to Network button in the Tool Bar will open the
screen shown below
The array listing and associated check boxes allow you to choose the arrays that will be configured. During the process, the program will
assign numbers (1 to 8) to the arrays for use by Canvas.
OK the prompt. When the files are successfully loaded a Prompt will appear (see below) informing you the data has been successfully
loaded. The red boxes in the Column listing will also turn green as a visual indication of their status.
The arrays are now configured and ready to use.
Now, to return to the Scan Network setup window and explore the two setup options we ignored earlier (see page 35). The Scan for new
Arrays on network option is similar to the Scan for Columns on network option except that it also identifies previously established Arrays.
In most cases, you will find that this is the case as the Array(s) were created and loaded with default setup parameters during final inspec-
tion at Renkus-Heinz. The default setup information is not uploaded to the Beamware project.
The third option, New Project from network, is used mainly to connect to an existing Iconx installation. It searches the hardware network
and sets up a new project in Beamware ll with all the proper settings and uploads the setup information from the Arrays to the software.
Remember, when Beamware ll is used all the settings are stored in each array.
28
IC Live Users Manual, ICL-F & ICL-F-DUAL


