24
b) Calibrating the quadcopter
If the model can no longer hover on the spot (e.g. after a crash), the sensors must be recalibrated. Place the quad-
copter on a level surface.
Now press and hold down the "Calibrate" button on the transmitter (Figure 4, no. 8) for approx. three seconds. The
LEDs on the model will flash very quickly. The LEDs will stay solid when calibration is complete.
c) Headless mode
The headless mode is a relative control mode, i.e. no matter how the quadcopter is oriented, it always flies to the right
from the pilot’s perspective if you steer to the right. It does not matter whether the model camera is facing backwards,
to the left, forwards or to the right. For the pitch and roll control functions, the quadcopter is thus always given the
direction in which it should fly with the built-in compass.
Because it is normally necessary to rethink the controls the moment a model aircraft flies towards you (you steer to
the left, but the quadcopter flies to the right), headless mode can help by doing this rethinking for you. No matter which
way the quadcopter is facing, this type of relative control can help beginners especially to get fast results. However, if
you want to learn to fly correctly, you should not get too used to flying in headless mode and learn "normal" steering.
To enable headless mode, briefly press the headless mode button before take-off or during flight operation (Figure 4,
no. 14). You will hear a beep. This beep indicates that the headless mode has been enabled and will be heard until
you disable the "Headless mode" by pressing the button again.
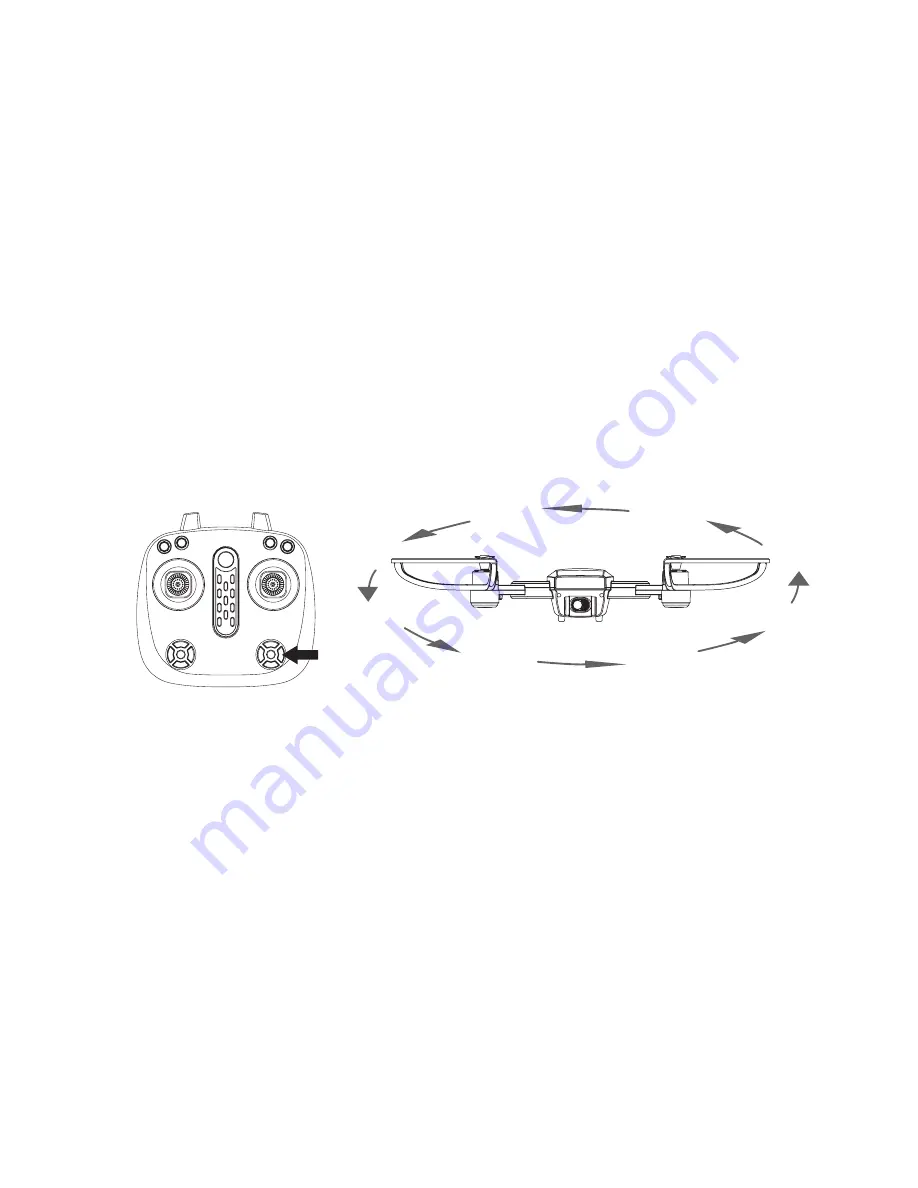
Figure 11
When the headless mode is enabled, the flight movements of the model will always follow the control directions of the
hand-held transmitter (regardless of the angle of the quadrcopter to the pilot). If you steer the right control lever on the
transmitter (Figure 4, no. 13) forward, the quadcopter will always move away from you. When steering to the right, the
quadcopter will always move to the right.


