生活美好,臂不可少
http://www.realman-robotics.com
89
bottom to top of the robot. After the teach pendant software is connected to the robot,
the maximum speed, acceleration, minimum and maximum angles of the joints will be
displayed in the corresponding position in the software automatically.
Note:All parameters of the RM robot arm have been configured to the best state
before leaving the factory, and it is not recommended that the user modify the
underlying parameters of the joint. If the user really needs to modify, first of all, the
robot arm should be in a disenabled state, and then send a modified parameter
instruction, after the parameter setting is successful, send the joint recovery enable
instruction. It should be noted that when the joint is restored, the user needs to ensure
that the joint is in a static state to avoid positioning errors in the joint during the
activation process. After the joint is enable, the user can control the joint movement.
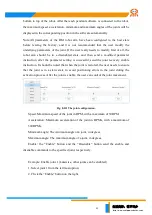
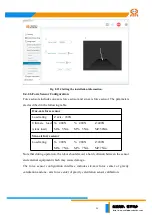
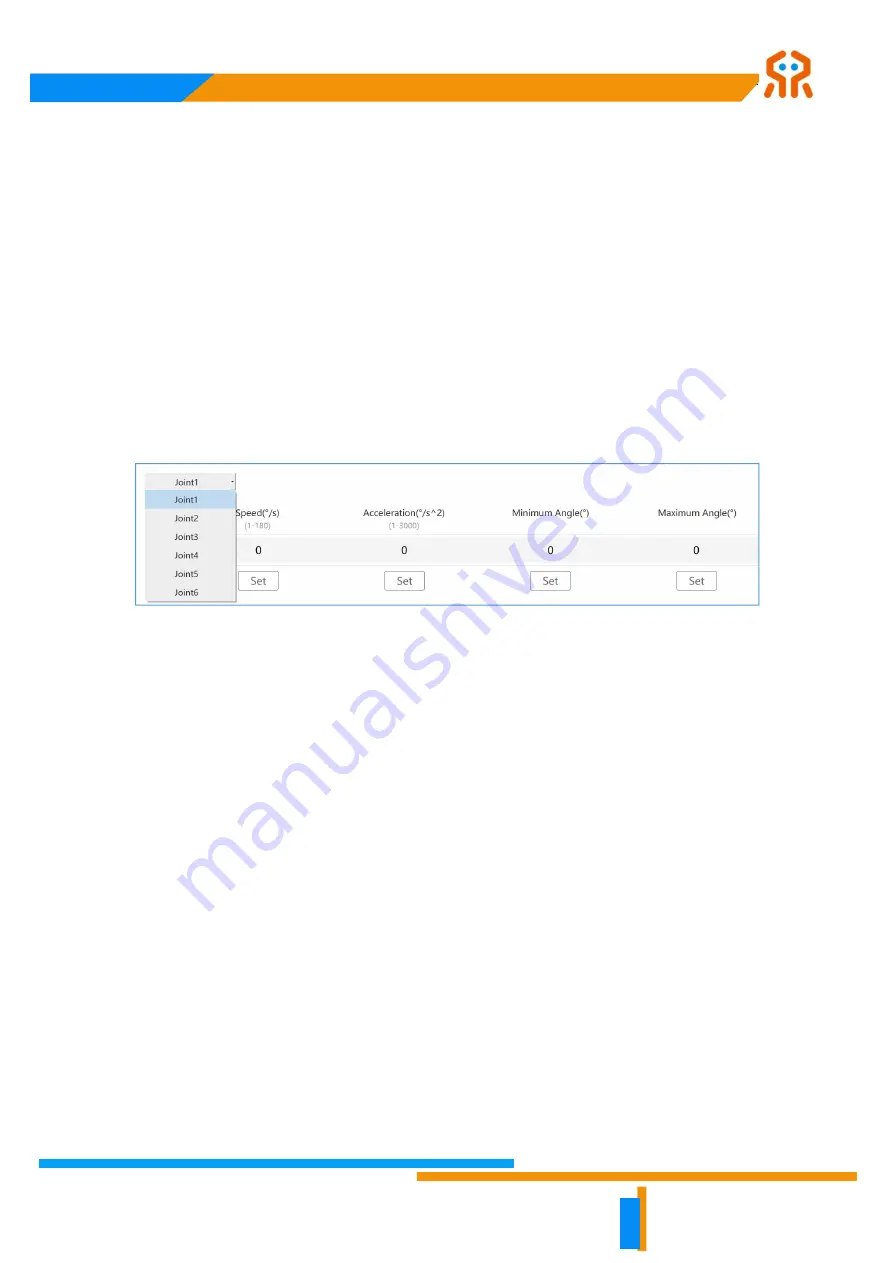
Fig. 8-111 The joint configuration.
Speed: Maximum speed of the joint in RPM, with a maximum of 30RPM.
Acceleration: Maximum acceleration of the joint in RPM/s, with a maximum of
300RPM/s.
Minimum angle: The minimum angle of a joint, in degrees.
Maximum angle: The maximum angle of a joint, in degrees.
Enable: the “Enable” button and the “Disenable” button send the enable and
disenable commands to the specified joint, respectively.
Example: Enable joint 1 (Likewise, other joints can be enabled.)
1. Select joint 1 from the leftmost option.
2. Click the “Enable” button on the right.

