14
RealCareer® Welding Solutions – guideWELD® LIVE real welding guidance system
Speed Sensor
(setup)
There are three levels of Speed Sensor: Bind, Test Channels and Identify. Read the
information below for the steps and purpose of each level.
Bind
Each system goes through a binding process when it leaves the factory floor. Binding is
when the Helmet of the guideWELD LIVE system is associated with the Speed Sensor. The
purpose of doing this is to have that Speed Sensor and Helmet communicate data to one
another. The pieces are not connected by cabling; the unit sends radio waves from the Speed
Sensor to the Helmet to tell the user what their speed is during an actual weld. Each Helmet
and Speed Sensor must bind to be able to communicate and send data from Speed Sensor
to Helmet.
All Speed Sensor and Helmets can be re-bound to another Helmet and/or Speed Sensor.
Bind Instructions:
1. Turn on Helmet and Speed Sensor
2. Go to the Main Menu, select Setup and press the menu select button
3. Choose Bind. Press the menu select button
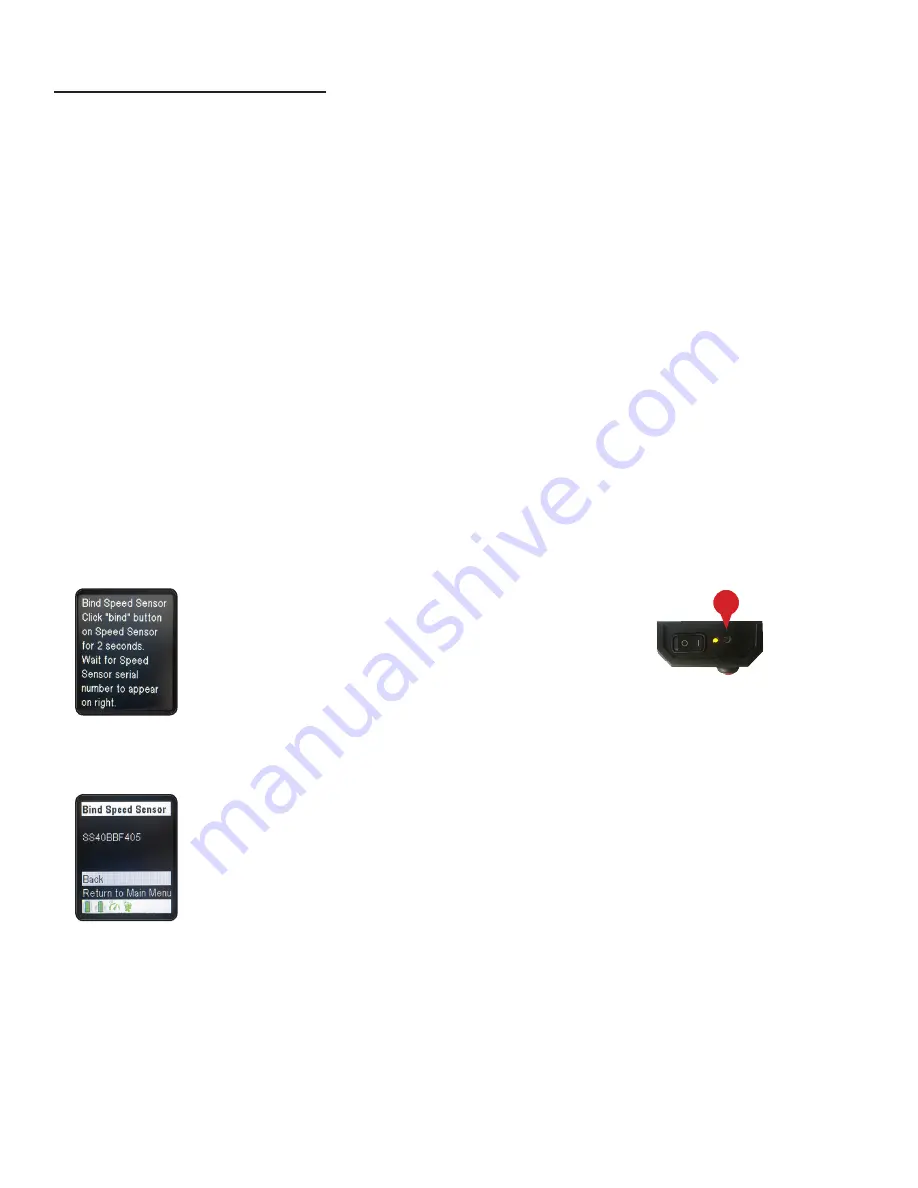
4. Take a pointed object (paper clip point, screw driver tip) and press the bind button for
two seconds
5. View the lower right helmet screen. After binding the screen will display the new Speed
Sensor serial number
NOTE:
It is recommended to store the Helmet and Speed Sensor together or
mark them to reduce the need to bind in the future.
NOTE:
The bind button is a small recessed button
located on the Speed Sensor next to the power
button. The Speed Sensor “arc off” guidance
lights light up and start to scroll. This may take up
to two minutes for it to correctly bind.
Speed Sensor Setup continued on the next page >
4


