


Chapter 8: Security Management
131
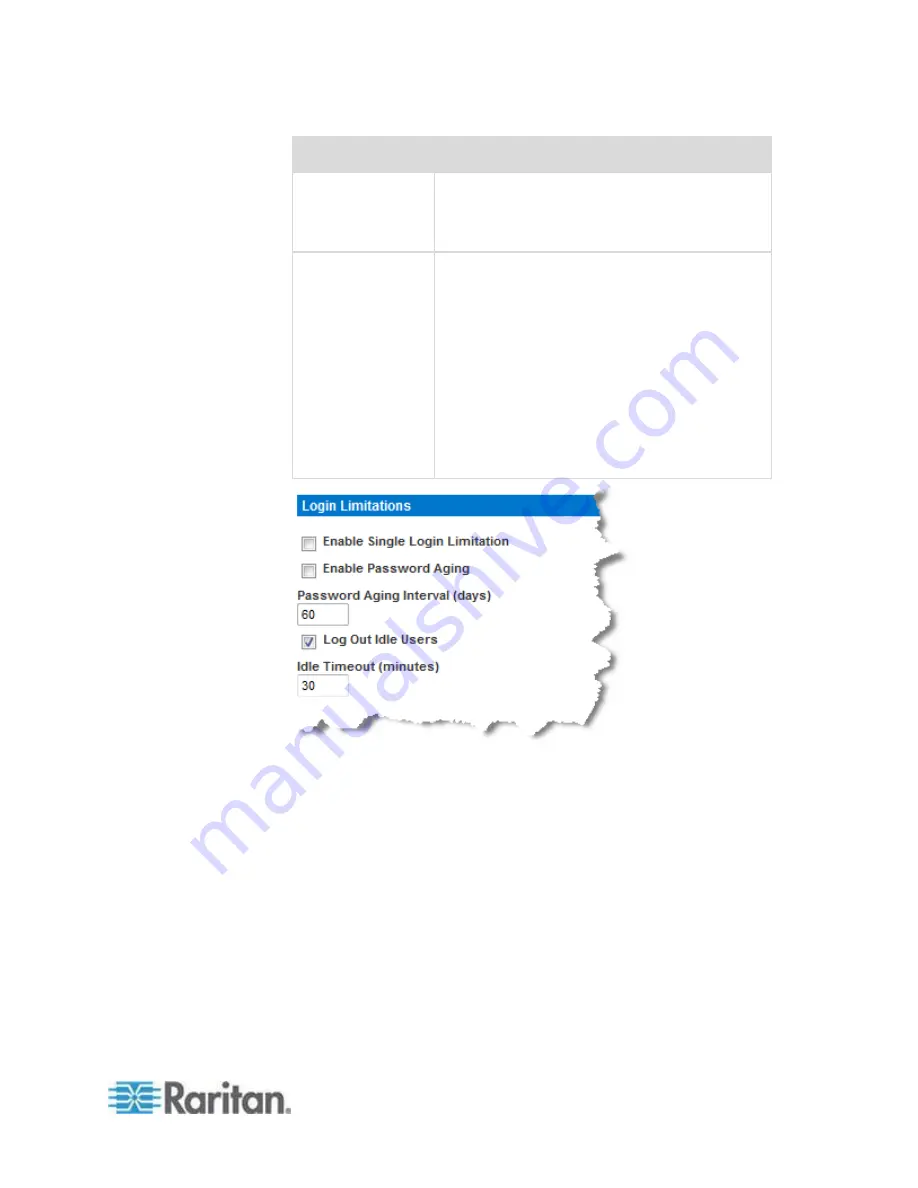
Limitation
Description
This field is enabled and required when the
Enable Password Aging checkbox is selected.
Enter the number of days after which a password
change is required. The default is 60 days.
Log out idle users,
After (1-365
minutes)
Select the "Log off idle users" checkbox to
automatically disconnect users after the amount
of time you specify in the "After (1-365 minutes)"
field. If there is no activity from the keyboard or
mouse, all sessions and all resources are logged
out. If a virtual media session is in progress,
however, the session does not timeout.
The After field is used to set the amount of time
(in minutes) after which an idle user will be
logged out. This field is enabled when the Log
Out Idle Users option is selected. Up to 365
minutes can be entered as the field value


