


MicroRAE User’s Guide
22
7.3. Testing Alarm Indicators
Under normal-operation mode and non-alarm conditions, the buzzer, vibration alarm, LED, and
backlight can be tested at any time by pressing [Y/+] once.
IMPORTANT!
If any alarm does not respond, check MicroRAE’s alarm settings to make sure all alarms
are enabled (selected setting under Programming/Alarms/Alarm Settings should be “All
Enabled”). If any alarms are enabled but not functional, the instrument should not be
used.
7.4. Glance Mode
Glance Mode allows you to get vital information without turning the MicroRAE on. You can
check information such as the instrument’s model number, installed sensor types, etc., which may
help when taking inventory of instruments and their sensors or when working with service or
support personnel. Glance Mode can be enabled/disabled via ProRAE Studio II.
7.4.1 Enter Glance Mode
Note:
The instrument must be configured so that Glance Mode is turned on (the default mode is
“On”). This can be done in ProRAE Studio II.
With the MicroRAE turned off, press and hold [Y/+] to enter Glance Mode. The feature is
latched, meaning that it runs even after you release the [Y/+] key. If you see the message
“GLANCE DISABLED,” you must configure the instrument to use Glance Mode.
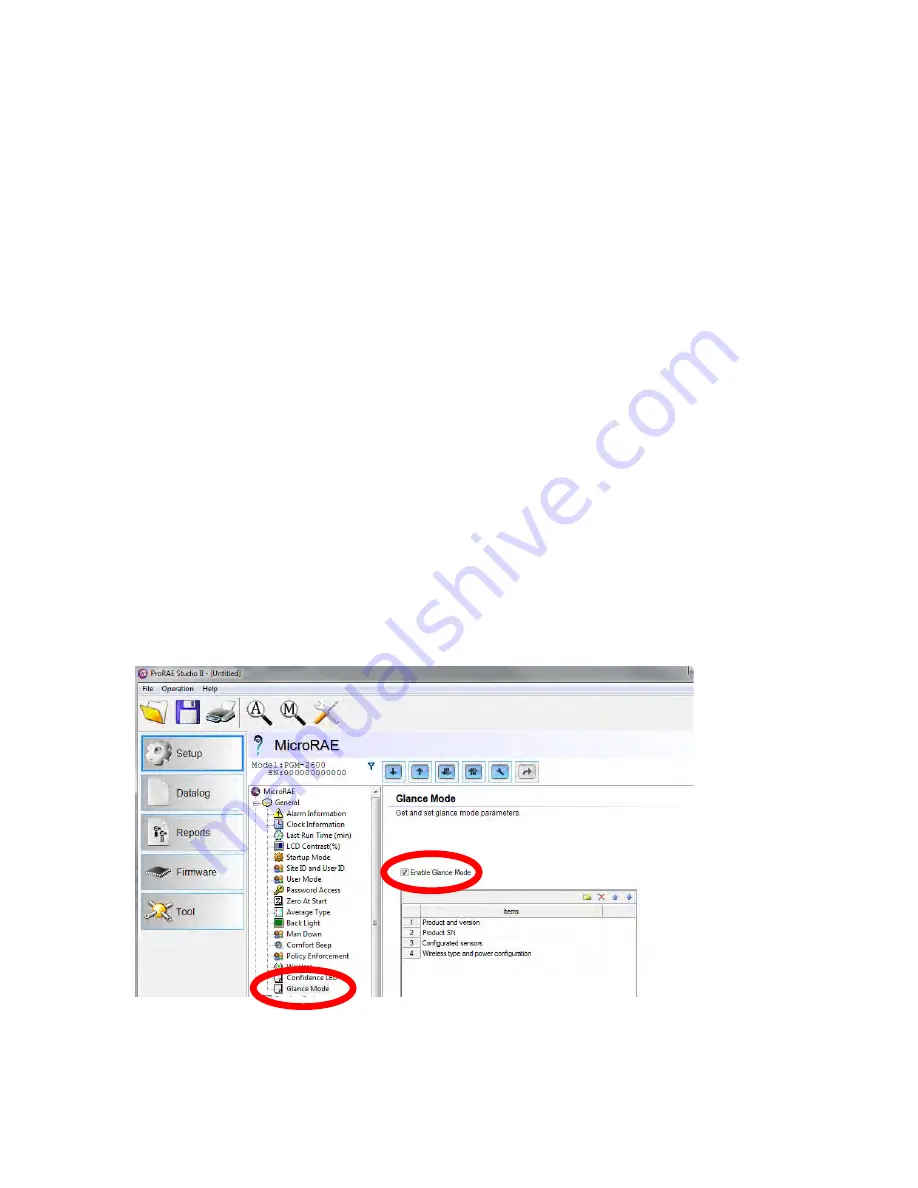
If Glance Mode is enabled, the first screen is displayed. After releasing [Y/+], other screens
release, other screens can be displayed by pressing the [Y/+] Key. In ProRAE Studio II, Glance
Mode can be enabled or disabled by checking or unchecking the box labeled “Enable Glance
Mode.”


