'Managing Calls' | 17
RADVISION | User Guide for SCOPIA XT1000 Version 2.0
Configuring the Monitor
Note:
You can return to the Default Auto settings at any time by holding down simultaneously
and
.
Setting the Monitor Resolution
The rear panel of the XT1000 Codec Unit features 2 HDMI input for connecting a main and auxiliary
screen. For cabling, see the cabling diagram in the Quick Setup Guide.
Your system administrator must configure the system for correct video resolution.
Changing One Monitor Layout
You can connect one monitor to the HD1 output of the XT1000 Codec Unit. Depending on the
configuration, the system is capable of automatically recognizing the presence of one monitor.
When you’re not in a call, you’ll see the local camera image on the display.
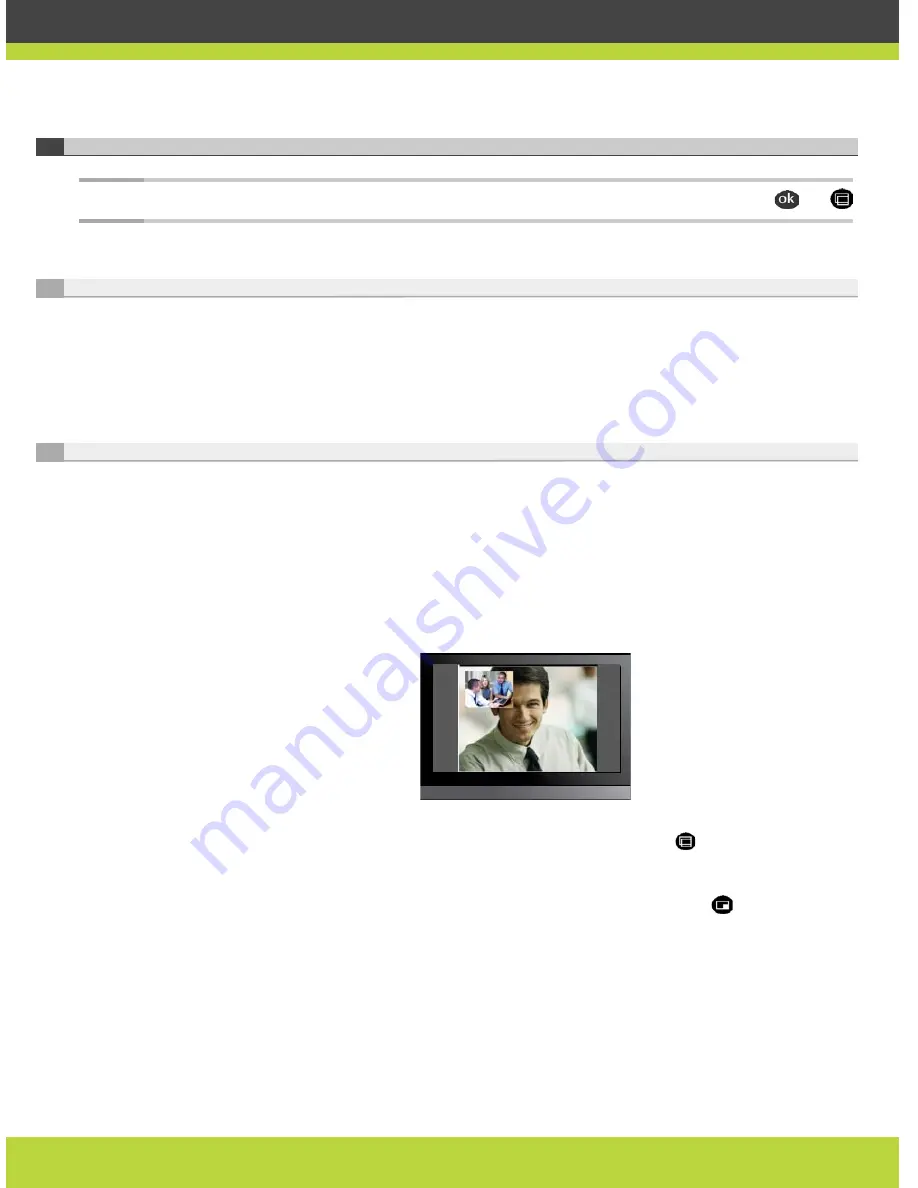
Once in a call, and depending on the system configuration, you may see the remote image in
full-screen format, and the local image in a smaller, overlapping window. This is called a Picture
In Picture (PIP) view. PIP default position is bottom left on the screen.
Figure 3-1
PIP View, Remote and Local Images
To switch the contents of the windows while staying in PIP view, press
on the XT1000 Remote
Control Unit: you’ll see the local image in full-screen format, and the remote image in a smaller,
overlapping window.
To see the local and remote image side by side and at the same size, press
. This is called a
PaP (Picture and Picture) or Dual Emulation view.


