35
o
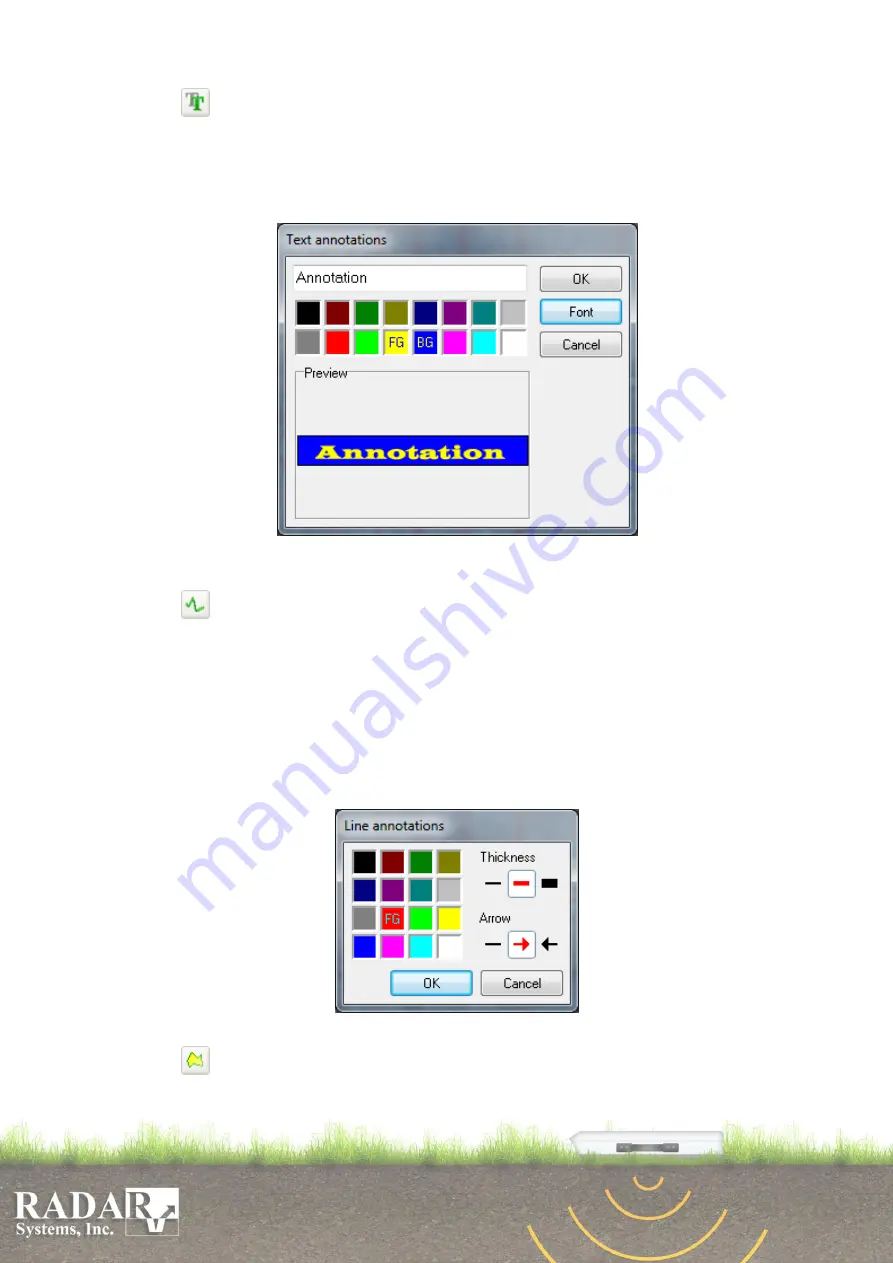
Text –
adds an annotation text. Press the left mouse button on the profile
where you would like to add the text. Specify the text color (
FG
) by the left mouse
click and background color (
BG
) by right mouse click from 16 provided colors in
the appeared dialog box (Fig. 10.5). Specify the font type (
Font
) and enter the text
itself. Press
OK
or
Enter
to confirm
.
Fig. 10.5. Text Setting dialog box.
o
Lines –
draw a zigzag line or an arrow. You would specify its thickness, color
and arrow type in the appearing dialog box (Fig. 10.6). To continue, press the
OK
button
.
You have to click by left mouse button each vertex point of expected zigzag
line (if you would like to use an arrow, you need to click only two points – start and
stop), when you are done, press right mouse button to confirm. If you wish to save
created line as ASCII file, select it and press the right mouse button, in appeared
dropdown menu select
Save as ASCII file
option. Enter file name and press save
button. As default the program will offer the same filename as initial profile name
with
.txt
extension.
Fig. 10.6. Lines Settings dialog box.
o
Area
. Used to distinguish layers of the profile, with different geophysical
mediums and characteristics, such as sand, sandy loam, peat, silt, water, etc., and to
set respective permittivity for them. You should have to specify the area foreground


