Racelogic Ltd
Quick Start Guide
Page
10
Aligning Your DriftBox
1. Park your vehicle on flat ground and turn the engine off.
2. Press the
MENU
button, then highlight ‘Setup’ and press the
OK
button.
3. Highlight the ‘ALIGNMENT’ option and press
OK
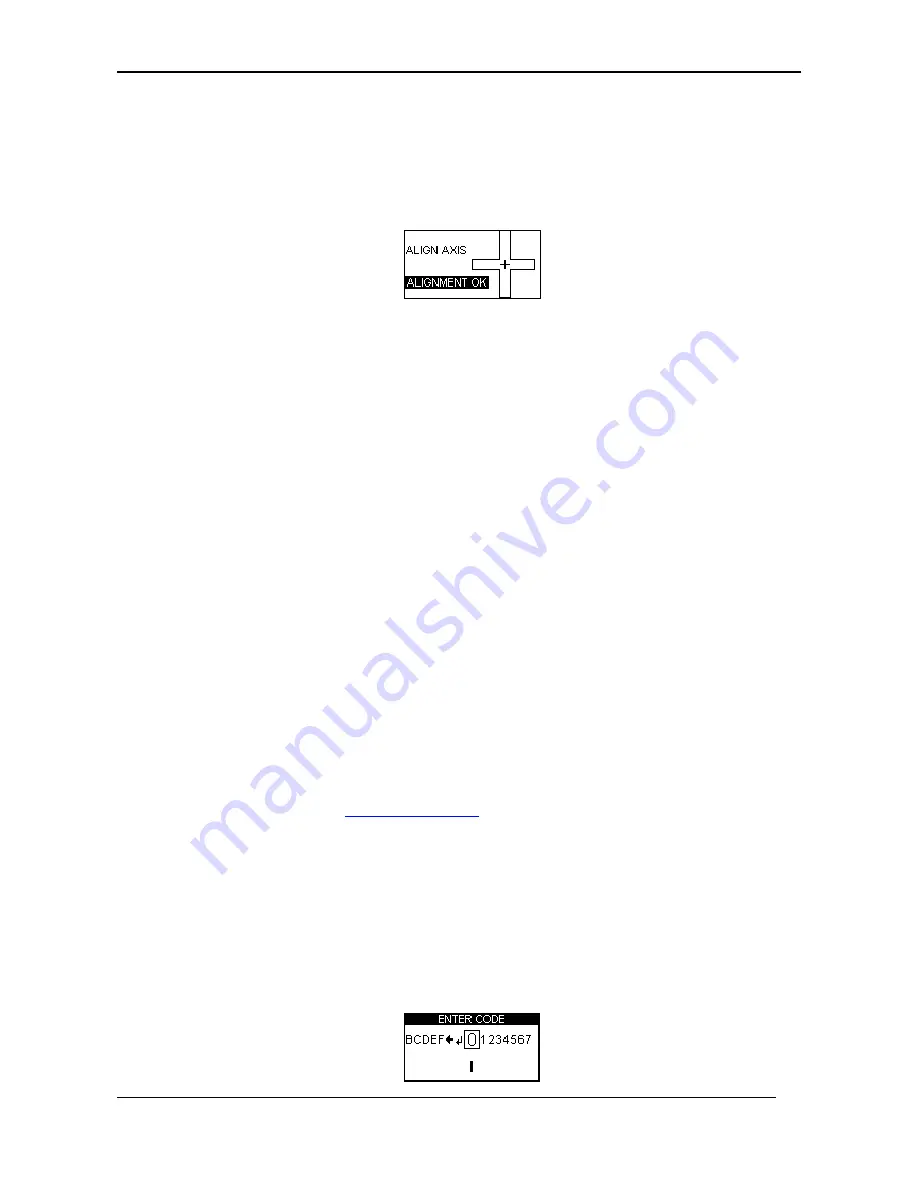
4. The following alignment screen appears :
5. The screen shows two small lines, a horizontal line and a vertical line within a large
cross.
6. Loosen the mounting screws if required and move the suction mount position so
that the two small lines align in the centre of the screen and make the shape of a
cross.
7. When the alignment is correct the screen will say ‘Alignment OK’, then tighten up
the mounting screws. If the unit needs aligning left to right, release the suction cups
and rotate the DriftBox.
8. Confirm the screen still says ‘Alignment OK’ then press
OK
. For a more detailed
instruction regarding the alignment procedure see the ‘Setup Menu’ section of this
manual.
9. Now press the
MENU
button to exit the menus screen and return to the Drift Mode
screen.
Your DriftBox is now ready to show your Drift Angle. Note that this alignment is only
needed when using the Drift Mode.
Registering your DriftBox and activating all available functions.
To get full DriftBox functionality including data logging, lap timing and performance mode,
you need to register your DriftBox at the DriftBox website.
Registering Your DriftBox
Log onto the DriftBox website
www.driftbox.com
then go into Product Registration where
you will be asked to input information including the serial number of the unit. The serial
number is displayed when you first switch on, or alternatively you can note it from the
underside of the DriftBox hardware itself. Once you have entered your details you will be
given an activation code.
Activating Your DriftBox additional functions
1. Switch on DriftBox
2. Press
MENU
and select ‘SETUP’
3. Select ‘UPGRADE’


