D-2
Custom QuickLabel setup
Custom QuickLabel setup
The following guide explains how to configure Custom QuickLabel software
for use with the QLS-4100 Xe printer. If you are using and older version of
software (i.e. Color QuickLabel), please contact QuickLabel for an upgrade.
To configure Custom QuickLabel from Create and Print:
Note:
Skip to step 4 if you are configuring the Print application. Steps 1 - 3
are for configuring a new or existing label format in the Create application.
1
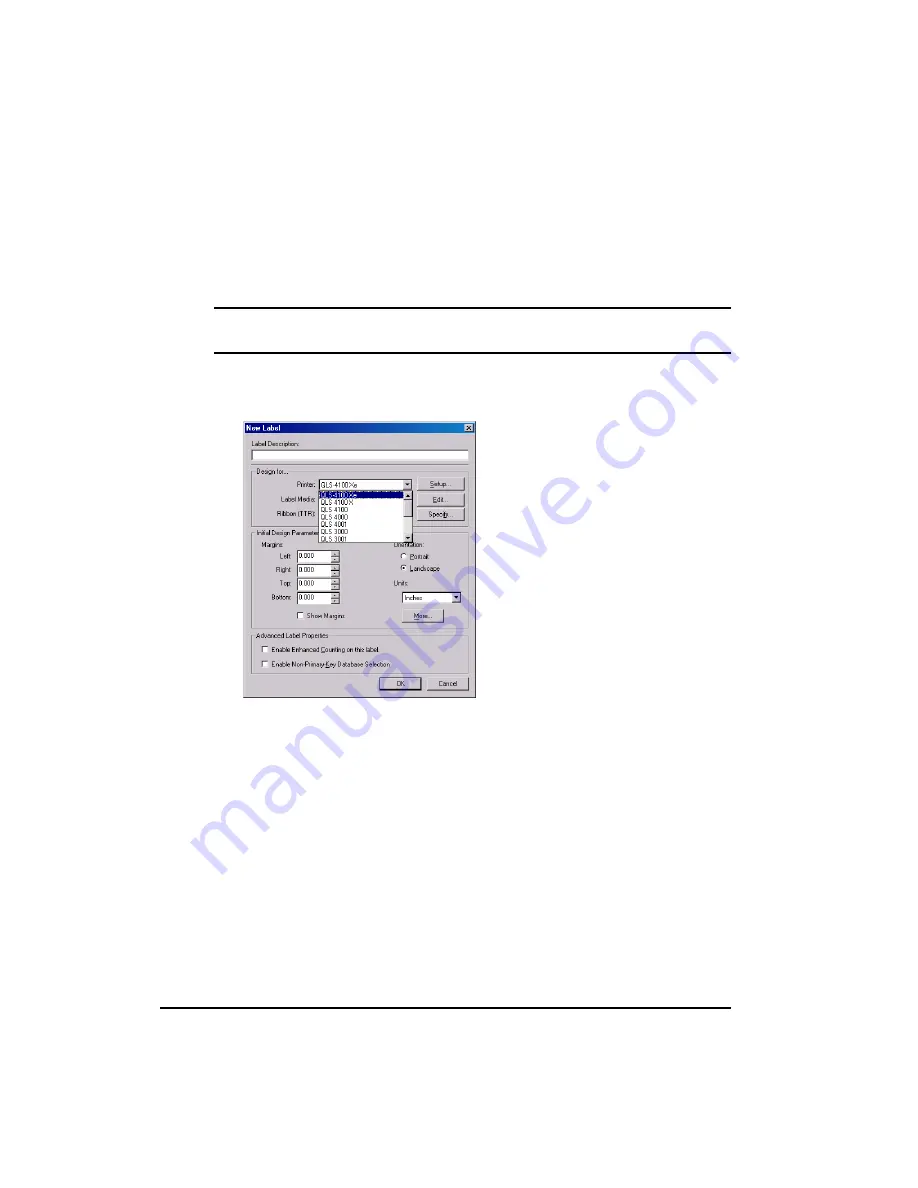
Open the File >> New Label... or File >> Label Setup... menu. The
following screen will appear:
2
Select QLS 4100Xe from the Printer pull-down menu list.
3
Configure any other options as necessary, then click OK when finished.
Summary of Contents for QLS-4100
Page 8: ......
Page 16: ...1 4 Quick start...
Page 21: ...QLS 4100 Xe 2 5 Side view...
Page 44: ...3 14 Loading media and calibration...
Page 130: ...5 16 Operation...
Page 154: ...7 16 Maintenance and repair...
Page 175: ...QLS 4100 Xe A 1 Appendix A Physical Data...
Page 176: ...A 2 Physical data QLS 4100 Xe Dimensions all dimensions are in inches...
Page 177: ...QLS 4100 Xe A 3 QLS 4100 Xe Dimensions all dimensions are in inches...
Page 178: ...A 4 Physical data...
Page 179: ...QLS 4100 Xe B 1 Appendix B Specifications...
Page 183: ...QLS 4100 Xe C 1 Appendix C Replacement Parts...
Page 186: ...C 4 Replacement parts...
Page 187: ...QLS 4100 Xe D 1 Appendix D Custom QuickLabel setup...
Page 192: ...D 6 Custom QuickLabel setup...
Page 193: ...QLS 4100 Xe E 1 Appendix E Windows Printer Driver Setup...
Page 204: ...E 12 Windows printer driver setup...
Page 205: ...QLS 4100 Xe F 1 Appendix F Format error codes...
Page 210: ...F 6 Format error codes...
Page 211: ...QLS 4100 Xe G 1 Appendix G Menu Structure...
Page 212: ...G 2 Menu Structure...


