


Chapter 3 Setting Up the Autoloader
Installing the Autoloader into a Rack
18
LTO Ultrium 8-Slot Autoloader User’s Guide
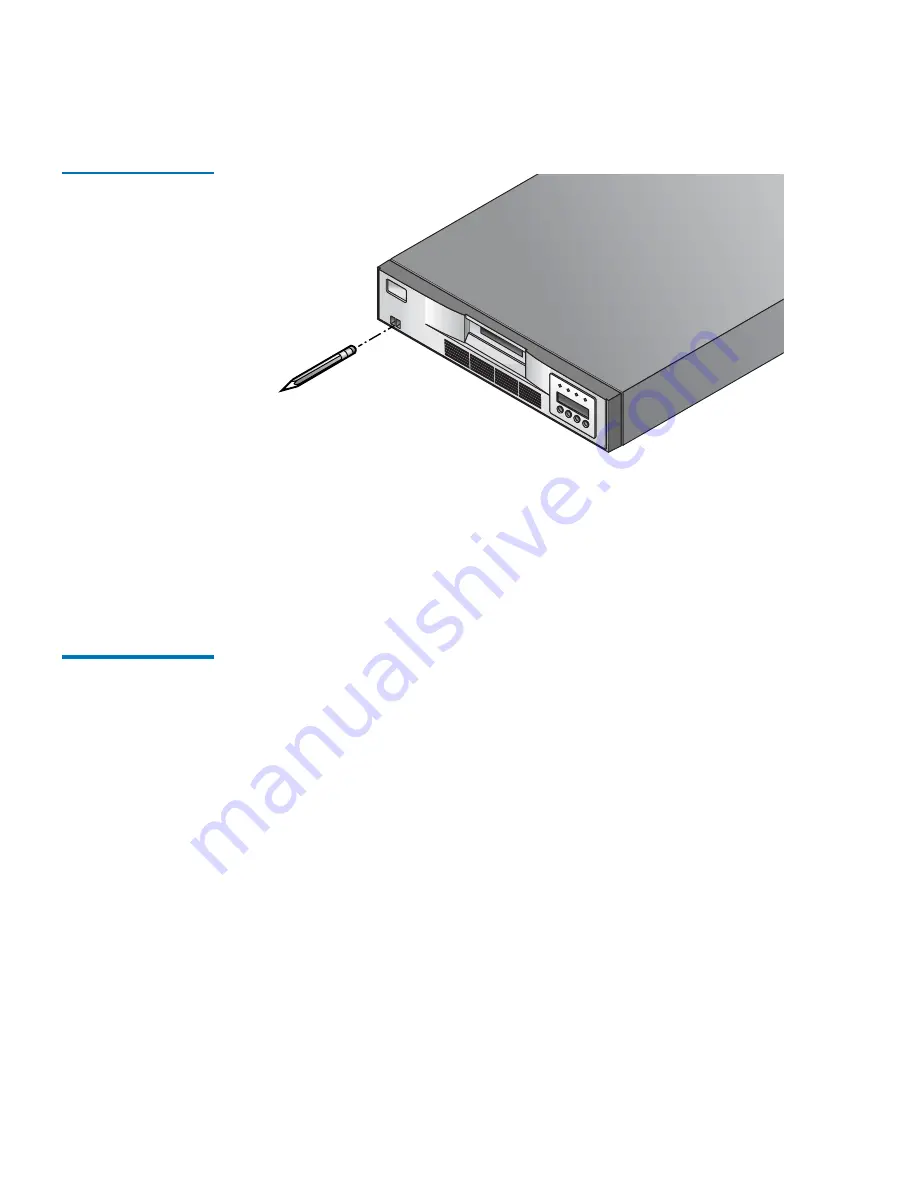
Figure 9 Power
Switch
2
Remove the power cord and any SCSI cables or terminators attached
to the autoloader. Note the configuration of the cables and
terminator. You will need to reinstall them after installing the
autoloader in the rack.
Installing the
Support Rails
3
To install the support rails in the rack:
1
Remove the two support rails from the kit and note how they will be
positioned in the rack. When the rails are installed, the shelf flanges
will face inward to support the autoloader.
2
From the front of the rack, position one of the rails on the appropriate
side. Slide the rail pieces apart to match the depth of your rack.
Position the front flange so that it is on the outside of the strip of
mounting holes in the rack.
3
Using a #2 Phillips screwdriver, attach the rail to the rack with four of
the screws from the kit. If your rack has square mounting holes, or
the holes are larger than the screws provided in the kit, use the clip-
nuts to secure the screws, as shown in the following figure.


